ART
BEAUTY & WELLNESS
CRAFT
CULTURE & HISTORY
ENTERTAINMENT
ENVIRONMENT
FOOD & DRINKS
REVERSE ENGINEERING
SCIENCES
SPORTS
TECHNOLOGY
WEARABLES
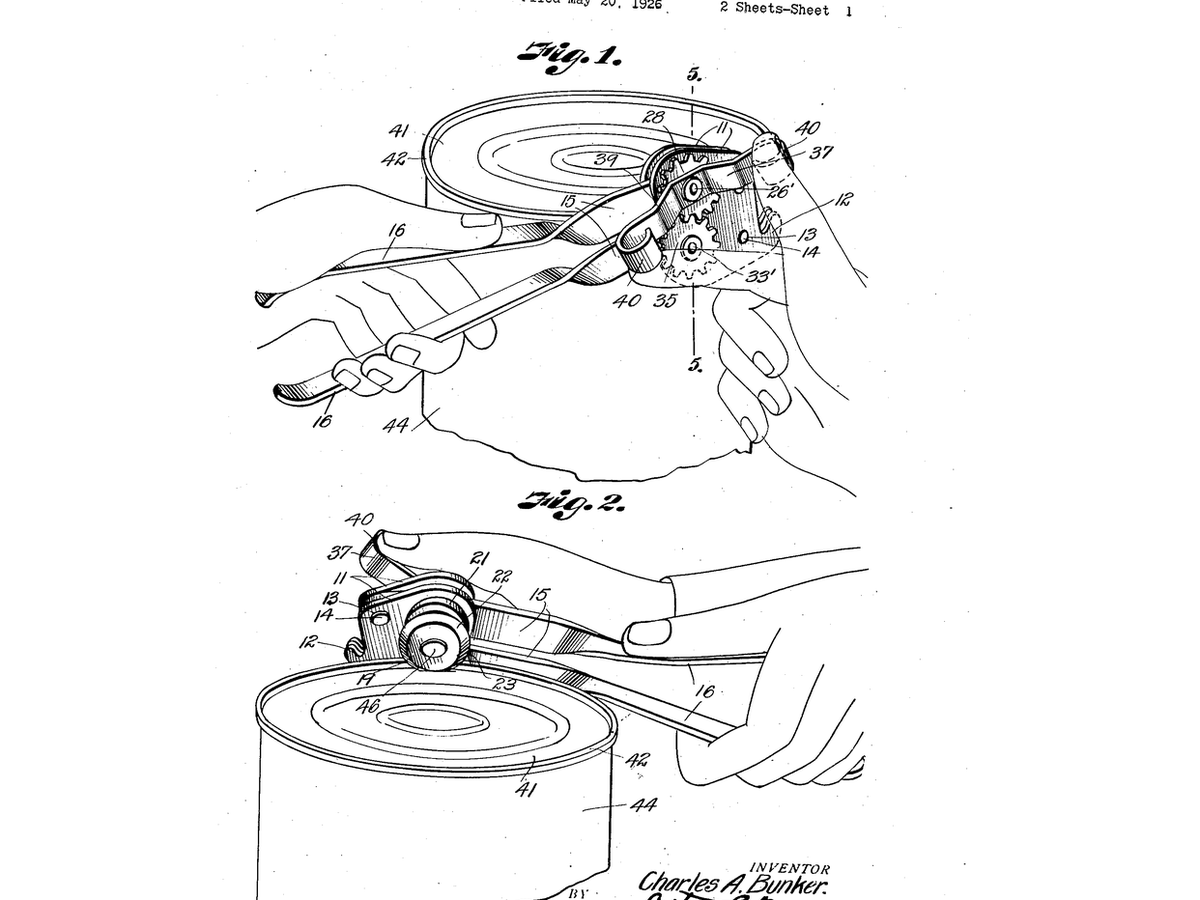


Rotary-Wheel Can Opener
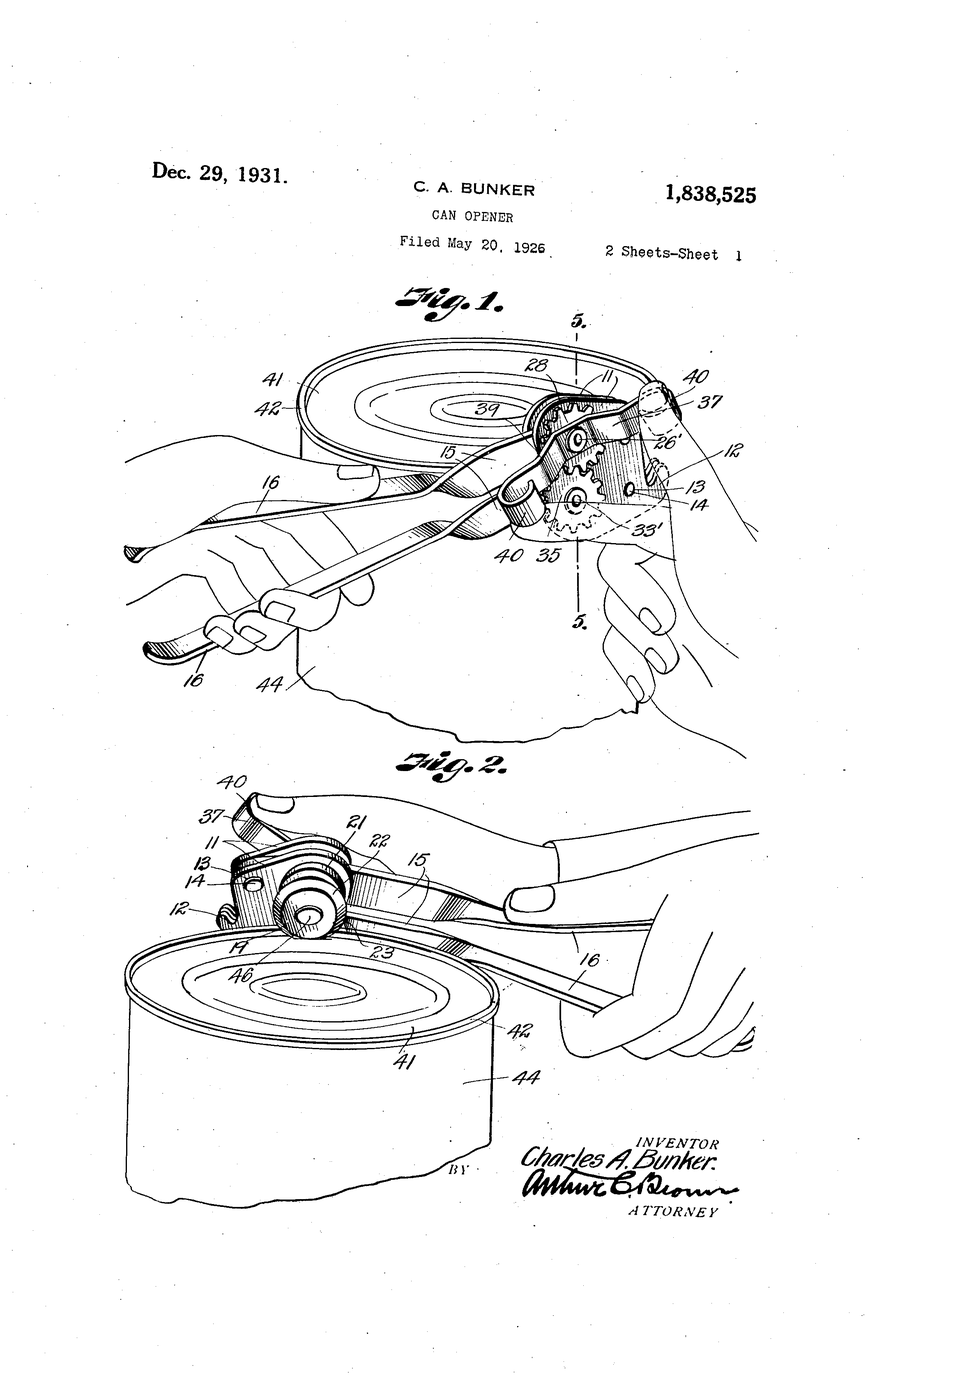
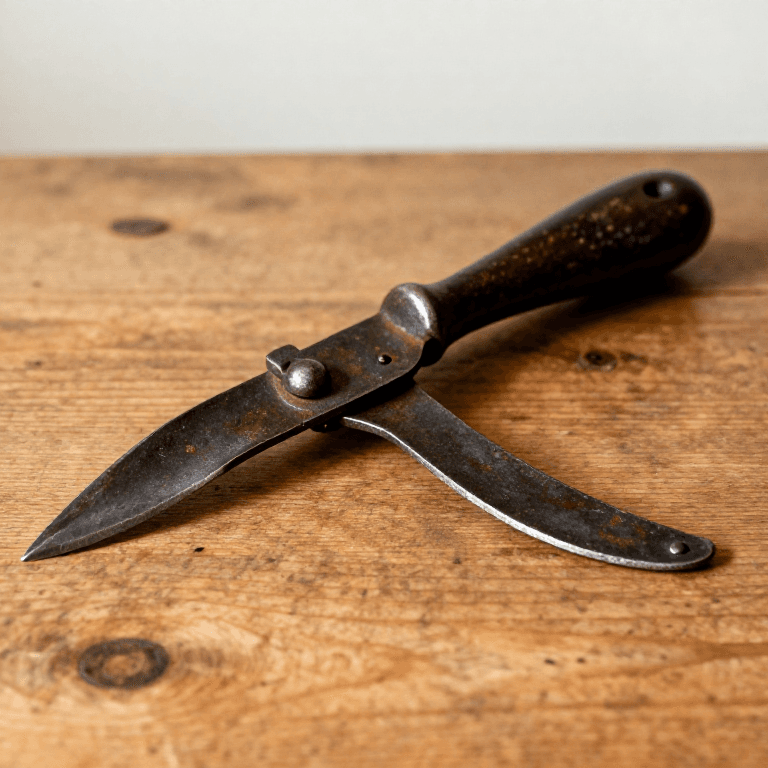
The 1858 lever opener already published is a blade you drive into the lid and saw along by hand: it leaves a torn edge, needs real force, and slips. Charles Arthur Bunker's rung is the one still in every kitchen drawer - a toothed feed wheel that grips the can's rim and walks the can past a hardened cutting wheel, so the cut is rolled, not torn.
**US 1,838,525**, "Can opener", Bunker, assigned to Bunker-Clancey Manufacturing, filed 20. May 1926, granted 29. December 1931.
**You build the head** - feed wheel, cutting wheel and crank on a plywood body - and measure the force it takes against the lever opener.
Intermediate
4 hours
Instructions
1
1
Win the cutting wheel
Win the cutting wheel
Take the hardened wheel and its axle from a cheap tubing cutter. Keep the wheel's edge unharmed - it is the one part you cannot file yourself.
Materials for this step:
 Tubing Cutter1 piece
Tools needed:
 Bench Vise
 Clear Safety Glasses
2
2
Make the feed wheel
Make the feed wheel
Cut a 12 mm disc from steel bar or use a hex bolt head. File 16 shallow teeth around its edge with the triangular file - deep enough to bite a rim, not to cut it.
Materials for this step:
 Hex Bolt Assortment1 set
 Nuts & Washers Set1 set
Tools needed:
 Metal File
 HacksawBench Vise
3
3
Body and crank
Body and crank
From 18 mm plywood cut two side plates. Mount the feed wheel on a shaft through both, with a 45 mm crank arm. Mount the cutting wheel above it on a pivoting jaw so that squeezing the handles presses wheel to rim, exactly 1.5 mm inboard of the seam.
Materials for this step:
 Plywood Sheet1 piece
Tools needed:
 Hand Saw
 Cordless Drill
 Steel Ruler
4
4
Open a can
Open a can
Clamp an empty rinsed can's rim between the wheels, squeeze, and crank. Adjust the cutting wheel's height until it rolls a clean cut without jamming. Watch the fingers on the cut lid.
Materials for this step:
 Tin Can2 pieces
Tools needed:
Clear Safety Glasses5
5
Measure both openers
Measure both openers
Hook the spring scale to your crank and to the lever opener's handle in turn, and record the force needed while cutting - six readings each.
Materials for this step:
Tin Can2 piecesTools needed:
 Force Meter (Spring Scale)
 Tin Snips
6
6
Forces and wheel sizes
Forces and wheel sizes
Loading Jupyter Notebook...
7
7
History & Context
History & Context
**What the patent specifies:** a feed wheel with teeth engaging the can's rim and a cutting wheel bearing on the lid, so turning a crank carries the can past the cutter. **Modern build (derived):** a tubing-cutter wheel and a filed feed wheel on a plywood body.
Later openers moved the cut to the side seam so the lid lifts out without a sharp edge, and motors replaced the crank. Its limits: the wheels must be set to the rim thickness, a bent rim stops the feed, and the cut edge of a top-cut lid is sharp.
Materials
5- 1 piecePlaceholder
- 1 setPlaceholder
- 1 setPlaceholder
- 1 piecePlaceholder
- 4 piecesPlaceholder
This blueprint makes
Related Blueprints
These blueprints share knowledge with this one — techniques, materials, or principles that connect them in the learning graph.
CC0 Public Domain
This blueprint is released under CC0. You are free to copy, modify, distribute, and use this work for any purpose, without asking permission.
Support the Maker by purchasing products through their Blueprint where they earn a Maker Commission set by Vendors, or create a new iteration of this Blueprint and include it as a connection in your own Blueprint to share revenue.