ART
BEAUTY & WELLNESS
CRAFT
CULTURE & HISTORY
ENTERTAINMENT
ENVIRONMENT
FOOD & DRINKS
REVERSE ENGINEERING
SCIENCES
SPORTS
TECHNOLOGY
WEARABLES
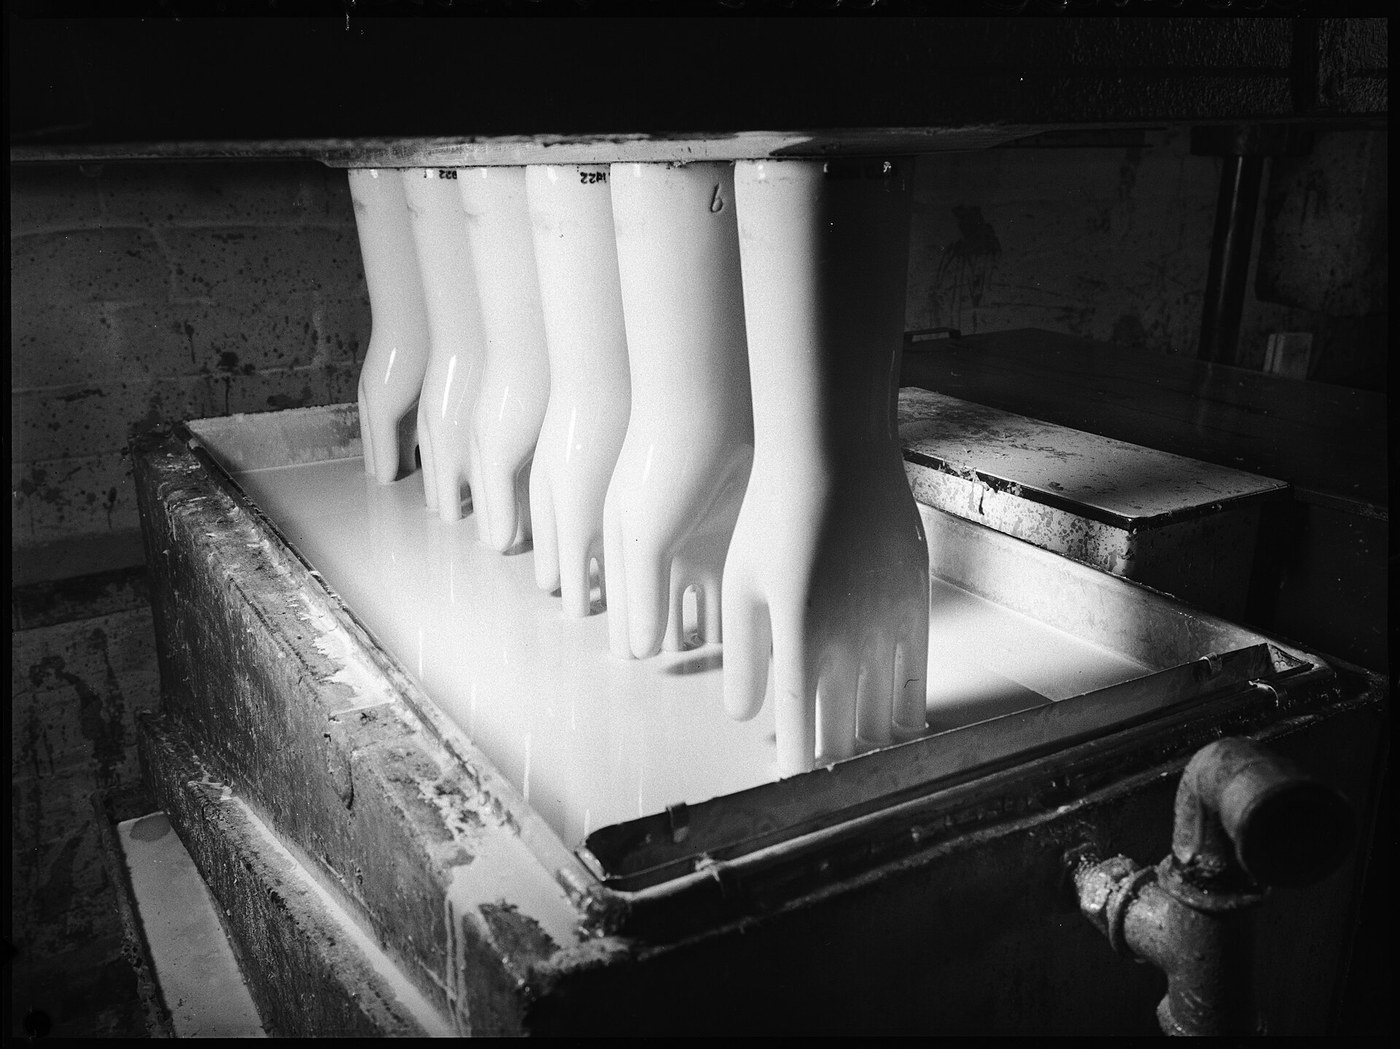


Rubber Gloves: Dipped on a Form, Lined and Turned Inside Out (Miller, 1915)
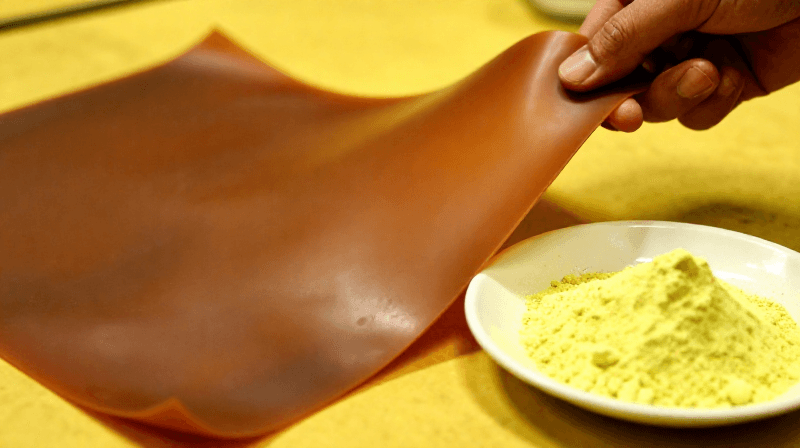
Seamless rubber gloves are made by dipping a hand-shaped form into a rubber solution, coat after coat. Thomas Miller of the Faultless Rubber Company added a cloth lining. After the glove is cured on the form, fabric is fixed to its outside. Peeling the glove off turns it inside out, so the lining ends up inside and the wrist trim outside.
Result: seamless rubber gloves lined with soft knitted fabric, whole or in parts, with a neat finishing strip at the wrist.
Source: T. W. Miller (Faultless Rubber Co.), US Patent 1,146,638 (1915). Unknown: the rubber solution and its solvent, how many dips, the drying and curing conditions, and sizes. Ours: the curing oven and the knife. Picture: Wikimedia Commons (glove forms, 1938).
Intermediate
2 days
Instructions
1
1
Put the finishing strip on the form
Put the finishing strip on the form
Around the wrist of a glove form, put the finishing strip that will show on the outside of the finished glove. It can be a strip of rubber, a band of india ink stamped on, or a transfer, in a contrasting colour. A rubber strip also reinforces the wrist.
Materials for this step:
 Rubber Compound1 finishing strip
Tools needed:
 Glove Former
2
2
Dip, dry and trim
Dip, dry and trim
Dip the form into the rubber solution, coat after coat, until the glove is as thick as you want, letting it dry in the usual way. Take each dip a little above the finishing strip. Then cut away the surplus beyond the strip, so the strip ends the glove at the wrist. Not given: the solution recipe and solvent, the number of dips and the drying time.
Materials for this step:
Rubber Compound1 dipping solution Unknown Material1 solvent
Tools needed:
Glove Former Craft Knife
 Unknown Dimensions
3
3
Vulcanize on the form
Vulcanize on the form
Vulcanize the glove while it is still on the form. Not given: the temperature and time. Ours: a curing oven.
Tools needed:
Glove Former Curing Oven
4
4
Fix the lining
Fix the lining
Cover the outside of the glove with a somewhat elastic fabric such as stockinet. Fix it with rubber cement, or by frictioning one face of the fabric so it grips the rubber. You can line the whole glove or only parts: the wrist, the finger crotches or the finger tips. Fabric put on before vulcanizing holds most firmly; put on after, it can be given a short extra cure.
Materials for this step:
 Unknown Fabric1 stockinetRubber Compound1 as cement
Tools needed:
Glove Former5
5
Strip and turn
Strip and turn
Peel the glove off the form. Stripping turns it inside out, so the fabric is now the lining and the finishing strip is on the outside of the wrist.
Tools needed:
Glove FormerMaterials
3- 1 as cementPlaceholder
- 1 solventPlaceholder
- 1 stockinetPlaceholder
Tools Required
4- Placeholder
- Placeholder
- Placeholder
- Placeholder
Connected Blueprint Materials
This blueprint makes

CC0 Public Domain
This blueprint is released under CC0. You are free to copy, modify, distribute, and use this work for any purpose, without asking permission.
Support the Maker by purchasing products through their Blueprint where they earn a Maker Commission set by Vendors, or create a new iteration of this Blueprint and include it as a connection in your own Blueprint to share revenue.