ART
BEAUTY & WELLNESS
CRAFT
CULTURE & HISTORY
ENTERTAINMENT
ENVIRONMENT
FOOD & DRINKS
REVERSE ENGINEERING
SCIENCES
SPORTS
TECHNOLOGY
WEARABLES
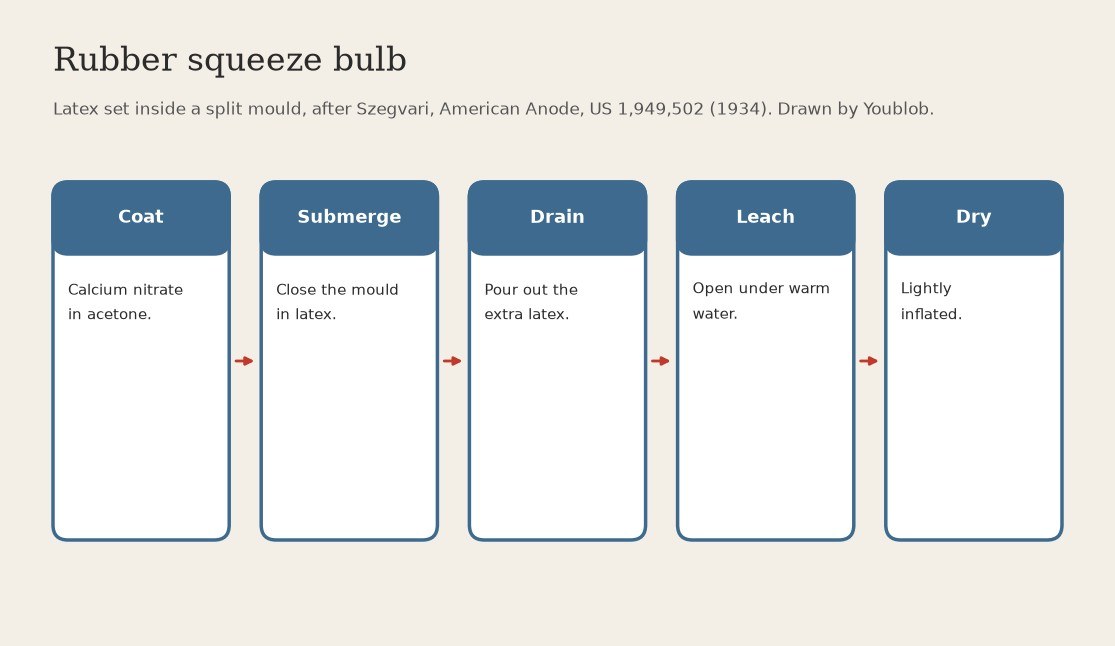


Rubber Squeeze Bulb: Latex Coagulated Inside a Split Mould Coated with Calcium Nitrate (Szegvari, Anode, US 1,949,502)
A seamless hollow rubber bulb grows inside a closed mould: the cavity is coated with a coagulant, the mould is filled with latex, and rubber sets on the walls until it is thick enough. The rest of the latex is poured out through the neck.
Result: a seamless rubber squeeze bulb with a neck; ours sized at about 60 ml.
Source: Szegvari, US 1,949,502 (American Anode, 1934); his example is a football bladder. Not given: times, strengths, vulcanising details. Picture drawn by Youblob.
Intermediate
2 days
Instructions
1
1
Coat the mould cavity with calcium nitrate in acetone
Coat the mould cavity with calcium nitrate in acetone
Open the split mould and coat only the cavity with a solution of calcium nitrate in acetone, by brush or spray. The acetone evaporates and leaves a sticky film of coagulant. Ours: a cavity of about 60 ml with a neck.
Tools needed:
 Calcium Nitrate
 Acetone
 Split Ball Mould
 Wide Paint Brush
2
2
Close the mould under the latex
Close the mould under the latex
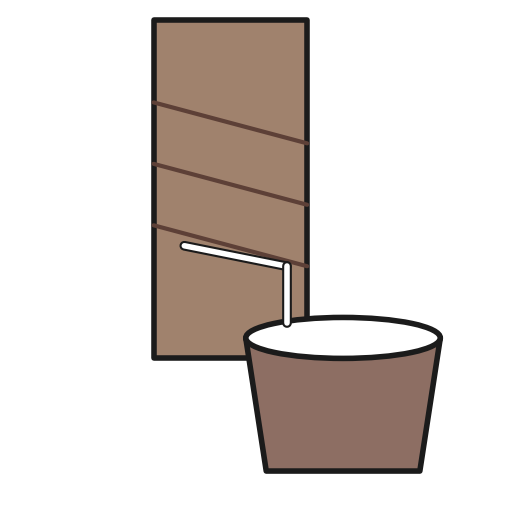
Lower both halves under the surface of latex and close them once they are submerged and the air bubbles are gone. Rubber now sets on the coated walls; the longer the contact, the thicker the wall.
Materials for this step:
 Natural Rubber Latex1 as required
Tools needed:
 Large Cooking Pot
3
3
Pour out the extra latex through the neck
Pour out the extra latex through the neck
Lift the mould out and turn it over so the liquid latex drains back through the neck. Refill with water holding a little acetic acid so the inner face sets too.
Tools needed:
 Acetic Acid (Glacial)
 Water
4
4
Open under warm water and leach
Open under warm water and leach
Open the mould under running warm water, take out the bulb and leave it in the water until most of the soluble matter has leached out. Clean any liquid latex off with dilute ammonia.
Tools needed:
Water Ammonia Solution - Dilute
5
5
Inflate lightly and dry
Inflate lightly and dry
Drain the bulb, inflate it lightly so it does not collapse, and dry it at room temperature or in a drying cabinet. The latex may hold sulphur and be vulcanised in the usual way; Szegvari gives no details.
Tools needed:
 Drying Oven
Materials
1- 1 as requiredPlaceholder
Tools Required
9- Placeholder
- Placeholder
- Placeholder
- Placeholder
- Placeholder
- Placeholder
- Placeholder
- Placeholder
- Placeholder
This blueprint makes

Related Blueprints
These blueprints share knowledge with this one — techniques, materials, or principles that connect them in the learning graph.
CC0 Public Domain
This blueprint is released under CC0. You are free to copy, modify, distribute, and use this work for any purpose, without asking permission.
Support the Maker by purchasing products through their Blueprint where they earn a Maker Commission set by Vendors, or create a new iteration of this Blueprint and include it as a connection in your own Blueprint to share revenue.