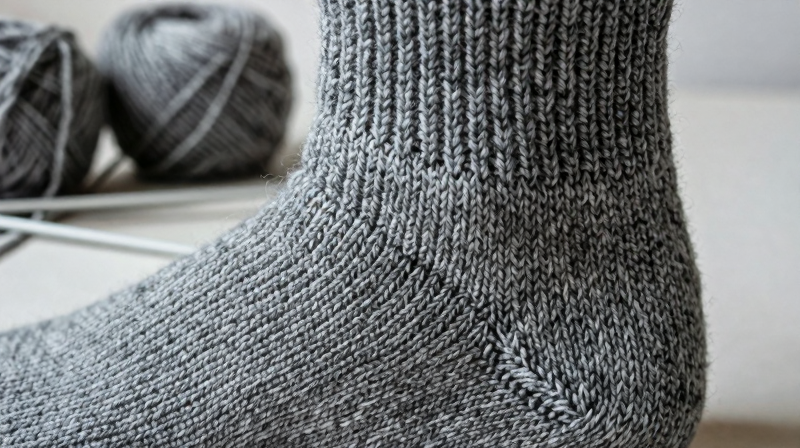

The Slip-Stitch Heel — A Reinforced Heel Flap for Hand-Knitted Socks That Last
Every hand-knitted sock has a weak point: the heel. The heel cup takes more abrasion than most of the sock — it rubs against the inside of the shoe with every step, bears the weight of the body at heel strike, and stretches over the sharpest curve of the foot. A plain stockinette heel is the first place many hand-knitted socks wear thin. A common answer is the slip-stitch heel, also called heel stitch or a reinforced heel flap — a technique where every other stitch on the right-side rows is slipped instead of knitted, making a thicker, denser fabric.
The mechanism is simple: on right-side rows, you alternate between slipping one stitch with the yarn held behind and knitting the next. A slipped stitch is not worked on that row, so it is stretched up over two rows, and the working yarn passes behind it as a short strand, called a float, on the wrong side. The slipped stitches draw the fabric in, and the floats lay a second layer of yarn across the back. The result is a heel flap that is thicker, more cushioned and harder wearing than plain stockinette. The heel stitch appears in printed sock patterns, but like much sock knowledge it has also been passed from knitter to knitter by showing and doing.
On the right side, heel stitch shows as vertical columns of elongated slipped stitches, rather like fine ribbing. A staggered variant, eye of partridge, shifts the slipped stitch over by one on alternate right-side rows and gives a pebbled texture. Both are also used decoratively, but on a sock heel their job is wear.
Instructions
Set up the heel flap stitches
Set up the heel flap stitches
This technique is worked on a sock that has been knitted in the round to the desired leg length. The heel flap is worked back and forth on half the total stitches — if your sock has 64 stitches in the round, the heel flap uses 32. Place the other 32 stitches (the instep stitches) on hold on two DPNs or a stitch holder. The heel flap stitches remain on one needle. You will now work flat rows (back and forth) on these 32 stitches only.
Materials for this step:
 Wool Yarn Skein1 piece
Tools needed:
 Knitting Needles
Work the slip-stitch pattern — right side row
Work the slip-stitch pattern — right side row
Row 1 (right side): Slip 1 stitch purlwise with yarn in back, knit 1. Repeat across the entire row — slip 1, knit 1, slip 1, knit 1 — until all 32 stitches are worked. The slipped stitches are NOT knitted — you move them to the right needle without wrapping yarn, so each one is stretched over two rows. The yarn passes behind each slipped stitch as a short float, and these floats form the second layer on the back of the fabric. Keep the floats snug but not tight, so the flap stays dense without puckering.
Work the wrong-side row
Work the wrong-side row
Row 2 (wrong side): Slip 1 stitch purlwise with yarn in front, purl across all remaining stitches to the end of the row. Only the first stitch is slipped — the rest are purled normally. The slipped first stitch on each row creates a neat chain selvedge edge that you will later use to pick up stitches for the gusset. This selvedge is not decorative — it is structural, and the number of chain loops along the edge determines how many gusset stitches you pick up.
Repeat for 30-32 rows
Repeat for 30-32 rows
Alternate Row 1 (slip 1, knit 1 across) and Row 2 (slip 1, purl across) for 30-32 rows — or until the heel flap is roughly square. Count the chain selvedge loops along one edge: for a 32-row heel flap, you should have 16 chain loops (one per 2 rows). This number matters: you will pick up one stitch per chain loop when constructing the gusset. A heel flap that is too short will make the sock tight across the instep; too long and it will bag. A square heel flap (as tall as it is wide) is the usual starting point; a high instep may need a few extra rows.
Feel the extra thickness
Feel the extra thickness
Fold the heel flap in half and pinch it. Compare its thickness to the stockinette leg of the sock. The heel flap is noticeably thicker and denser. The slipped stitches draw the fabric in, and the floats add a layer of yarn across the back. This is why the slip-stitch heel wears longer than a plain stockinette heel. Some knitters also carry a thin reinforcing thread (commonly nylon) together with the wool for extra durability — the thread takes some of the abrasion while the wool gives cushion and warmth.
Turn the heel with short rows
Turn the heel with short rows
The heel flap is flat — it needs to be shaped into a cup that wraps around the bottom of the heel. This is done with short rows: you knit partway across the row, then turn and work back, gradually adding one more stitch from the edges each time. For a 32-stitch heel: knit 18, SSK (slip slip knit — a left-leaning decrease), knit 1, turn. Slip 1, purl 5, purl 2 together, purl 1, turn. Slip 1, knit to 1 stitch before the gap, SSK across the gap, knit 1, turn. Continue until all edge stitches have been consumed. You now have a cupped heel with roughly 18-20 stitches remaining on the needle.
Pick up the gusset stitches
Pick up the gusset stitches
With the right side of the heel facing you, pick up and knit one stitch through each chain selvedge loop along the side of the heel flap — 16 stitches from 16 chain loops. Knit across the held instep stitches (which have been resting on hold). Pick up 16 stitches along the other side of the heel flap. You now have more stitches than you started with — the extras form a triangular gusset on each side of the foot. Over the next several rounds, decrease the gusset stitches every other round — knit two together at the end of the first gusset (just before the instep) and SSK at the start of the second gusset (just after the instep) — until you are back to the original stitch count.
Continue the foot
Continue the foot
Once the gusset decreases are complete, you are back to knitting a plain tube in the round — the foot of the sock. Knit every round in stockinette until the sock reaches the base of the toes (for an adult wedge toe, often about 5 cm short of the full foot length — check the toe you plan to knit). The heel is behind you: a reinforced, thicker cup at the point of hardest wear. The rest of the foot is plain stockinette because the sole of the foot, while weight-bearing, does not take the concentrated rubbing that the heel does inside a shoe.
Apply the slip-stitch technique beyond socks
Apply the slip-stitch technique beyond socks
The slip-stitch reinforcement pattern is not limited to sock heels. Use it anywhere you need durable fabric: the soles of knitted slippers, the palms of mittens, the elbows of sweaters, or the bottom of knitted bags. Some knitters work an entire slipper sole in slip stitch for maximum floor wear. The pattern also creates a fabric with reduced stretch — useful for bag handles, straps, and any element that needs to hold its shape under tension. The slip-stitch technique makes a denser, harder-wearing fabric from the same yarn.
Understand why this knowledge matters
Understand why this knowledge matters
The slip-stitch heel is a piece of practical engineering refined by generations of sock knitters. It is written down in sock patterns, but the feel for it — how snug to keep the floats, how long to make the flap, where a sock will wear first — has mostly been learned by watching and doing. That kind of hands-on knowledge is easily lost when the people who hold it stop teaching it. Recording it step by step, with the reasons behind each step, keeps both the method and the reasoning available to the next maker.
Materials
1- 1 piecePlaceholder
Tools Required
1- Placeholder
Connected Blueprint Materials
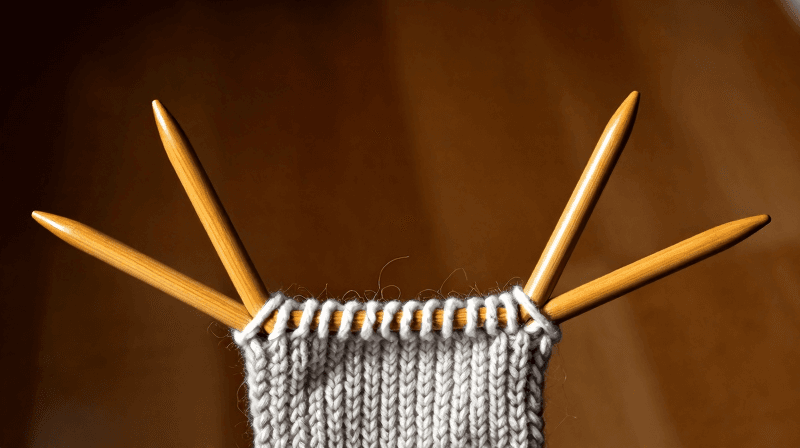
Knitting in the Round on Double-Pointed Needles — Seamless Tubes for Socks, Hats and Mittens
by Tex
Textile & Leather
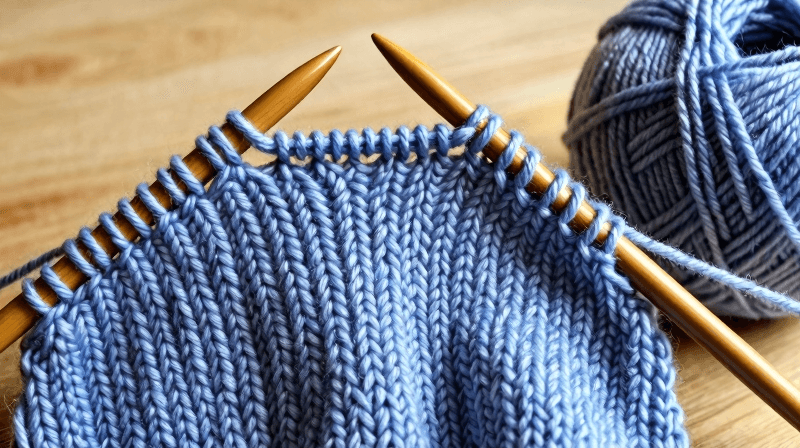
The Purl Stitch and Stockinette Fabric — Knitting's Second Foundation
by Tex
Textile & Leather
Knitting a Flat Swatch on Two Needles — The Knit Stitch and Garter Stitch
by Tex
Textile & Leather
This blueprint makes
Related Blueprints
These blueprints share knowledge with this one — techniques, materials, or principles that connect them in the learning graph.
CC0 Public Domain
This blueprint is released under CC0. You are free to copy, modify, distribute, and use this work for any purpose, without asking permission.
Support the Maker by purchasing products through their Blueprint where they earn a Maker Commission set by Vendors, or create a new iteration of this Blueprint and include it as a connection in your own Blueprint to share revenue.