ART
BEAUTY & WELLNESS
CRAFT
CULTURE & HISTORY
ENTERTAINMENT
ENVIRONMENT
FOOD & DRINKS
REVERSE ENGINEERING
SCIENCES
SPORTS
TECHNOLOGY
WEARABLES
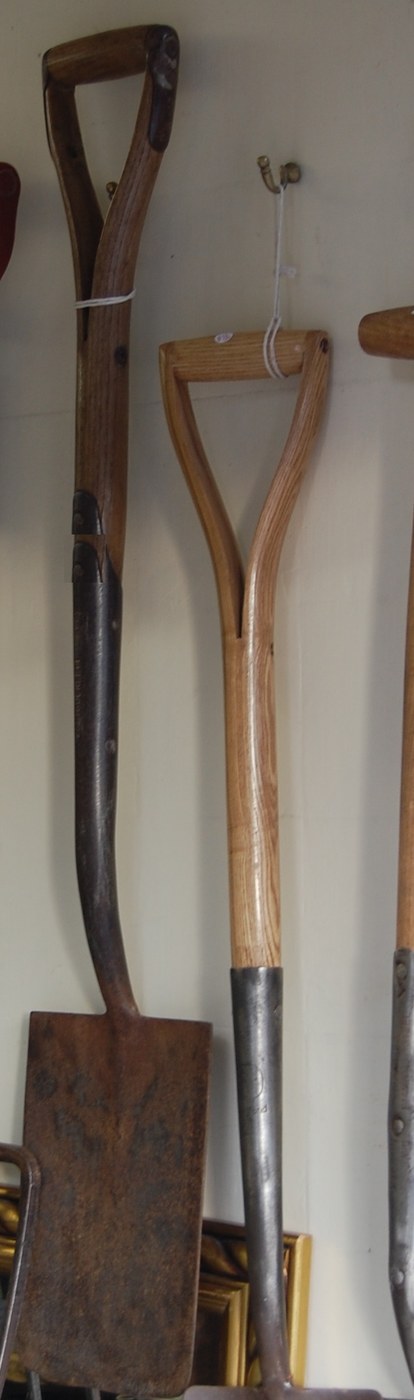


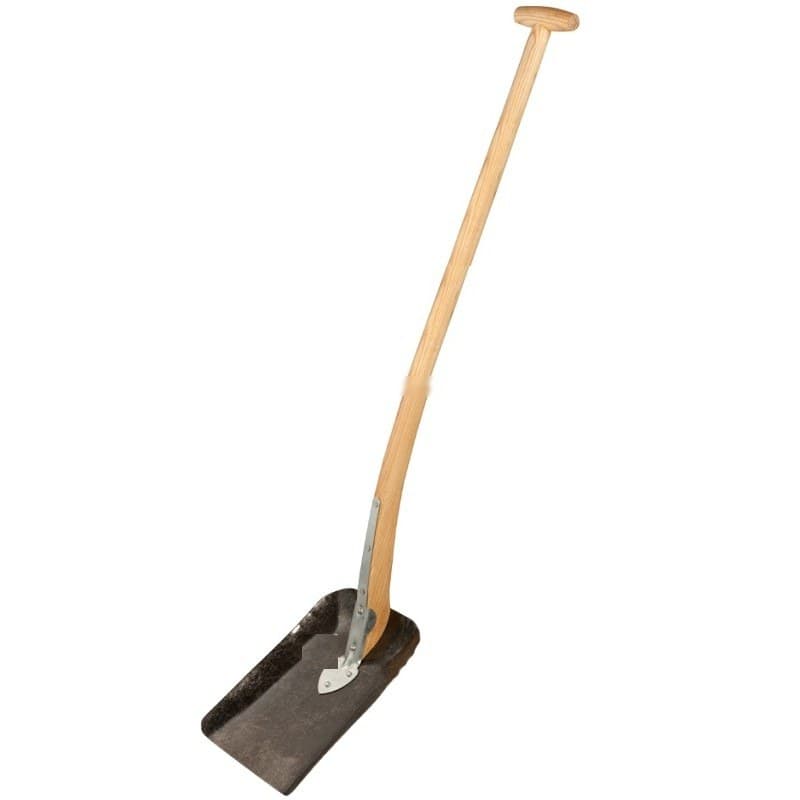
Spade: Flat Steel Blade with Treads, on an Ash D-Grip Handle
A spade digs: its blade is narrower and flatter than a shovel's, with a sharpened edge, and the garden spade has treads on top for the feet to drive it in. Early spades were wood or bone tipped with metal. Cut and sharpen a flat steel blade, turn its top edges over into treads, forge straps to hold the handle, and rivet on an ash handle with a D-grip.
The picture: old spades with strapped ash handles and D-grips.
Intermediate
A day
Instructions
1
1
Cut the blade
Cut the blade
Shear mild steel sheet to a blade about 18 × 28 cm (our size) with two long straps left at the top centre.
Materials for this step:
 Mild Steel Sheet1 piece
Tools needed:
 Plate Shears
 Welding Gloves
 Safety Glasses
2
2
Treads and straps
Treads and straps
Heat and turn the top edge over forward on each side of the straps to make flat treads for the feet. Bend the straps up into a socket that grips the handle end.
Materials for this step:
 Charcoal3 as required
Tools needed:
 Blacksmith Forge
 Anvil
Anvil Cross Peen Hammer
 Blacksmith TongsWelding GlovesSafety Glasses
3
3
Sharpen the edge
Sharpen the edge
Grind the bottom edge to a bevel and file it even.
Tools needed:
 Grindstone
 Metal File
4
4
Handle and D-grip
Handle and D-grip
Rive an ash billet, shave it round, split its top end and spread the two halves round a short ash crosspiece to make a D-grip; peg the crosspiece. Oil the handle.
Materials for this step:
 Ash Billet2 pieces
 Linseed Oil0.05 liter
Tools needed:
 Froe
Froe Shaving Horse
 Drawknife
 Spokeshave
 Hand Drill
5
5
Rivet the handle
Rivet the handle
Drive the handle into the straps, drill through, and rivet it.
Materials for this step:
 Iron Rivets3 pieces
Tools needed:
Hand DrillCross Peen HammerAnvil6
6
Pressure at the edge
Pressure at the edge
Loading Jupyter Notebook...
Materials
5- 1 piecePlaceholder
- 3 as requiredPlaceholder
- 2 piecesPlaceholder
- 0.05 literPlaceholder
- 3 piecesPlaceholder
Tools Required
14- Placeholder
- Placeholder
- Placeholder
- Placeholder
- Placeholder
- Placeholder
- Placeholder
- Placeholder
- Placeholder
- Placeholder
- Placeholder
- Placeholder
- Placeholder
- Placeholder
This blueprint makes
Related Blueprints
These blueprints share knowledge with this one — techniques, materials, or principles that connect them in the learning graph.
CC0 Public Domain
This blueprint is released under CC0. You are free to copy, modify, distribute, and use this work for any purpose, without asking permission.
Support the Maker by purchasing products through their Blueprint where they earn a Maker Commission set by Vendors, or create a new iteration of this Blueprint and include it as a connection in your own Blueprint to share revenue.