
Bamboo Felling and Selection — From Harvesting Madake to Removing Oil
Instructions
Identifying Mature Bamboo
Identifying Mature Bamboo
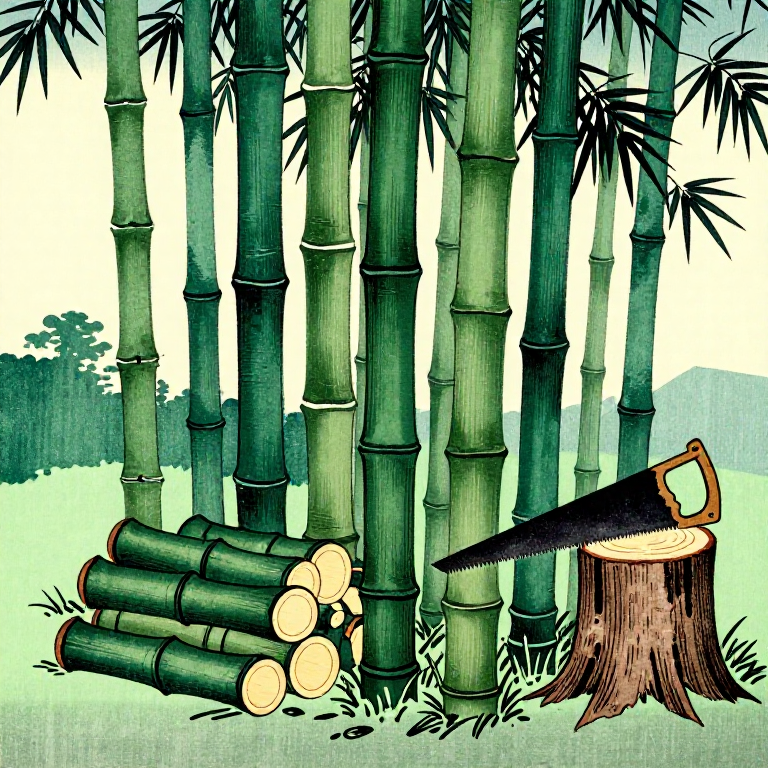
In the bamboo grove, select bamboo that is 3 to 5 years old. Mature bamboo has a deep green color, hard nodes, and produces a clear sound when the stalk is tapped. Bamboo that is 1 to 2 years old is bright green and too soft, while bamboo over 6 years old has begun to deteriorate.
Check the felling season
Check the felling season
Bamboo should be felled in autumn to winter (October to February). During this period, sap flow is low and moisture content is low, so cracking and mold after drying can be prevented. Bamboo felled in spring to summer contains a lot of water and can cause insect damage and mold.
Avoid cutting in rainy weather
Avoid cutting in rainy weather
Please avoid cutting on rainy days or right after rain. Damp bamboo is prone to uneven drying and has a higher risk of mold growth. It is ideal to cut after two or more consecutive days of clear weather.
Choose bamboo that is straight and has evenly spaced nodes
Choose bamboo that is straight and has evenly spaced nodes
Select bamboo with few bends. Good-quality bamboo has evenly spaced nodes and a diameter that gradually narrows from the base to the tip. Madake bamboo with a diameter of 8 to 12 cm is generally suitable for craft use.
Materials for this step:
 Mature Bamboo Culm (3-5 years)1 piece
Mark the selected bamboo
Mark the selected bamboo
Tie cloth ribbons or string at eye level on the bamboo to be cut. Since similar bamboo grows densely within the bamboo grove, be careful not to lose track of the bamboo you have selected.
Materials for this step:
 Cloth Marking Ribbon3 pieces
Clear the area around the base
Clear the area around the base
Remove fallen leaves, dead branches, and bamboo shoot remains from around the base of the bamboo to be cut. Secure a work space so the saw can be accurately positioned.
Tools needed:
 Garden Rake
Decide the cutting position
Decide the cutting position
Cut at a height of 10–15 cm above the ground, just above the first node. Cutting just above a node prevents rainwater from collecting on the stump and causing it to rot.
Cut with a bamboo pull saw
Cut with a bamboo pull saw
Use a saw dedicated to bamboo (a takebiki-noko, or bamboo pull saw) and make the cut at a slight angle. Cutting at an angle lets rainwater run off the stump. Pull at a steady rhythm and do not press down too hard. Bamboo splits easily, so cut the final 2 cm especially slowly.
Tools needed:
 Bamboo Saw
Supporting the falling bamboo
Supporting the falling bamboo
Just before it is cut free, guide it by hand so it leans against the neighboring bamboo. Bamboo is light but long, so if it is allowed to fall freely, the tip may break or damage the surrounding bamboo.
Tools needed:
 Work Gloves (Leather)
Pruning branches
Pruning branches
Using a machete (nata), cut off the branches growing from each node along the trunk. Striking downward from top to bottom, from the base of the branch toward the trunk, will make a clean cut. Be careful not to damage the trunk.
Tools needed:
 Hatchet
Cut to the length suited to the purpose
Cut to the length suited to the purpose
Cut the bamboo according to its intended use. For general craft use, sections of 3 to 4 m are typical. For tea utensils, cut shorter while considering the position of the nodes. Always check the position of the nodes and determine the cutting points so that the required number of nodes is included.
Tools needed:
 Measuring Tape Set
Inspect for insect damage
Inspect for insect damage
Carefully observe the surface of the cut bamboo. If there are small holes 1–2 mm in diameter, they are feeding marks left by bamboo-eating insects (chikutoumushi). If there is fine powder (insect frass) around the holes, insects are still present. Cut off and discard the severely damaged parts.
Check for discoloration and rot
Check for discoloration and rot
Areas with blackish spots or gray discoloration are signs of internal decay. Parts that feel soft when pressed with a finger cannot be used. Healthy bamboo is hard, and when tapped it produces a dry "kon kon" sound.
Lean and air-dry initially
Lean and air-dry initially
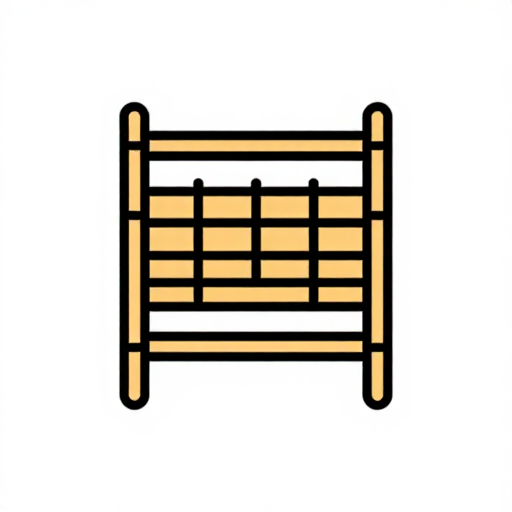
Stand the cut bamboo vertically to dry. Leaning it with the base up against a wall or a dedicated bamboo drying rack allows the remaining sap to flow downward due to gravity. A well-ventilated, covered area is ideal.
Tools needed:
 Bamboo Drying Rack
Air-dry for 2 to 4 weeks
Air-dry for 2 to 4 weeks
Dry in a covered, well-ventilated place for 2 to 4 weeks. Avoid direct sunlight, as it causes cracking from rapid drying. As drying progresses, the color of the bamboo changes from green to pale yellow.
Check the dryness
Check the dryness
When you tap dry bamboo, it makes a high, hollow "kan-kan" sound. Damp bamboo makes a dull "boko" sound. It should also feel lighter. Once the moisture content drops to 15% or below, it can be used for crafts.
Perform oil removal (abura-nuki)
Perform oil removal (abura-nuki)
Slowly rotate the bamboo over the flame of a charcoal fire or gas burner. Oil and moisture seep out of the bamboo's surface, which are wiped off with a cloth. Removing the oil increases the bamboo's durability and gives it a beautiful amber-colored luster. The temperature is around 200–250℃. Keep it moving constantly to avoid scorching.
Tools needed:
 Gas Burner or Charcoal Fire
 Cotton Cloth
Store horizontally
Store horizontally
Bamboo that has been de-oiled is stored horizontally on a shelf raised off the ground. Arrange the pieces so they do not overlap, ensuring good ventilation. If stored in a place with low humidity, the quality can be maintained for several years.
Tools needed:
 Storage Rack
Materials
3- Placeholder
- 3 piecesPlaceholder
- 1 piecePlaceholder
Tools Required
9- Placeholder
- Placeholder
- Placeholder
- Placeholder
- 1 vendor sell this, none ship to you yetPlaceholder
- Placeholder
- Placeholder
- Placeholder
- Placeholder
This blueprint makes


CC0 Public Domain
This blueprint is released under CC0. You are free to copy, modify, distribute, and use this work for any purpose, without asking permission.
Support the Maker by purchasing products through their Blueprint where they earn a Maker Commission set by Vendors, or create a new iteration of this Blueprint and include it as a connection in your own Blueprint to share revenue.