ART
BEAUTY & WELLNESS
CRAFT
CULTURE & HISTORY
ENTERTAINMENT
ENVIRONMENT
FOOD & DRINKS
REVERSE ENGINEERING
SCIENCES
SPORTS
TECHNOLOGY
WEARABLES
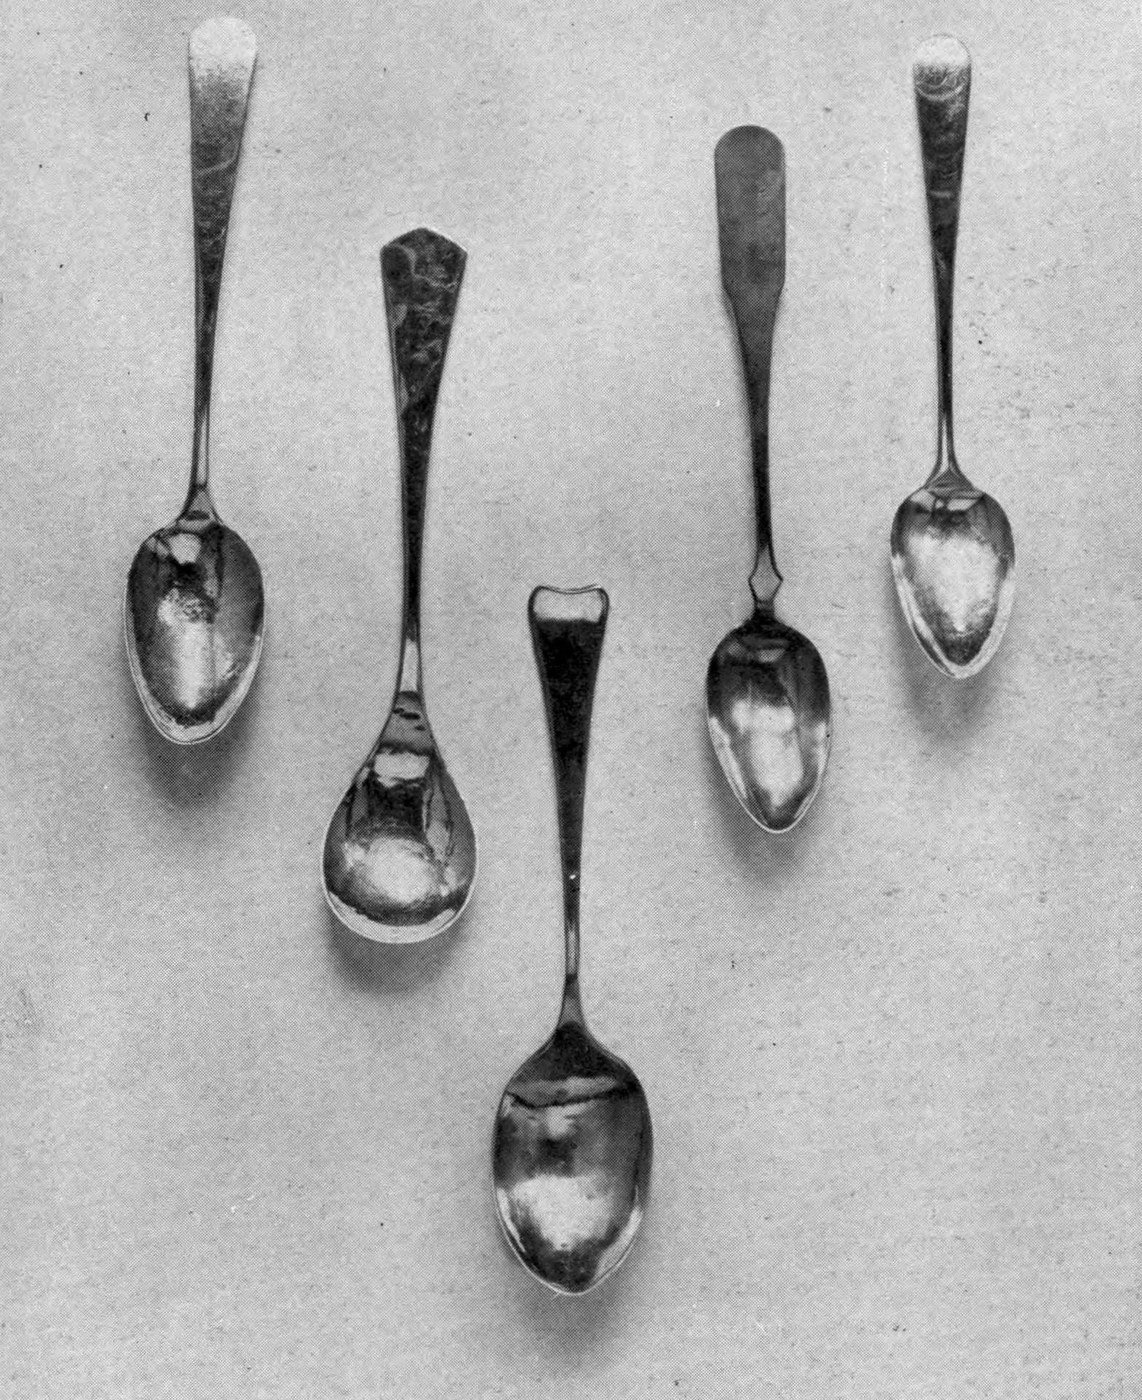
Arthur F. Payne · Public domain (1914)


Teaspoon Forged from a Silver Bar (Payne 1914)
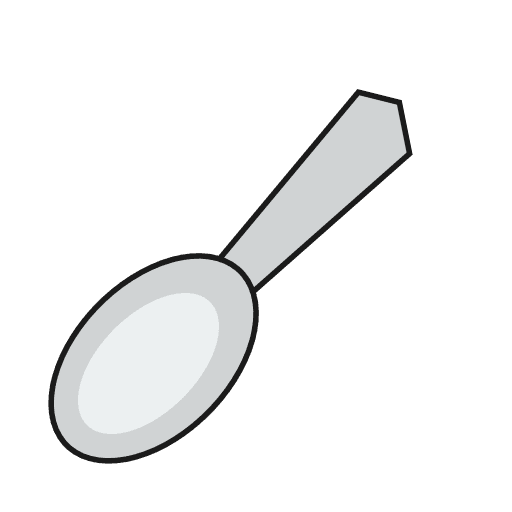
A 6-inch silver teaspoon forged out of a small bar of silver, the way a blacksmith forges iron. Arthur Payne called it the hardest of his five spoon methods, but the cheapest, because almost no silver is wasted.
Source: A. F. Payne, Art Metalwork with Inexpensive Equipment (1914), pp. 184–186; annealing from his chapter XI. Cutting the bar from sheet is ours. Picture: Payne's Fig. 158, teaspoons forged this way.
Advanced
1 day
Instructions
1
1
Cut the silver bar
Cut the silver bar
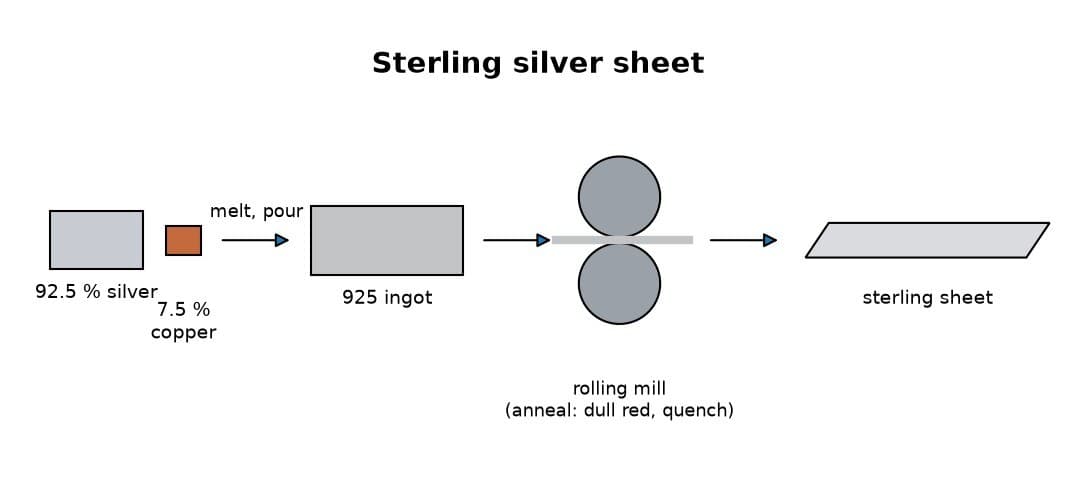
For a teaspoon 6 in long you need a piece of sterling silver 4 in long, ½ in wide and ⅛ in thick. Mark it out and saw it from sheet of that thickness (cutting from sheet is ours).
Materials for this step:
 Sterling Silver Sheet1 piece 4 × ½ × ⅛ in
Tools needed:
 Scriber
 Jeweler's Saw
2
2
Forge out the bowl
Forge out the bowl
Heat the bar until it is almost red-hot, hold it in tongs and forge the bowl out on the anvil. Silver forges more easily when it is nearly red, but never hammer it while it is red-hot: it will crack.
Tools needed:
 Bunsen Burner
 Tongs
 Anvil
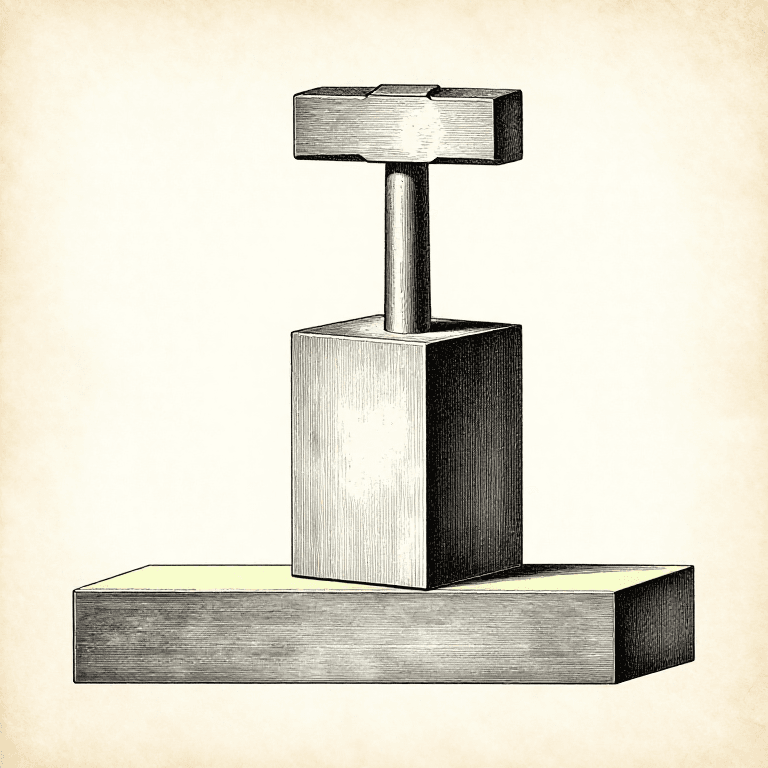
 Hammer
3
3
Work bowl, then shank and handle
Work bowl, then shank and handle
Hammer the bowl until it is hard, then the shank and handle, so the whole spoon is hard before you anneal it again. That saves time.
Tools needed:
AnvilHammer4
4
Anneal and repeat
Anneal and repeat
To soften it, heat it to a dull red and plunge it into water, or let it cool. Then go on forging until the spoon is roughly to shape.
Materials for this step:
 Water1 as required
Tools needed:
Bunsen BurnerTongs Glass Vessel
5
5
Trim with shears and file
Trim with shears and file
Trim the outline with the shears and file the edges smooth.
Tools needed:
 Heavy-duty Metal Shears
 Files (Hand File)
6
6
Polish out the file marks
Polish out the file marks
Rub out all the scratches and file marks with emery cloth.
Tools needed:
 Emery Cloth
7
7
Anneal to even the fire scale
Anneal to even the fire scale
Anneal the spoon thoroughly once more. Heated silver grows a thin white skin, the fire scale, and this brings it back over the spots where filing and polishing took it off, so the colour is even.
Materials for this step:
Water1 as requiredTools needed:
Bunsen BurnerTongsGlass Vessel8
8
Planish with smooth hammers
Planish with smooth hammers
Planish the spoon on smooth tools with smooth, bright hammers. This makes it stiff again after the annealing.
Tools needed:
 Planishing HammerAnvil
 Stake
9
9
Final polish with rouge
Final polish with rouge
Polish it lightly with a soft cotton flannel and a little red rouge.
Tools needed:
 Jewelry Polishing Cloth
 Jeweler's Rouge
Tools Required
14- Placeholder
- Placeholder
- Placeholder
- Placeholder
- Placeholder
- Placeholder
- Placeholder
- Placeholder
- Placeholder
- Placeholder
- Placeholder
- Placeholder
- Placeholder
- Placeholder
This blueprint makes
Related Blueprints
These blueprints share knowledge with this one — techniques, materials, or principles that connect them in the learning graph.
CC0 Public Domain
This blueprint is released under CC0. You are free to copy, modify, distribute, and use this work for any purpose, without asking permission.
Support the Maker by purchasing products through their Blueprint where they earn a Maker Commission set by Vendors, or create a new iteration of this Blueprint and include it as a connection in your own Blueprint to share revenue.