ART
BEAUTY & WELLNESS
CRAFT
CULTURE & HISTORY
ENTERTAINMENT
ENVIRONMENT
FOOD & DRINKS
REVERSE ENGINEERING
SCIENCES
SPORTS
TECHNOLOGY
WEARABLES
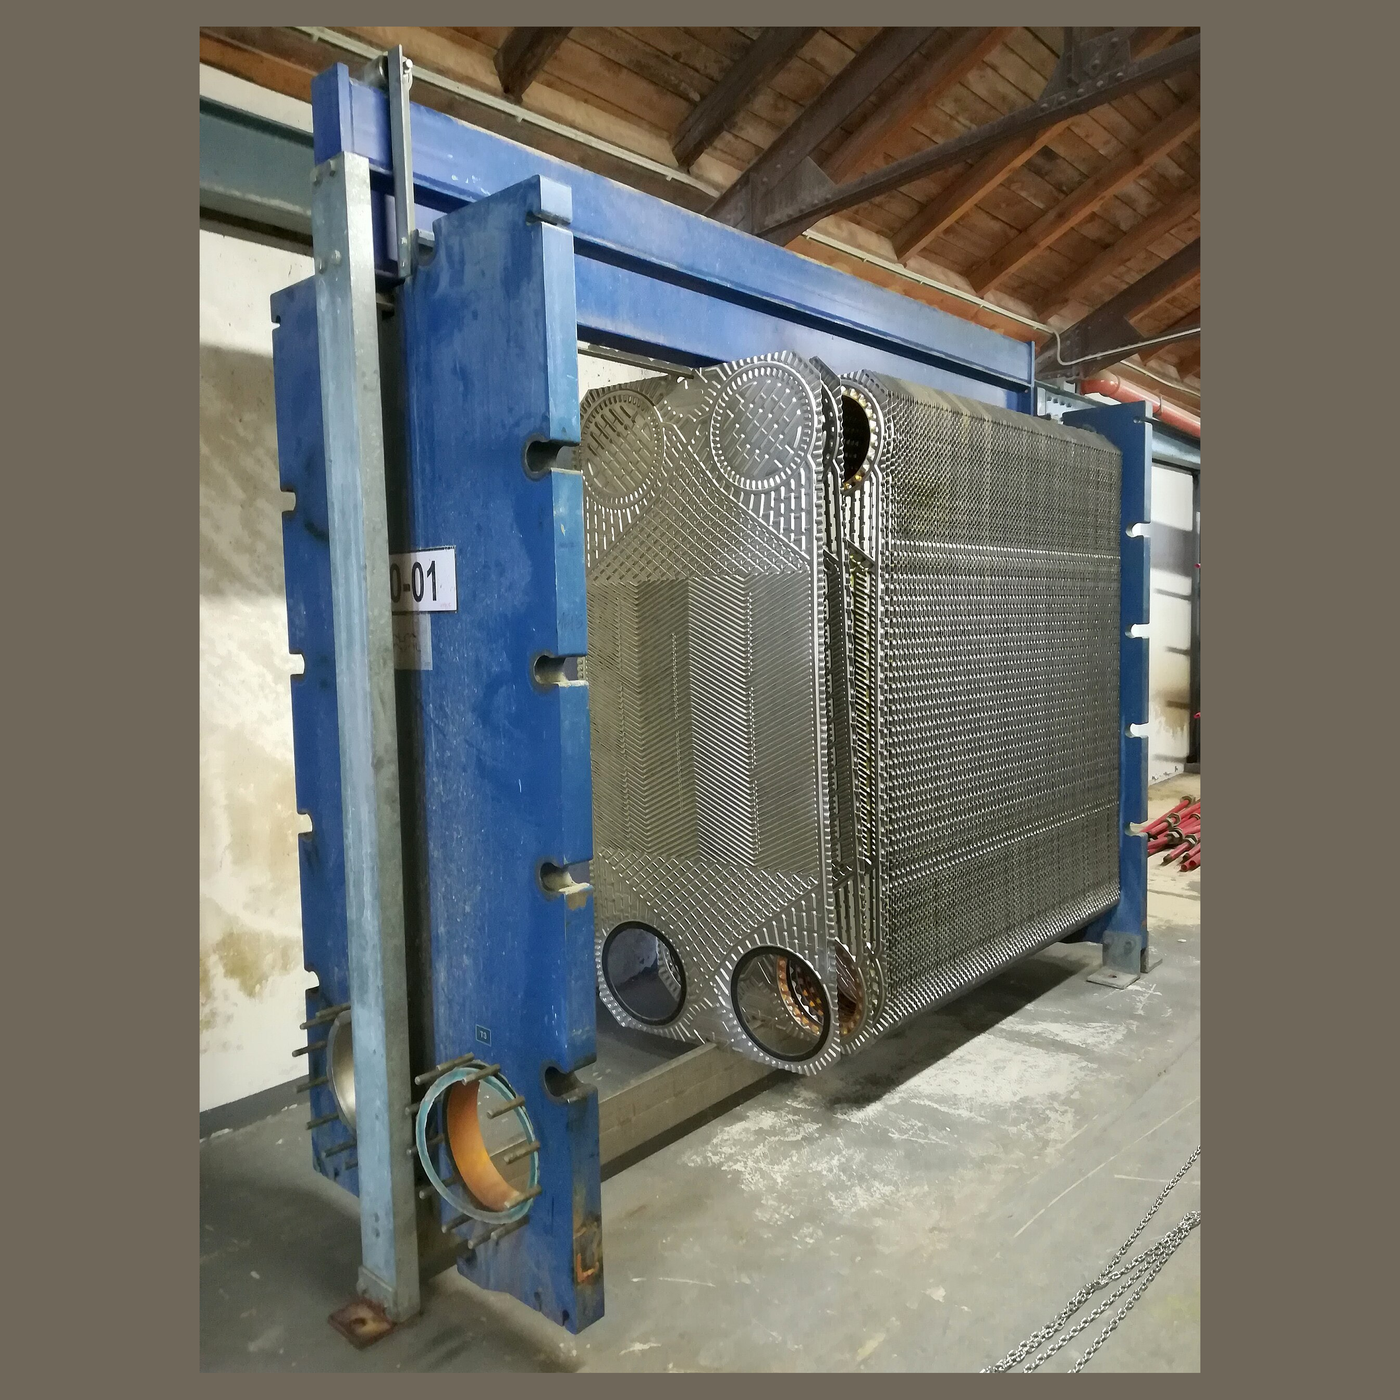

The Plate Heat Exchanger: Thin Plates, Turbulence, and a Frame You Can Open
A stack of thin pressed-metal plates, each sealed to the next by a gasket round its edge, clamped between two heavy frame plates by long bolts. Hot and cold liquids flow in alternate gaps, so every plate has hot on one face and cold on the other.
Richard Seligman's plate heat exchanger of 1923, made by his Aluminium Plate & Vessel Company (APV), was built for the dairy: milk had to be heated and cooled quickly for pasteurisation, and the equipment had to come apart for cleaning every day. Thin corrugated plates give very high heat transfer in a small space; the gasketed frame opens with a spanner.
This rung works out where the size advantage comes from, and builds a two-channel plate exchanger from copper sheet, printed gaskets and a clamped frame.
Intermediate
About 6 hours
Instructions
1
1
Where the high U comes from, and what fouling costs
Where the high U comes from, and what fouling costs
Loading Jupyter Notebook...
2
2
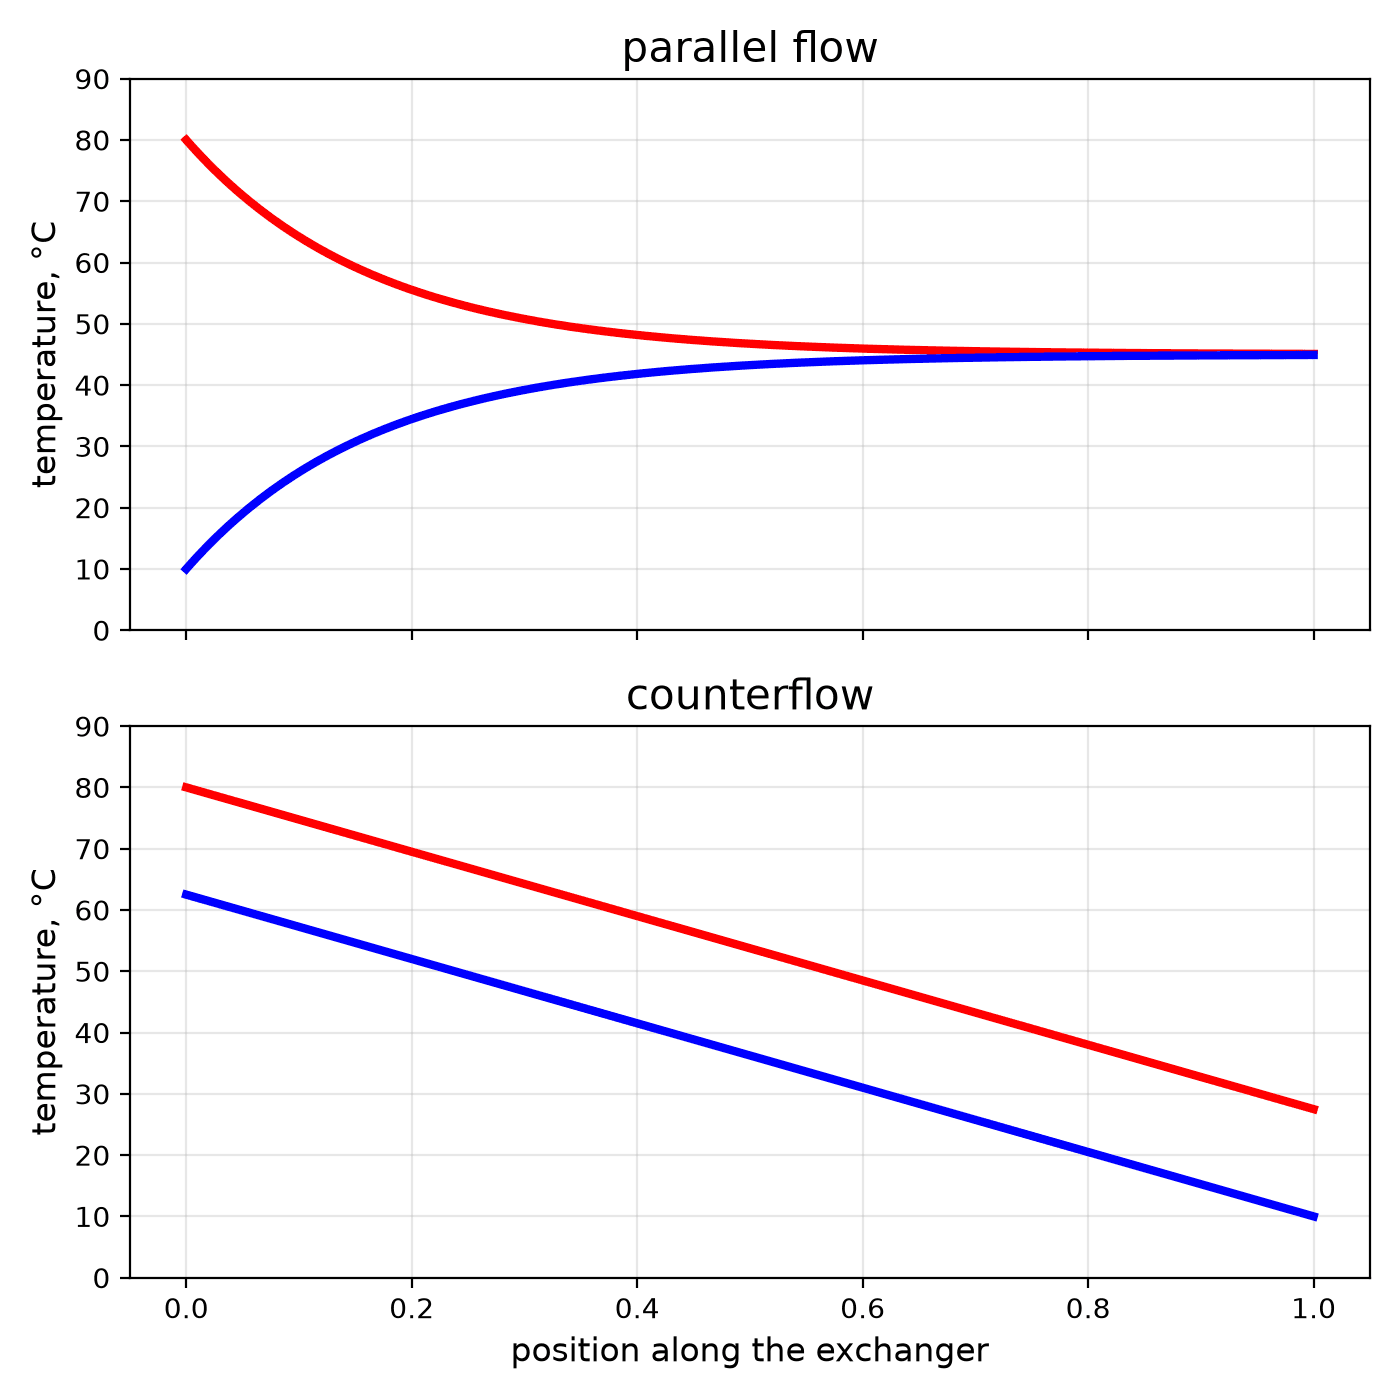
Plate exchangers run in counterflow
Plate exchangers run in counterflow
A plate exchanger's ports are arranged so the two liquids run in opposite directions through alternate gaps. The embedded blueprint explains why, and measures it on a tube-in-tube exchanger.
3
3
Build a two-channel plate exchanger
Build a two-channel plate exchanger
Cut three copper sheets 150 × 100 mm. The middle one is the heat-transfer plate; the outer two are blanks. Print two gasket frames in TPU, 3 mm thick, each the outline of the plate with a 10 mm border, so each frame encloses a flow gap.
Stack: acrylic end plate / copper blank / gasket frame / copper plate / gasket frame / copper blank / acrylic end plate. Drill four corner bolt holes through everything and clamp with threaded rod and wing nuts, tightening evenly.
Drill and fit hose tails so that gap 1 is fed at the top-left and drains at the bottom-right, and gap 2 is fed at the bottom-right and drains at the top-left — counterflow across the plate. Add ridges to the gasket frames or press shallow chevrons into the copper with a blunt punch to break up the flow.
Materials for this step:
 Copper Sheet1 sheet
 TPU Flexible Filament40 g
 Acrylic Sheet1 sheet
 Threaded Rod1 piece
 Wing Nut4 pieces
 PVC Pipe Fittings Assortment1 set
 Silicone Sealant1 piece
Tools needed:
 FDM 3D Printer
 Cordless Drill
 Drill Bit Set
 Steel Ruler
 Adjustable Spanner
 Leather Work Gloves
4
4
Test it, then open it
Test it, then open it
Run hot water through one gap and cold through the other at equal, timed flows, and read the four temperatures with the thermometer (or reuse the four-probe logger from the counterflow rung). Work out the heat carried by each side.
Now the reason the design exists: undo the wing nuts, lift the stack apart and look. Any sediment, scale or film is on the copper where you can wipe it. Wipe, restack and tighten. An exchanger you can open is an exchanger you can keep clean — which in a dairy is the difference between a safe product and a spoiled one.
Retighten evenly: a gasket squeezed harder on one side leaks on the other.
Materials for this step:
 Water30 liters
Tools needed:
 Electric Kettle - Glass
 Bucket
 Measuring Jug
 Stopwatch
 Kitchen ThermometerAdjustable Spanner
5
5
History and context
History and context
**Richard Seligman, 1923** — the first commercially successful plate heat exchanger, made by the Aluminium Plate & Vessel Company he had founded in London in 1910, for the high-temperature short-time pasteurisation of milk. No patent number is asserted here: it could not be read from a primary source, and the design is fully documented.
Plate exchangers now run in food, brewing, district heating, heat pumps and chemical plant; brazed versions with no gaskets at all are the small cube in many domestic boilers.
**Honest limits.** Gaskets limit the temperature and pressure, and the chemicals they can meet. Narrow gaps clog on fibrous or particle-laden liquids, where shell-and-tube exchangers still win. And the high pressure drop of those turbulent gaps costs pumping power.
Materials
8- 1 sheetPlaceholder
- Placeholder
- 1 sheetPlaceholder
- 1 piecePlaceholder
- 4 piecesPlaceholder
- Placeholder
- 1 piecePlaceholder
- 30 litersPlaceholder
Tools Required
11- Placeholder
- 1 vendor sell this, none ship to you yetPlaceholder
- Placeholder
- Placeholder
- Placeholder
- Placeholder
- Placeholder
- Placeholder
- Placeholder
- Placeholder
- Placeholder
Related Blueprints
These blueprints share knowledge with this one — techniques, materials, or principles that connect them in the learning graph.
Counterflow: The Same Area Does More When the Streams Run Opposite
by Emma
Mechanics
36
0
0
0
0
0

The Economiser: The Heat Still Going Up the Chimney
by Martin
Mechanics
38
0
0
0
0
0
The Centrifugal Pump: Speed Squared, and Why It Cannot Lift Air
by Emma
Mechanics
34
0
0
0
0
0
The Ferrule Fitting: Gripping and Sealing With One Nut
by Emma
Tools
41
0
0
0
0
0
CC0 Public Domain
This blueprint is released under CC0. You are free to copy, modify, distribute, and use this work for any purpose, without asking permission.
Support the Maker by purchasing products through their Blueprint where they earn a Maker Commission set by Vendors, or create a new iteration of this Blueprint and include it as a connection in your own Blueprint to share revenue.