ART
BEAUTY & WELLNESS
CRAFT
CULTURE & HISTORY
ENTERTAINMENT
ENVIRONMENT
FOOD & DRINKS
REVERSE ENGINEERING
SCIENCES
SPORTS
TECHNOLOGY
WEARABLES
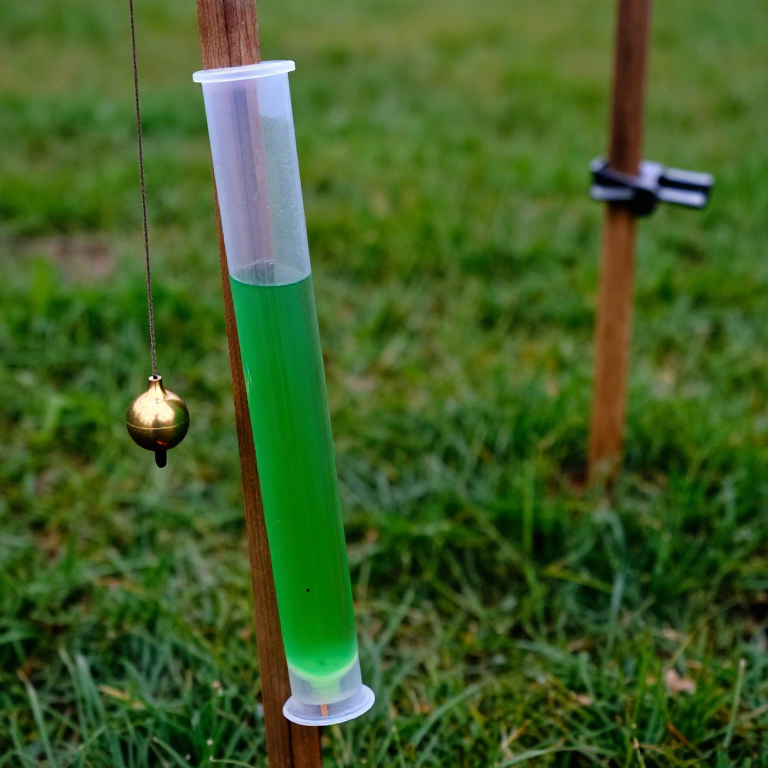


The Plumb Bob and the Water Level
Every measurement in surveying rests on two directions that nature supplies for free: down, and the surface of still water. A weight on a string finds the first. A liquid in a connected pair of tubes finds the second, and it finds it over any distance, round corners, and through walls.
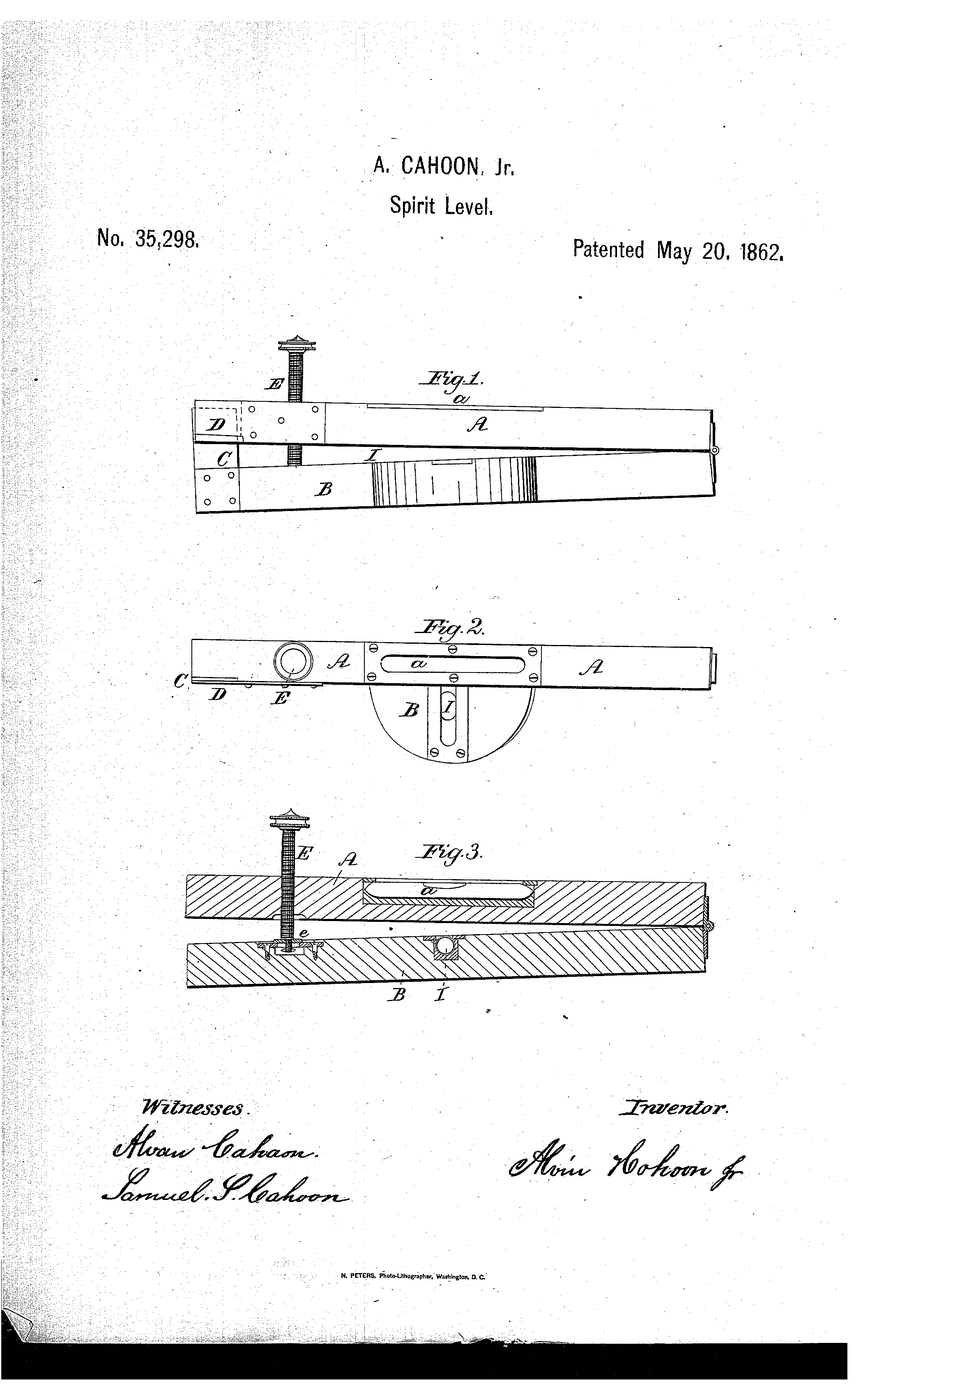
A spirit level, already published here, is more convenient and far less capable — it is accurate only over its own length, and it cannot tell you whether two corners of a building thirty metres apart are at the same height. A water level can, to a few millimetres, for the price of a garden hose.
The Egyptians used both to set out pyramids. The technique has not improved because it cannot be improved: the water is obeying gravity directly, and there is no instrument error to calibrate out.
Beginner
3 hours
Instructions
1
1
Make a plumb bob that hangs still
Make a plumb bob that hangs still
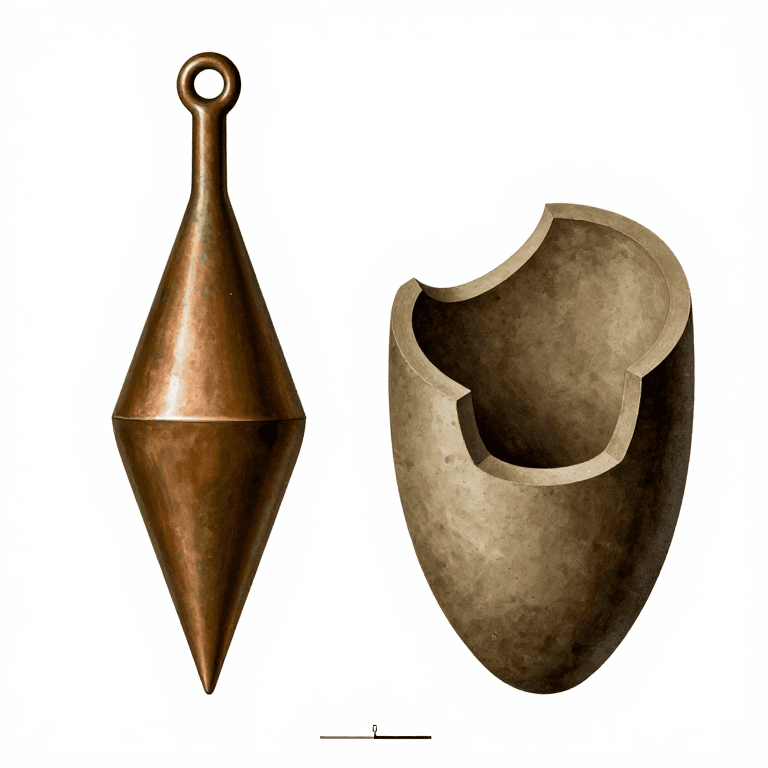
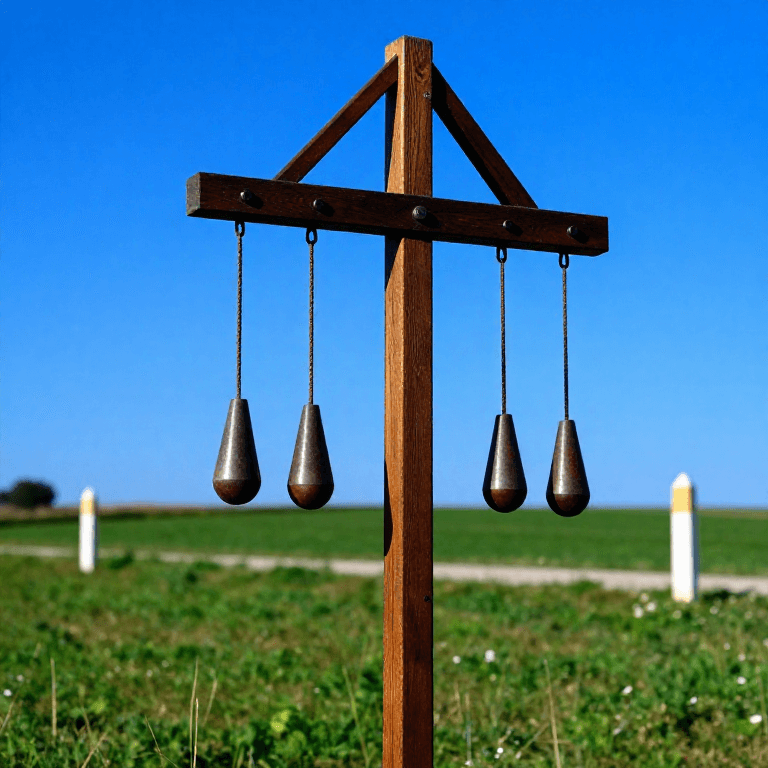
Hang a symmetrical weight on a fine, non-stretching line. The point must be directly below the attachment, which means the weight has to be symmetrical about its own axis.
A lopsided weight hangs tilted, and the tip is then offset from vertical by an amount you have no way to see. Use a fine braided line rather than twisted, because twisted line unwinds and sets the bob slowly spinning for minutes. In wind, let it swing and read the MIDDLE of the swing — that is the true vertical, and waiting for it to stop is a waste of an afternoon.
Tools needed:
 Plumb Line
2
2
Build the water level
Build the water level
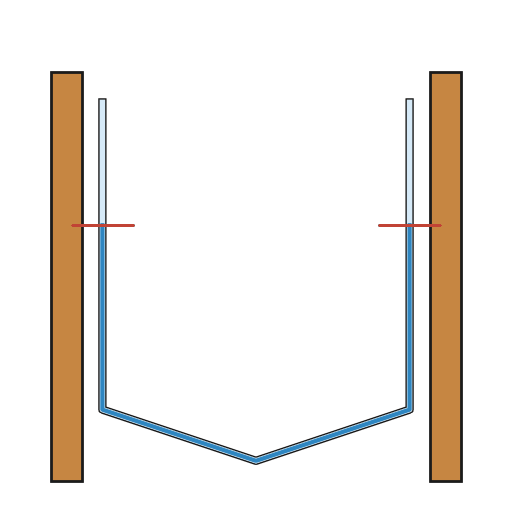
Fill a long clear tube with water, leaving both ends open, and add a few drops of food colouring so the meniscus is easy to see. Fifteen to twenty metres is practical; the tube only needs to be clear at the two ends.
Get every bubble out. A trapped bubble compresses and shifts under the smallest pressure change, and it will put a silent error of several millimetres into every reading — and unlike almost every other error in this batch it is not random, so averaging will not remove it. Run water through until nothing comes out but water.
Materials for this step:
 Clear Vinyl Tubing20 metre
 Food Colouring1 bottle
Tools needed:
 Bucket
3
3
Transfer a height across the site
Transfer a height across the site
Hold one end against a mark you have chosen as your reference. Take the other end to wherever you need the same height, raise or lower it until the near water surface sits exactly on the reference mark, and mark the far tube's surface.
Both surfaces are now at the same height, because they are connected by the same body of still water. This works around a corner, up a slope and through a doorway — which is precisely what a straightedge and a spirit level cannot do, and why this tool survives on building sites that own laser levels.
Tools needed:
 Measuring Tape
4
4
Establish a datum and mark it permanently
Establish a datum and mark it permanently
Choose ONE mark on something immovable — a wall, a driven post, a rock — call it your datum, and write on it what it is.
Every height on the site is then quoted relative to that one mark, and any two measurements can be compared even if they were taken months apart. Heights taken from several different references cannot be compared at all, and this is the commonest way an amateur survey becomes worthless: not through inaccuracy, but because nothing is referenced to anything.
Materials for this step:
 Wooden Stake4 pieces
Tools needed:
 Claw Hammer
5
5
Check the level against itself
Check the level against itself
Set both ends side by side and confirm the two surfaces read the same. Then transfer a height from A to B, and immediately transfer it BACK from B to A.
If you do not return to the mark you started on, the difference is your error, and you have measured it rather than assumed it. This reciprocal check takes two minutes and is the only honest statement you can make about your own accuracy — everything else is the manufacturer's claim about a different instrument in a different condition.
6
6
Where the errors come from
Where the errors come from
Loading Jupyter Notebook...
Tools needed:
Measuring Tape7
7
Know when to stop using it
Know when to stop using it
Beyond about thirty metres the hose becomes unmanageable, and over a long line you cannot keep it all at one temperature.
At that point you want the instrument in the fourth rung of this batch, which carries a height by sighting rather than by plumbing. But note what you give up: an optical level has a collimation error that must be found and allowed for, whereas water has none. Every step up in convenience in this batch costs you a new source of error to manage.
Materials
3- 20 metrePlaceholder
- 1 bottlePlaceholder
- 4 piecesPlaceholder
Tools Required
4- Placeholder
- Placeholder
- 1 vendor sell this, none ship to you yetPlaceholder
- Placeholder
This blueprint makes
Related Blueprints
These blueprints share knowledge with this one — techniques, materials, or principles that connect them in the learning graph.

CC0 Public Domain
This blueprint is released under CC0. You are free to copy, modify, distribute, and use this work for any purpose, without asking permission.
Support the Maker by purchasing products through their Blueprint where they earn a Maker Commission set by Vendors, or create a new iteration of this Blueprint and include it as a connection in your own Blueprint to share revenue.