ART
BEAUTY & WELLNESS
CRAFT
CULTURE & HISTORY
ENTERTAINMENT
ENVIRONMENT
FOOD & DRINKS
REVERSE ENGINEERING
SCIENCES
SPORTS
TECHNOLOGY
WEARABLES
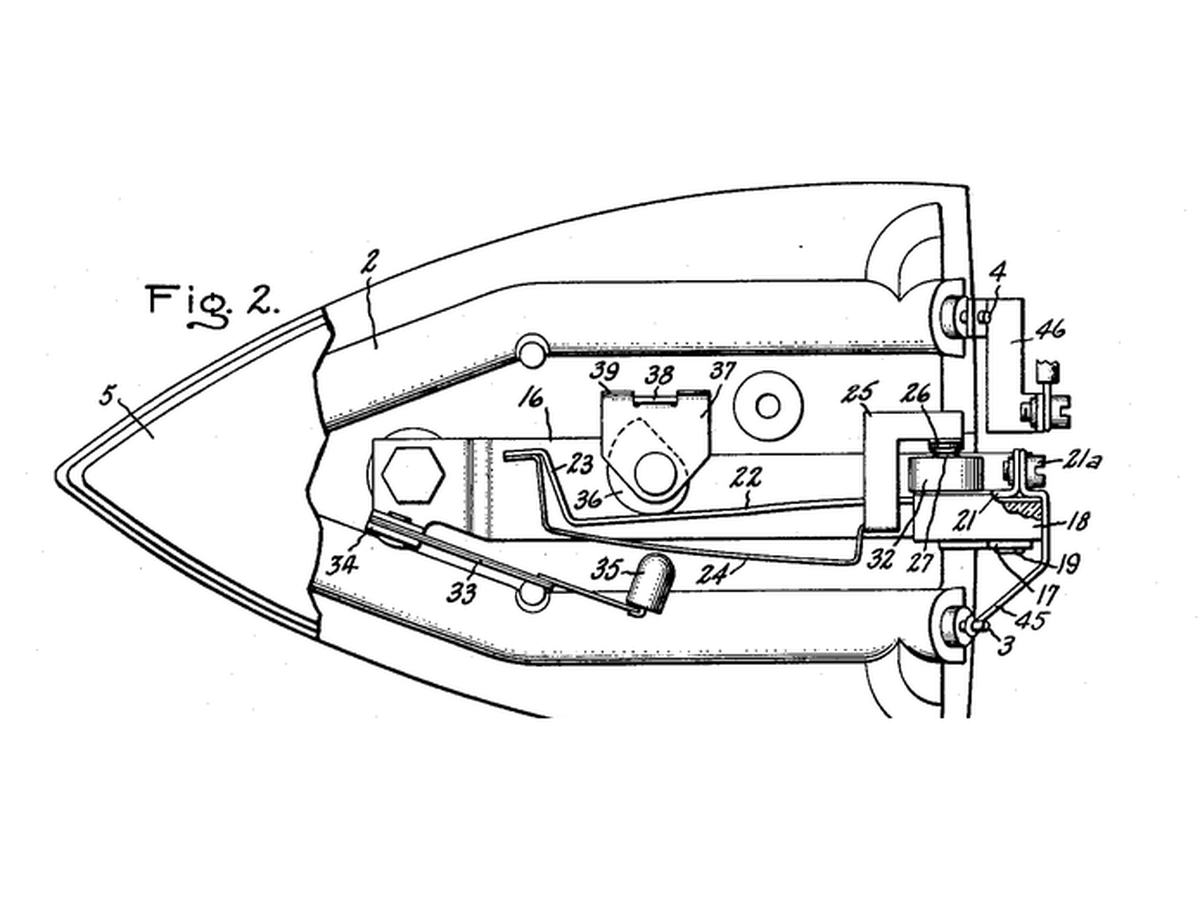


Thermostatic Electric Iron
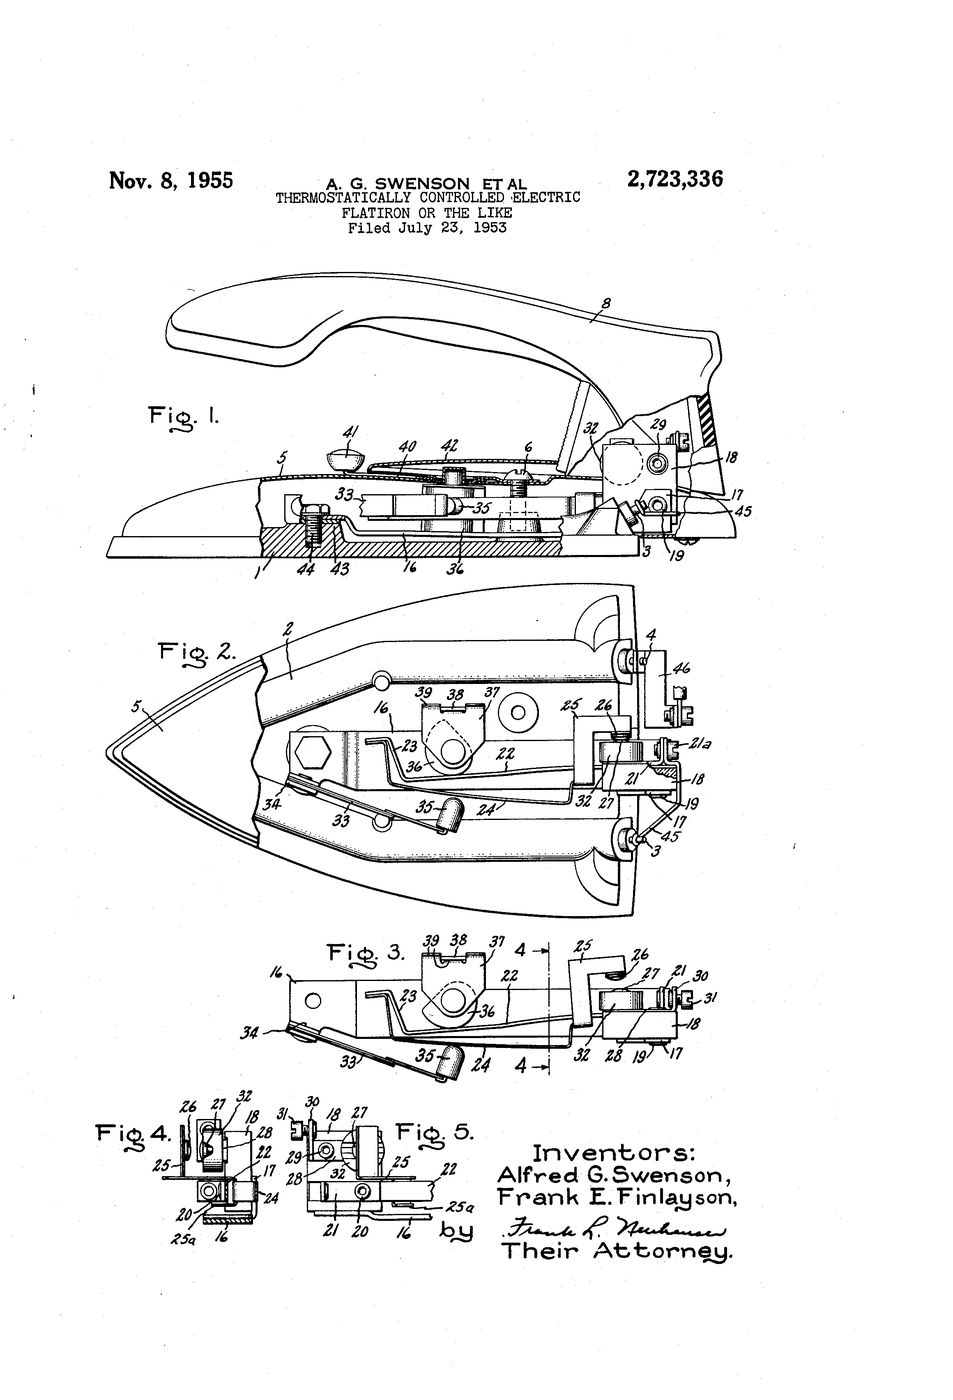
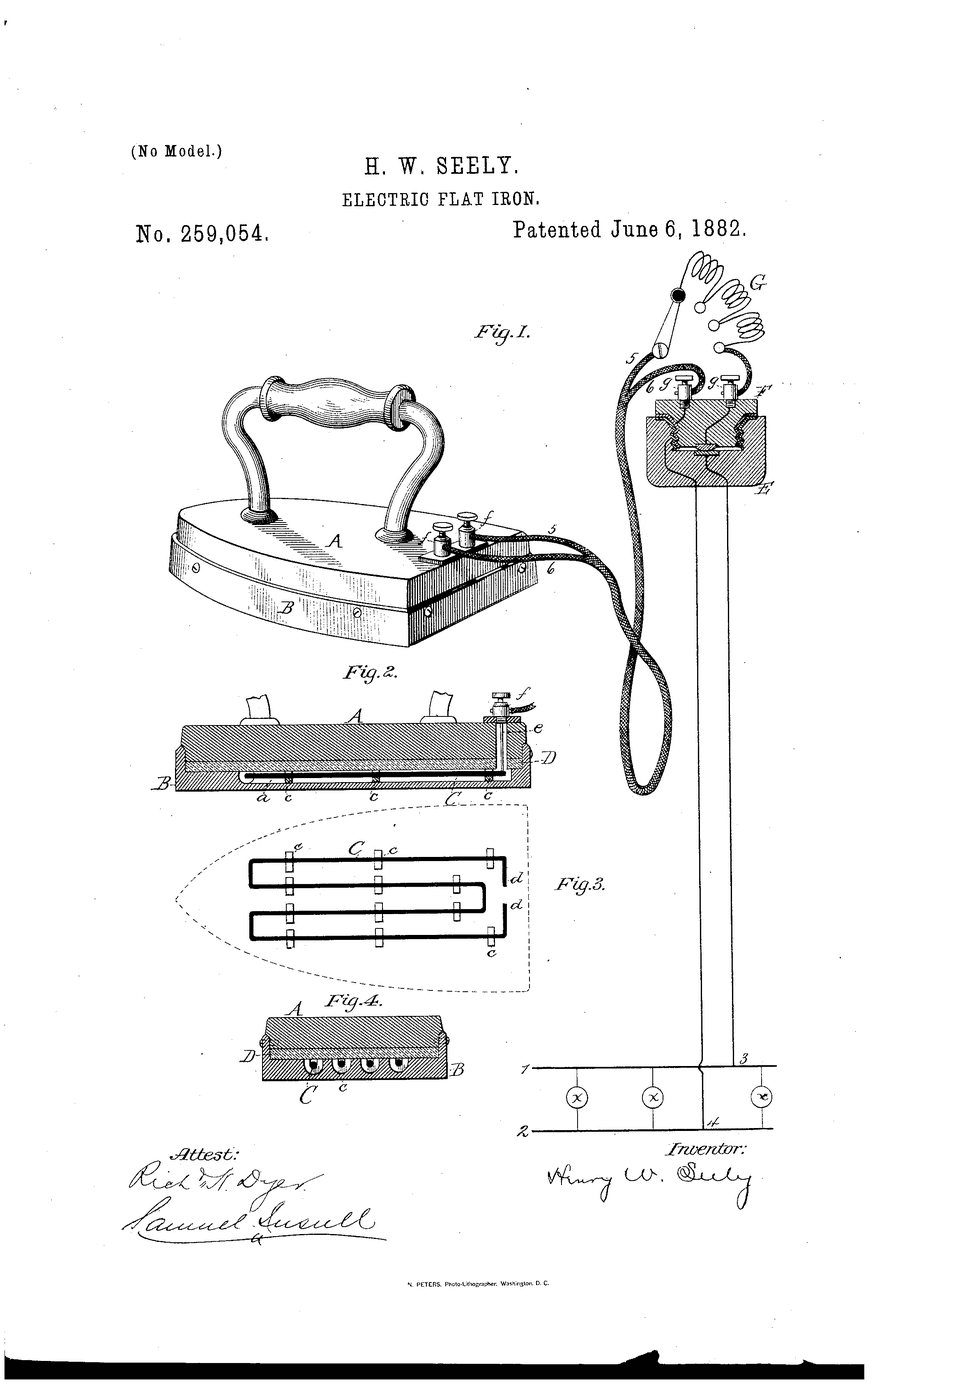
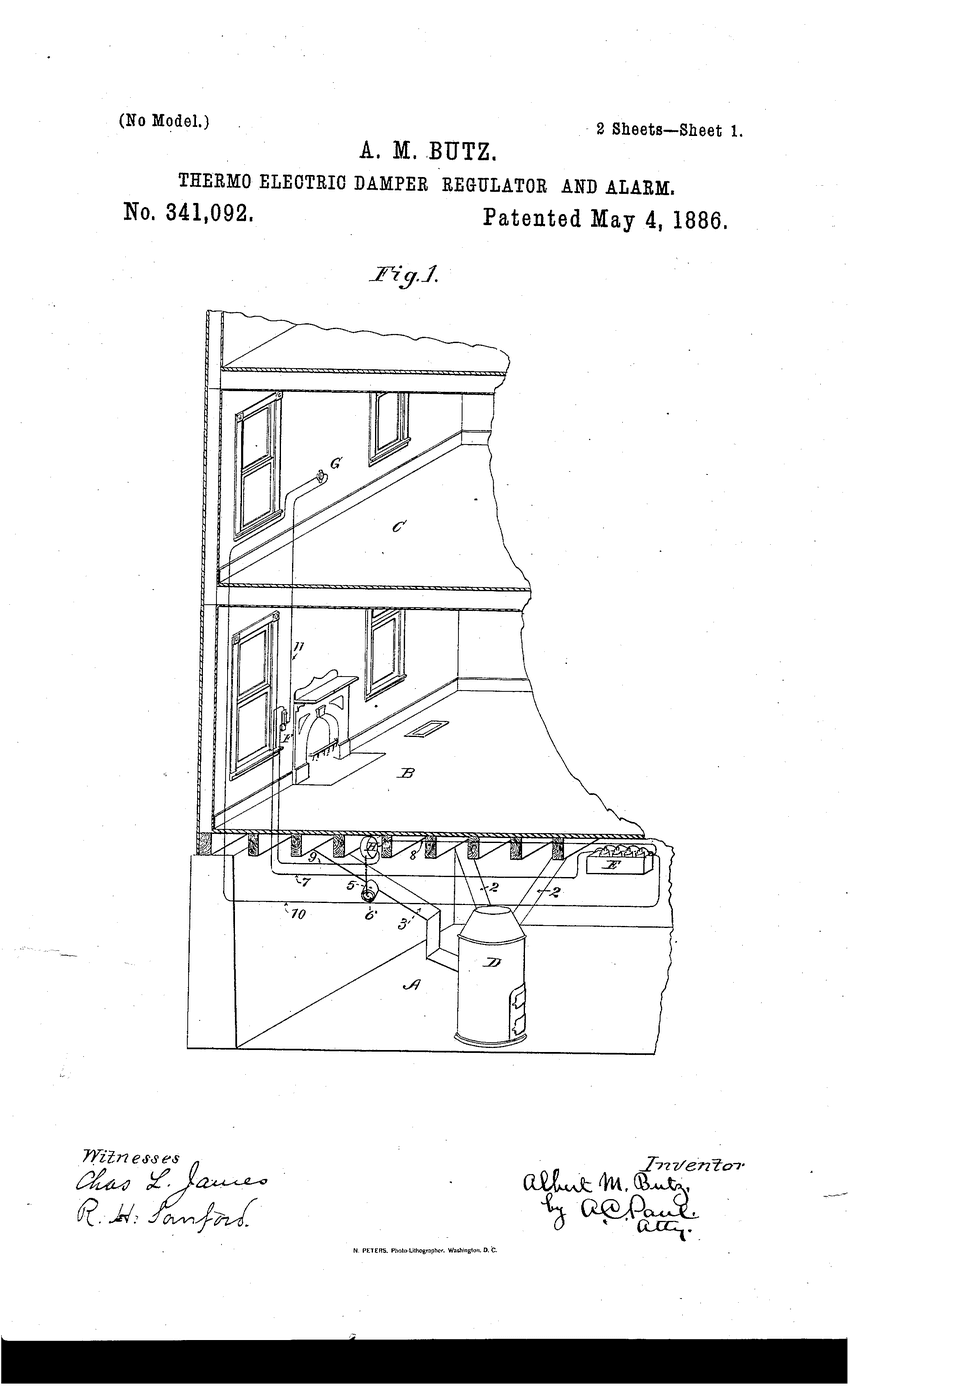
The electric flat-iron already published has one state: on. Leave it plugged in and it keeps getting hotter until something scorches - the user is the thermostat. The rung above it puts the Butz idea, a bimetallic strip, inside the iron: the iron holds whatever temperature the dial asks for, and silk and linen each get their own.
**US 2,723,336**, "Thermostatically controlled electric flatiron or the like", Swenson and Finlayson, assigned to General Electric, filed 23. July 1953, granted 8. November 1955.
**You build the thermostat, not the mains appliance**: a bimetallic strip switching a battery-powered lamp, measured on a hotplate - then you measure a real iron's cycling from the outside.
Beginner
2 hours
Instructions
1
1
A switch from a strip
A switch from a strip
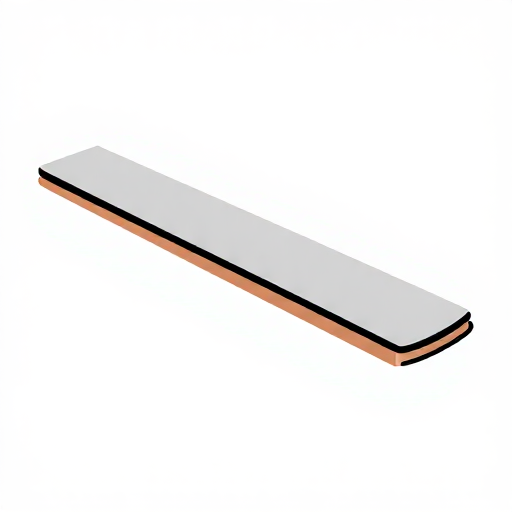
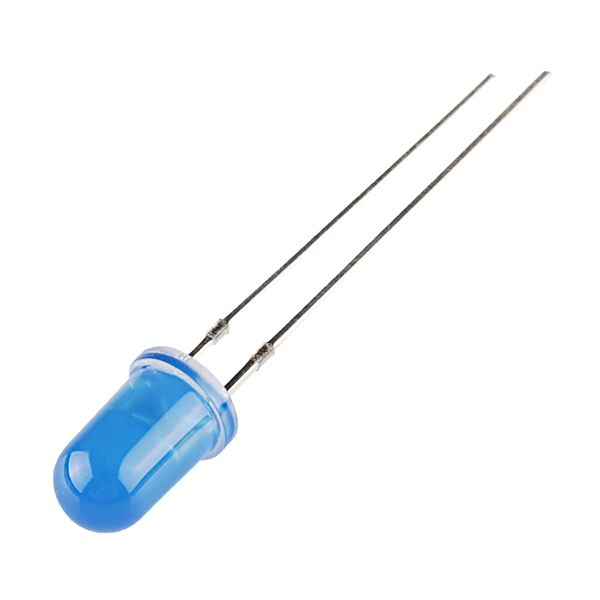
Clamp one end of the bimetallic strip. Set a screw or a stiff wire as the contact so the free end presses it at room temperature. Wire strip and contact in series with the LED, its resistor and the battery holder: the lamp is on while they touch.
Materials for this step:
 Bimetallic Strip1 piece
 LED - Basic 5mm1 piece
 Resistor Kit1 kit
 Dupont Jumper Wire Set (M-F)1 set
Tools needed:
 AA Battery Holder (4-Cell)
 Spring Clamp
2
2
Heat it and watch
Heat it and watch
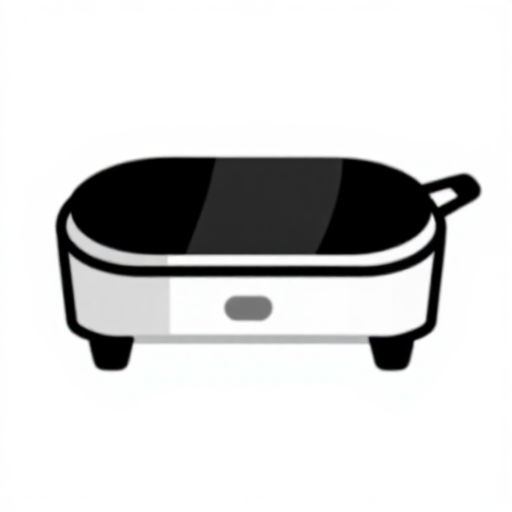
Tape the thermocouple to the strip. Warm it gently on the hotplate and note the temperature when the lamp goes out; let it cool and note when it lights again. Three runs.
Tools needed:
 Hot Plate
 Thermocouple with Readout
 Clear Safety Glasses
3
3
Move the contact
Move the contact
Turn the contact screw in by half a turn so the strip must bend further, and repeat. That screw is the iron's fabric dial.
Tools needed:
Thermocouple with Readout4
4
Measure a real iron
Measure a real iron
Stand a steam iron on its heel on a heatproof surface at a mid setting. With the infrared thermometer on the soleplate and a stopwatch, time how long its indicator lamp stays on and off over several cycles, and note the highest and lowest readings.
Tools needed:
 Steam Iron
 Infrared Thermometer
 Stopwatch
5
5
Bend, hysteresis, duty cycle
Bend, hysteresis, duty cycle
Loading Jupyter Notebook...
6
6
History & Context
History & Context
**What the patent specifies:** a flatiron whose heating element is switched by a thermostat set from a fabric dial, holding the soleplate at the chosen temperature. **Modern build (derived):** the bimetal switch alone, on safe low voltage, plus outside measurements of a working iron.
The same bimetal switch went into kettles, ovens, toasters and motor overload protectors. Its limits: the strip switches over a few degrees of swing, it ages with cycling, and it senses its own temperature - not the cloth's.
Materials
4- 1 piecePlaceholder
- LED - Basic 5mm10% commission1 piece$0.76
- Placeholder
- Placeholder
Tools Required
8- Placeholder
- Placeholder
- Placeholder
- Placeholder
- Placeholder
- Placeholder
- Placeholder
- Placeholder
Estimated Total
What the maker bought. Materials shown without a price are sourced wherever you buy them.
Related Blueprints
These blueprints share knowledge with this one — techniques, materials, or principles that connect them in the learning graph.

CC0 Public Domain
This blueprint is released under CC0. You are free to copy, modify, distribute, and use this work for any purpose, without asking permission.
Support the Maker by purchasing products through their Blueprint where they earn a Maker Commission set by Vendors, or create a new iteration of this Blueprint and include it as a connection in your own Blueprint to share revenue.