ART
BEAUTY & WELLNESS
CRAFT
CULTURE & HISTORY
ENTERTAINMENT
ENVIRONMENT
FOOD & DRINKS
REVERSE ENGINEERING
SCIENCES
SPORTS
TECHNOLOGY
WEARABLES
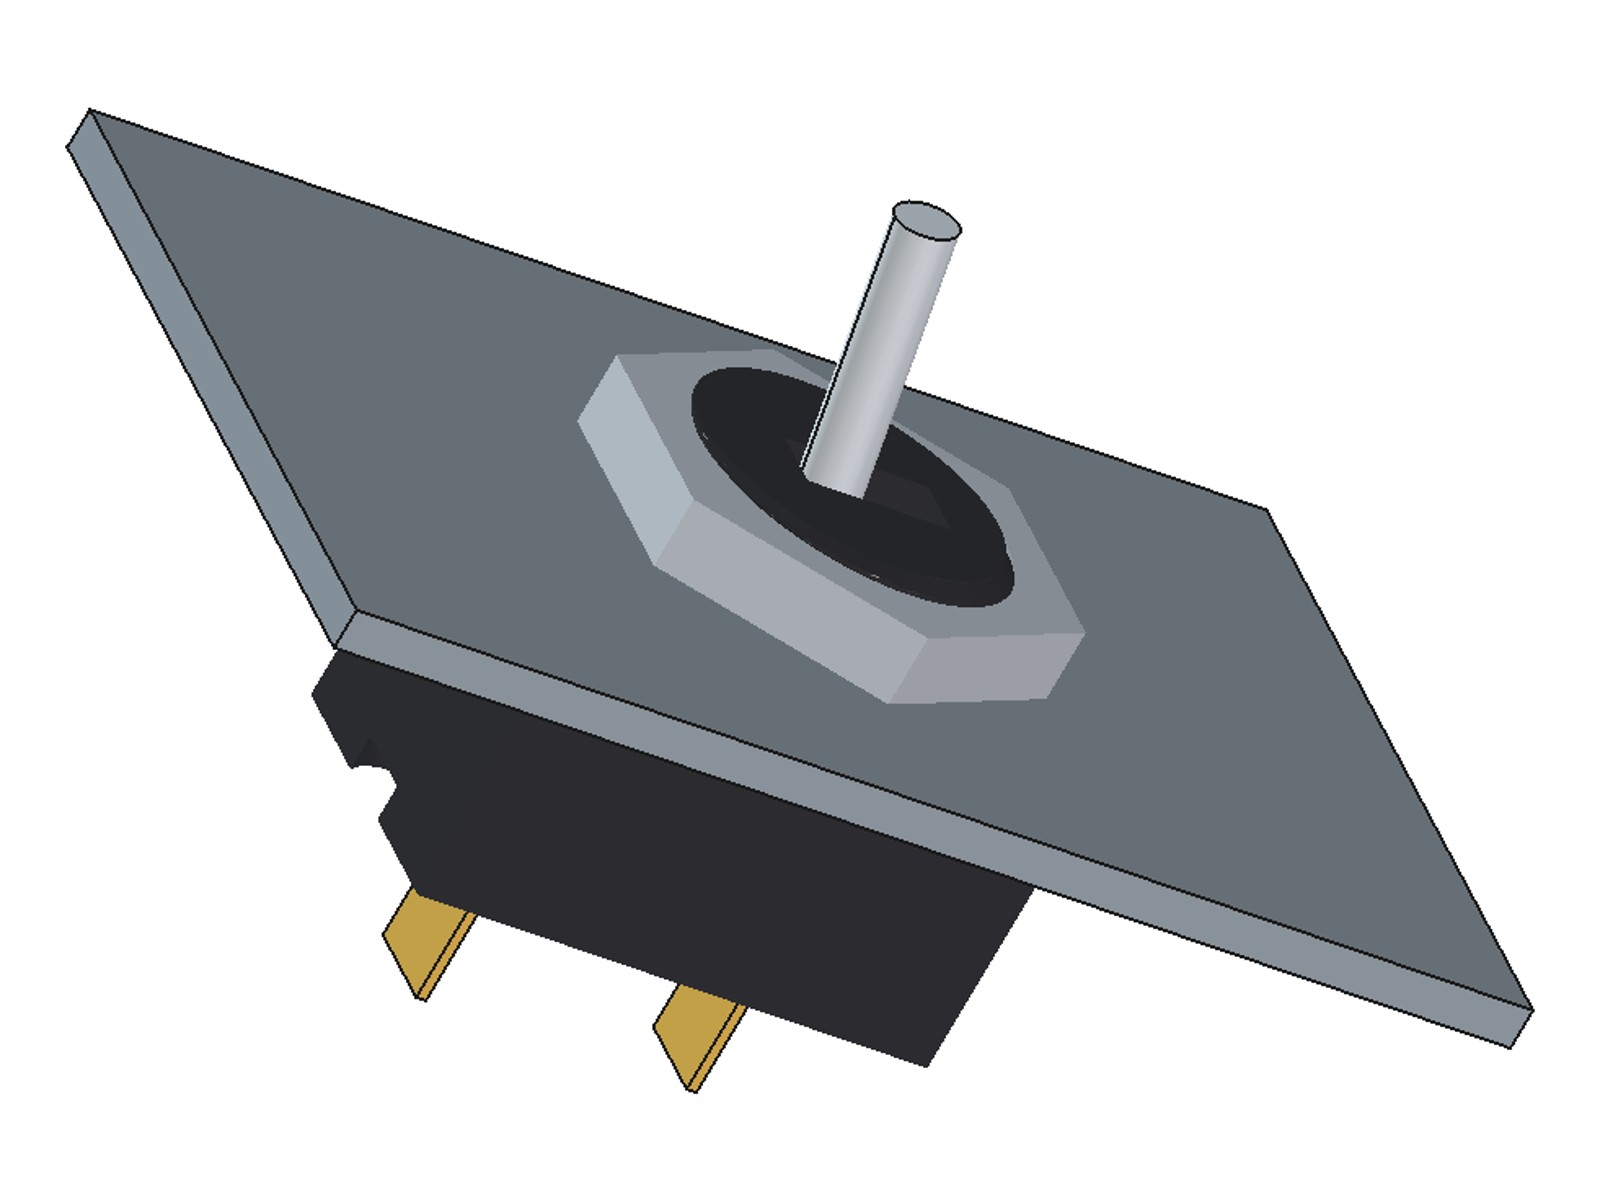


Toggle Switch for Low Voltage: a Spring-Loaded Ball Contact in a Printed Panel Body (after Batcheller, 1932)
An on-off panel toggle switch for low-voltage projects. A spring pushes a steel ball down onto two brass strips: tilt the lever one way and the ball drops into the gap between them and joins them; tilt it back and it rests in a small hole on one strip. Hugh Batcheller's 1932 design, with a printed body that bolts through a panel with a nut. Low voltage only.
Intermediate
About 4 hours, mostly printing
Instructions
1
1
How a toggle switch works
How a toggle switch works
A toggle switch opened up to show its contacts (Ephraim Nowak). Ours uses a rolling steel ball as the moving contact.
2
2
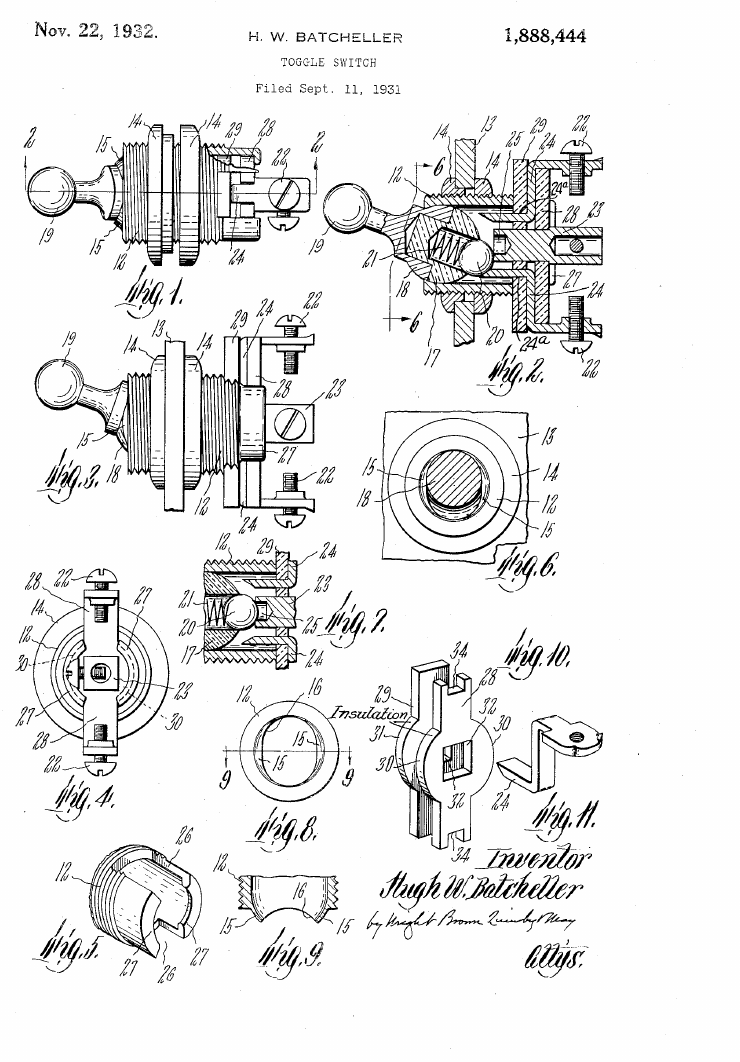
Batcheller's toggle switch, 1932
Batcheller's toggle switch, 1932
US 1,888,444: the hand piece turns on a ball seat in the threaded end of the casing, its handle in an oblong slot. A metal ball, pushed out by a spring, bridges two terminals when ON and touches only the inner one when OFF, where a detent holds it. The ball rolls as it moves, so it wears less in one spot.
3
3
Where the contact ball touches
Where the contact ball touches
Loading Jupyter Notebook...
4
4
Print the body
Print the body
Neck up, no supports, PETG, 0.12 mm layers for the thread, 100 % infill. The ball seat is inside the neck.
Materials for this step:
 PETG Filament6 g
Tools needed:
 FDM 3D Printer
5
5
Print the hand piece
Print the hand piece
Ball up, stem on the bed, 0.12 mm layers, 100 % infill.
Materials for this step:
PETG Filament2 gTools needed:
FDM 3D Printer6
6
Print the base
Print the base
Flat, pockets up. The two pockets take the brass terminals; the slots take their tails.
Materials for this step:
PETG Filament2 gTools needed:
FDM 3D Printer7
7
Print the panel nut
Print the panel nut
Flat, 0.12 mm layers. Try it on the neck: it should turn by hand.
Materials for this step:
PETG Filament1 gTools needed:
FDM 3D Printer8
8
Change the switch (optional)
Change the switch (optional)
The FreeCAD script that made the parts; change sizes and run: OUT=. freecadcmd build_all.py
build_all.pypython
Tools needed:
 Digital Caliper 6-Inch
9
9
Print the terminal template
Print the terminal template
Print at 100 % and check the 50 x 10 mm box. Glue it to the brass sheet.
10
10
Cut the brass terminals
Cut the brass terminals
Cut the two strips from 0.5 mm brass (15.1 x 5 and 11.1 x 5 mm), file the edges smooth, drill the 2 mm detent hole in the long one and bend both tails 90 degrees on the dashed lines.
Materials for this step:
 Brass Sheet1 piece (0.5 mm, 20 x 30 mm)
Tools needed:
 Tin Snips
 Metal File
 Drill Bit Set
 Flat-Nose Pliers
11
11
Assemble
Assemble
Cut 22 mm of 3 mm rod and press it into the hand piece's top hole: the lever. Push the hand piece up into the body so the lever comes out of the slot. Lay each strip in the pocket it fits (the long one with the hole in the long pocket), tails through the slots. Turn the body over, drop a spring and then the 4 mm ball into the stem's bore, put the base on (it fits only one way round) and fix it with 2 x M3 x 12. Solder a wire to each tail.
Materials for this step:
 Stainless Steel Rod1 piece (3 mm x 22 mm)
 Compression Spring Set1 piece (about 4 mm diameter, 10 mm long)
 Steel Ball Bearings1 piece (4 mm)
 Socket Head Cap Screw2 piece (M3 x 12)
 Hookup Wire0.3 m
 Solder Wire1 g
Tools needed:
 Hacksaw
 Hex Key Set
 Soldering Iron
12
12
Fit and test it
Fit and test it
Drill a 16.5 mm hole in the panel (up to 2 mm thick), put the neck through and screw on the nut. With a multimeter: ON shows about 0 ohm between the two wires, OFF shows open.
Tools needed:
Drill Bit Set Multimeter
13
13
Troubleshooting
Troubleshooting
Switch problems and fixes.
Flow
Loading...
14
14
History and honest limits
History and honest limits
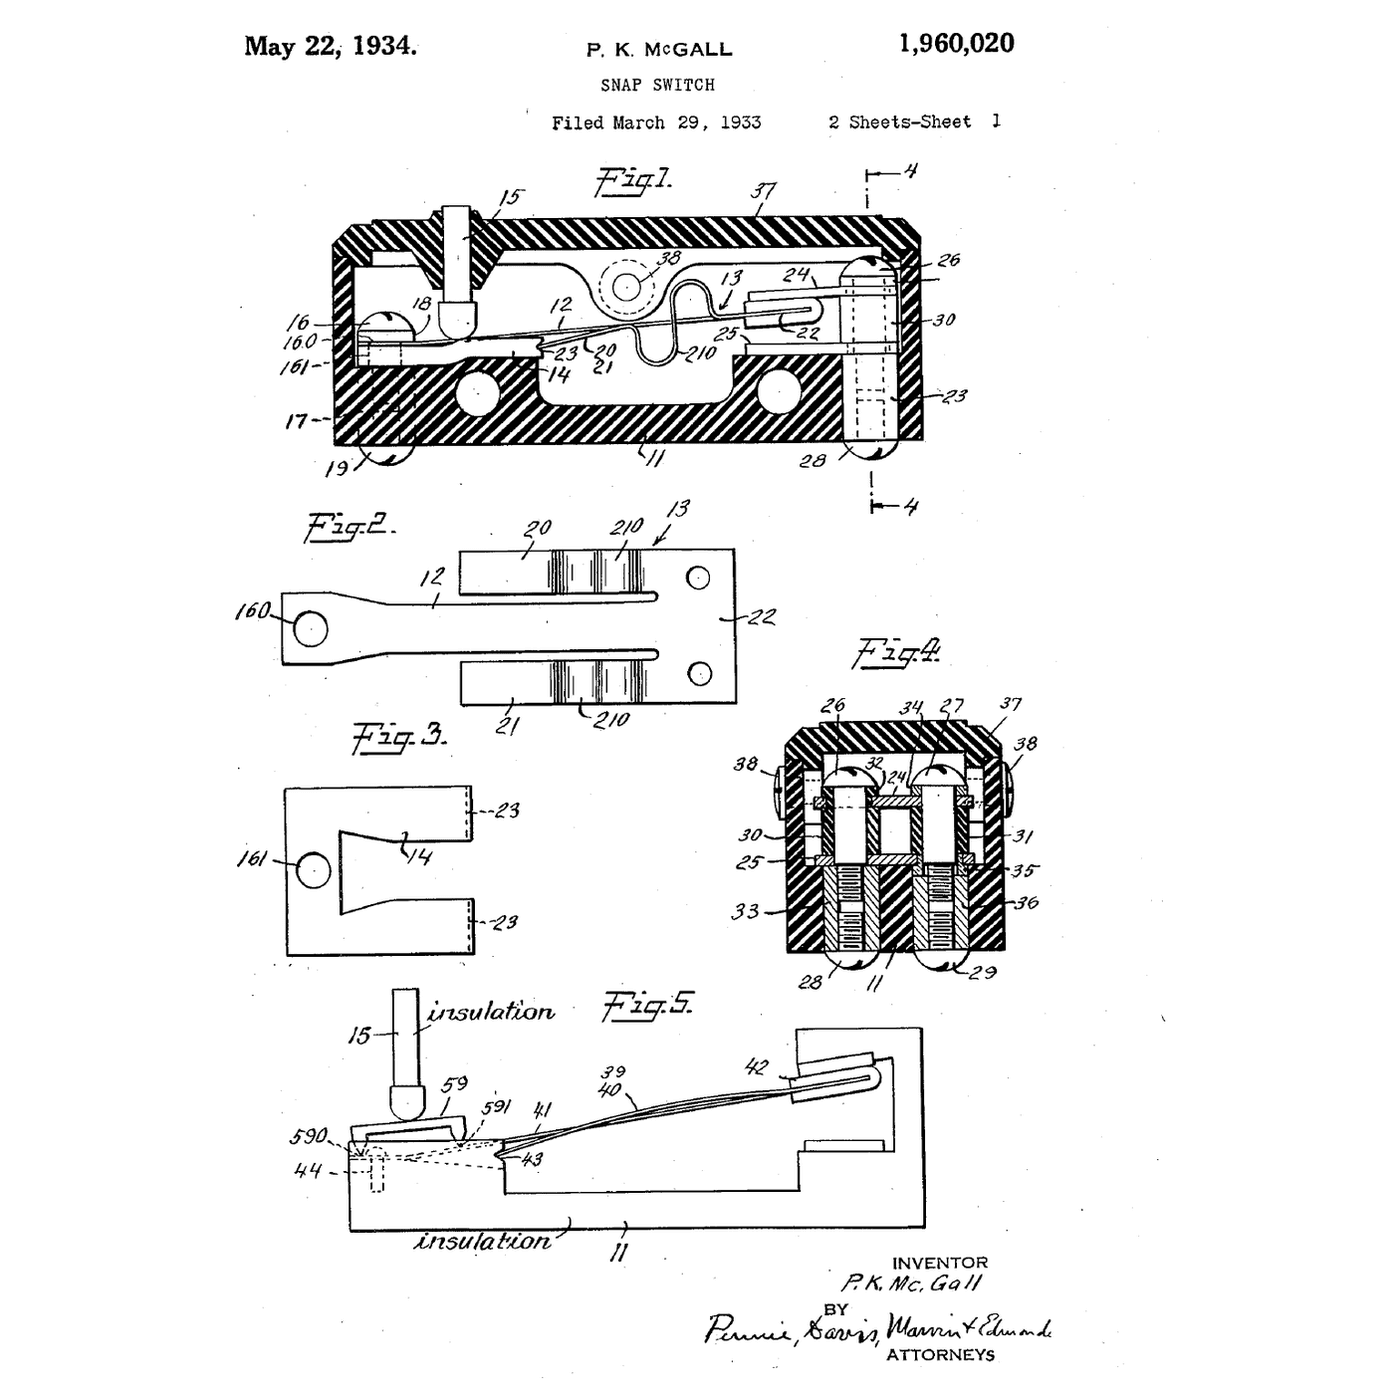
Hugh W. Batcheller, Worcester, Mass.: US 1,888,444, "Toggle Switch", filed 11 Sept 1931, granted 22 Nov 1932. His casing was a metal tube with crimped ears holding insulators; ours is printed. Ours: every size and the printed parts. Use it for low voltage only (batteries, 5-12 V supplies): never for mains. Its current rating has not been tested. Not built or tested by us yet.
Materials
8- 11 gPlaceholder
- 1 piece (0.5 mm, 20 x 30 mm)Placeholder
- 1 piece (3 mm x 22 mm)Placeholder
- 1 piece (about 4 mm diameter, 10 mm long)Placeholder
- 1 piece (4 mm)Placeholder
- 2 piece (M3 x 12)Placeholder
- 0.3 mPlaceholder
- 1 gPlaceholder
Tools Required
10- Placeholder
- Placeholder
- Placeholder
- Placeholder
- Placeholder
- Placeholder
- Placeholder
- Placeholder
- 2 vendors sell this, none ship to you yetPlaceholder
- Placeholder
Design Files
5This blueprint makes

Related Blueprints
These blueprints share knowledge with this one — techniques, materials, or principles that connect them in the learning graph.

CC0 Public Domain
This blueprint is released under CC0. You are free to copy, modify, distribute, and use this work for any purpose, without asking permission.
Support the Maker by purchasing products through their Blueprint where they earn a Maker Commission set by Vendors, or create a new iteration of this Blueprint and include it as a connection in your own Blueprint to share revenue.