ART
BEAUTY & WELLNESS
CRAFT
CULTURE & HISTORY
ENTERTAINMENT
ENVIRONMENT
FOOD & DRINKS
REVERSE ENGINEERING
SCIENCES
SPORTS
TECHNOLOGY
WEARABLES
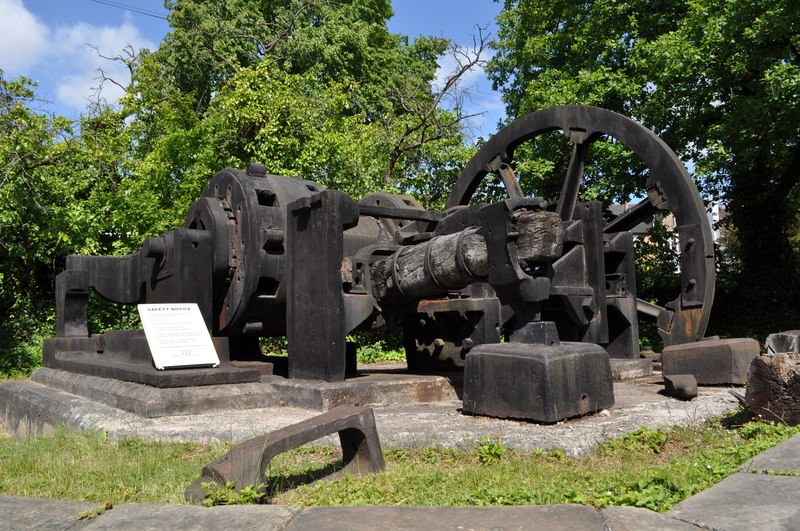


Tool-Steel Bar: Crucible Steel Drawn Out at a Cherry-Red Heat
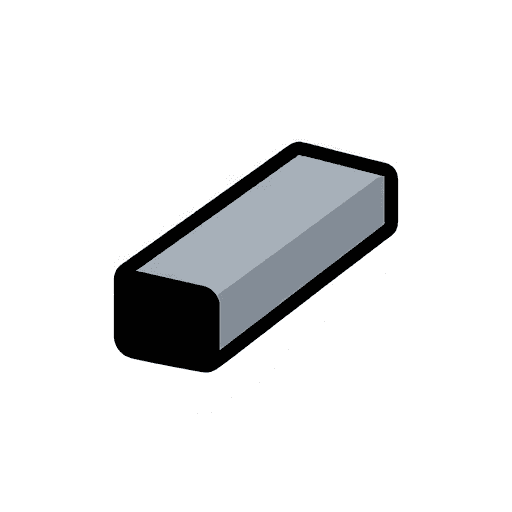
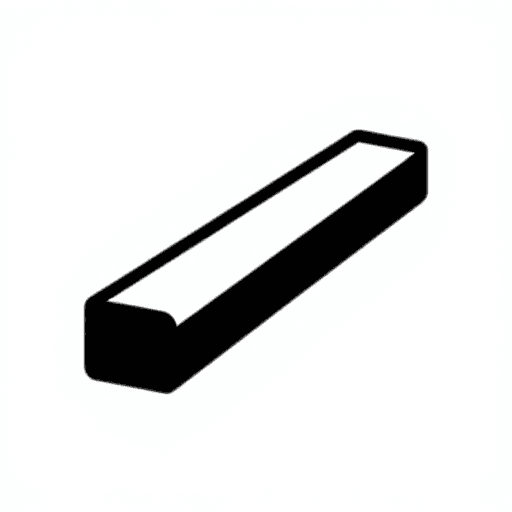
Sheffield poured its crucible cast steel into octagonal or rectangular iron moulds and drew the ingots out into rods under the tilt hammer. That bar, eight-sided or square, was the stock for chisels, punches, files and blades. Andrew Ure's 1839 warning still holds: this steel must not go much above a cherry-red heat, or it turns brittle.
The picture: a water-driven tilt hammer at Abbeydale Industrial Hamlet, Sheffield.
Advanced
A day at the forge
Instructions
1
1
Heat gently to cherry red
Heat gently to cherry red
Bring the crucible-steel ingot up slowly in the forge to a cherry-red heat and no hotter. Ure: in its usual state cast steel will not bear much more without becoming brittle, and it will not take a welding heat.
Materials for this step:
 Crucible Steel2 kg
 Charcoal1 as required
Tools needed:
 Blacksmith Forge
 Blacksmith Tongs
 Welding Gloves
 Leather Apron
 Safety Glasses
2
2
Draw out a billet
Draw out a billet
On the anvil, with a striker on the sledge, draw the ingot out square, turning it a quarter after each pair of blows. Reheat as soon as the colour drops below red; never hammer it cold. Stop at a square billet of the size you need, or carry on drawing it flat into a rectangular bar for axe heads and picks.
Materials for this step:
Charcoal1 as requiredTools needed:
 Anvil
Anvil Sledgehammer
 Cross Peen HammerBlacksmith TongsWelding GlovesLeather ApronSafety Glasses
3
3
Knock the corners to an octagon
Knock the corners to an octagon
For octagon bar, set the square bar on a corner and hammer the four corners down evenly until all eight faces are equal, finishing in the matching groove of a swage block.
Tools needed:
AnvilCross Peen Hammer Swage BlockBlacksmith TongsWelding GlovesLeather ApronSafety Glasses
4
4
Check and cool slowly
Check and cool slowly
Check the size across the flats with a caliper, then let the bar cool slowly in the dying forge (our choice, to leave it soft for cutting and filing).
Tools needed:
 Digital Caliper 6-InchBlacksmith Forge
Tools Required
10- Placeholder
- Placeholder
- Placeholder
- Placeholder
- Placeholder
- Placeholder
- Placeholder
- Placeholder
- Placeholder
- Placeholder
This blueprint makes

Related Blueprints
These blueprints share knowledge with this one — techniques, materials, or principles that connect them in the learning graph.


CC0 Public Domain
This blueprint is released under CC0. You are free to copy, modify, distribute, and use this work for any purpose, without asking permission.
Support the Maker by purchasing products through their Blueprint where they earn a Maker Commission set by Vendors, or create a new iteration of this Blueprint and include it as a connection in your own Blueprint to share revenue.