ART
BEAUTY & WELLNESS
CRAFT
CULTURE & HISTORY
ENTERTAINMENT
ENVIRONMENT
FOOD & DRINKS
REVERSE ENGINEERING
SCIENCES
SPORTS
TECHNOLOGY
WEARABLES
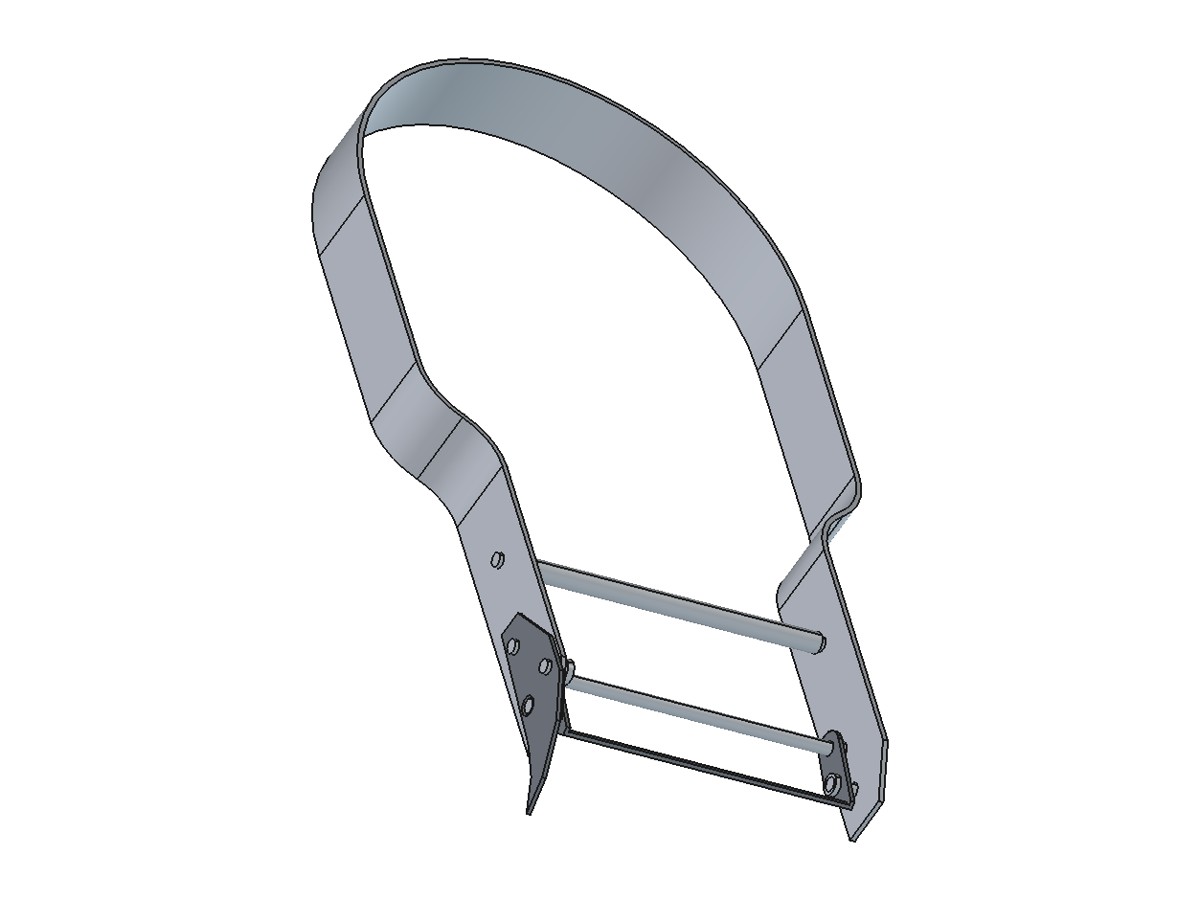


Vegetable Peeler: a Swivel Blade with a Guide Rod on a Bent Strip Handle (after De Vault, 1938)
A swivel peeler you make from steel strip and wire: a narrow hardened blade with a guide rod in front of it swings on two pins between the legs of a bent stainless handle, so it follows the shape of a potato or carrot and takes off an even, thin peel. A small hooked blade on the side cuts out eyes. Ralph De Vault patented this design in 1938.
Intermediate
About 5 hours
Instructions
1
1
How a swivel peeler is used
How a swivel peeler is used
Swivel and Y peelers tested on potatoes, carrots and squash (America's Test Kitchen). Ours is a swivel peeler.
2
2
De Vault's peeler, 1938
De Vault's peeler, 1938
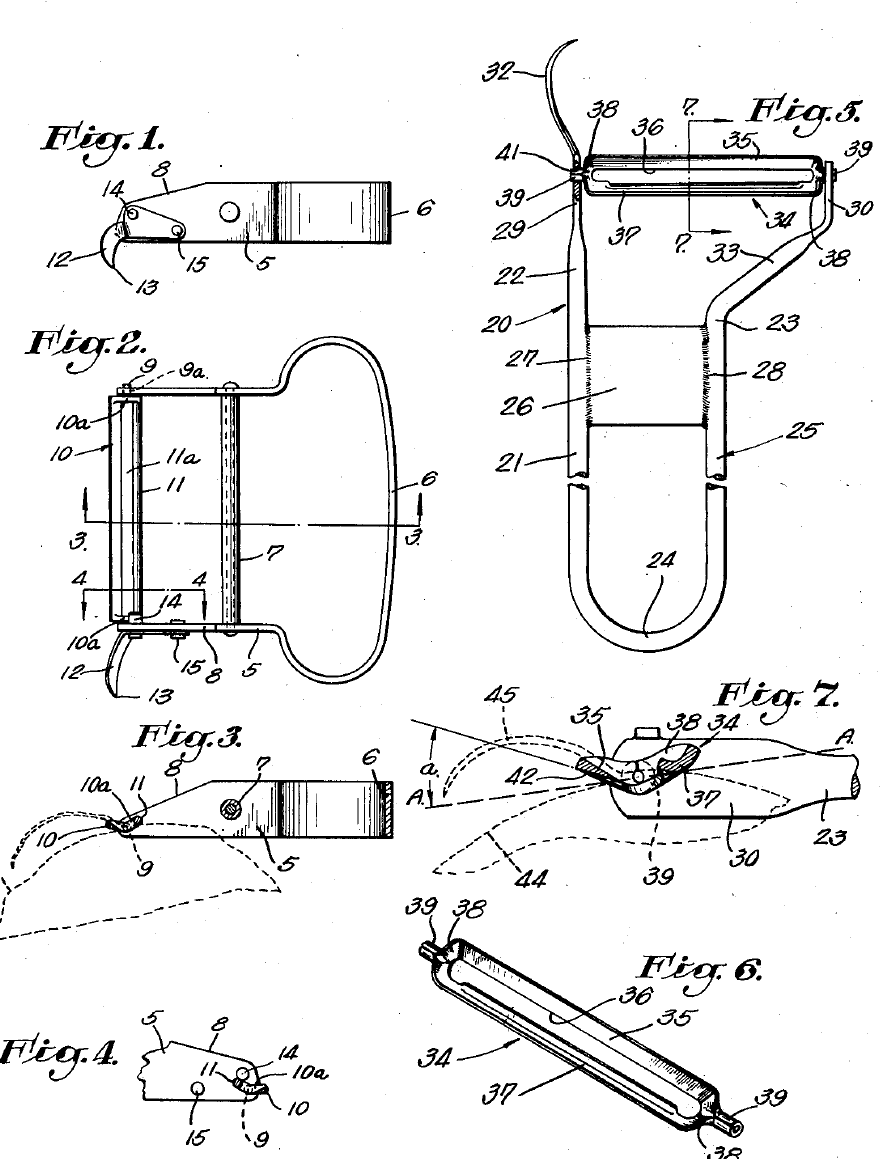
US 2,106,796: a narrow blade 10 and a guide rod 11 are joined by end walls and swing on pins 9 between the legs 5 of a handle bent from strip. The pivot lies between the edge and the rod, so the pull goes straight through the edge and the blade neither digs in nor lifts. Rivet 14's head stops the swing; blade 12 cuts out eyes. We build this form (Figs. 1-4).
3
3
Where the holes go
Where the holes go
Loading Jupyter Notebook...
Tools needed:
 Digital Caliper 6-Inch
4
4
Print the drawing
Print the drawing
Blade blank, eye trimmer and the end of a handle leg at 1:1, with an enlarged end view. Print at 100 % and check the 50 x 10 mm box.
5
5
Cut and drill the handle strip
Cut and drill the handle strip
Saw a strip 12 x 295 mm from 1.5 mm stainless sheet and file the edges smooth. Lay the 1:1 leg end on each end and punch the hole centres through the paper: pivot, brace, and holes 14 and 15 at one end only. Drill the pivots 2.2 mm, the others 2 mm. File the corner of each end away, 7.3 mm along the top and 4.4 mm down.
Materials for this step:
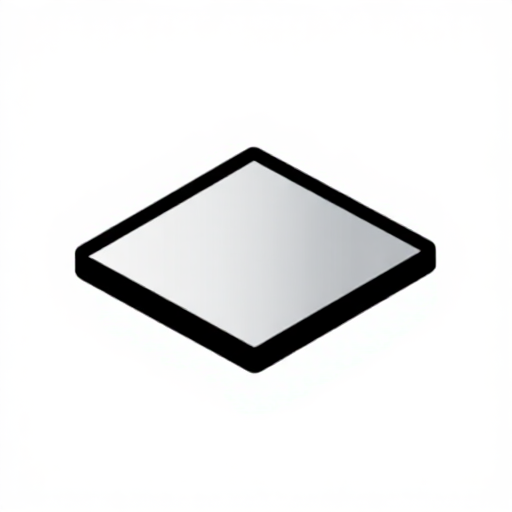 Stainless Steel Sheet1 piece (1.5 mm, 12 x 295 mm strip)
Tools needed:
 Hacksaw
 Metal File
 Center Punch
 Drill Bit Set
 Drill Press
 Bench ViseDigital Caliper 6-Inch
6
6
Bend the handle
Bend the handle
Bend the middle 107 mm round something about 68 mm across (a can or pipe) into a half circle, with the 12 mm side upright. From each end leave 43 mm straight, then bend an S outwards (two bends of about 57 degrees round a 20 mm bar) so the legs end parallel, 48.2 mm apart inside and the holes facing each other.
Tools needed:
Bench Vise Flat-Nose PliersDigital Caliper 6-Inch
7
7
Cut the blade and the trimmer
Cut the blade and the trimmer
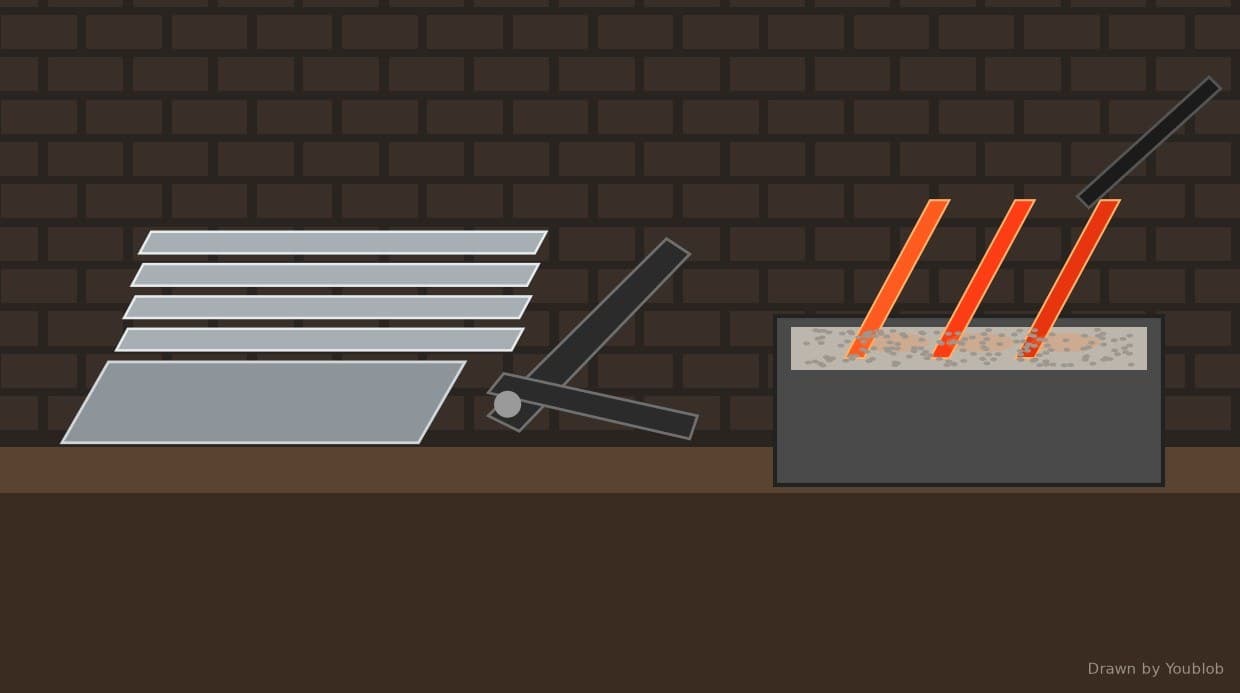
If the carbon steel strip springs back when bent, soften it first: heat it to a dull red and let it cool slowly. Cut the blade blank and the eye trimmer to the drawing, punch and drill the 2 mm holes while flat, and file the edges. Fold each paddle 90 degrees in the vise on the dashed line, both to the same side, so the paddles stand square and face each other.
Materials for this step:
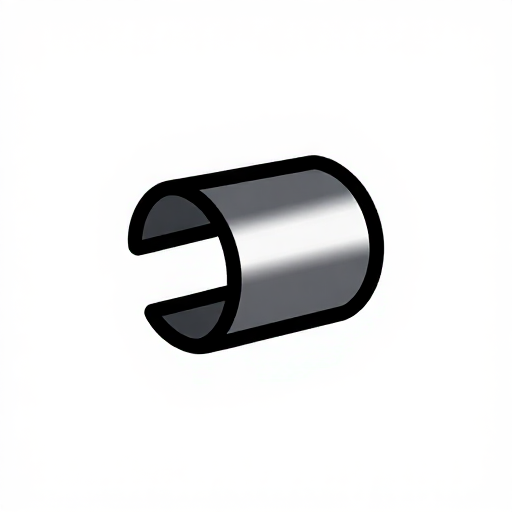 Carbon Steel Strip1 piece (0.6 mm, 60 x 40 mm)
Tools needed:
 Propane Torch
 Tin SnipsCenter PunchDrill Bit Set
 Needle File SetBench ViseFlat-Nose Pliers
8
8
Bevel, harden and temper
Bevel, harden and temper
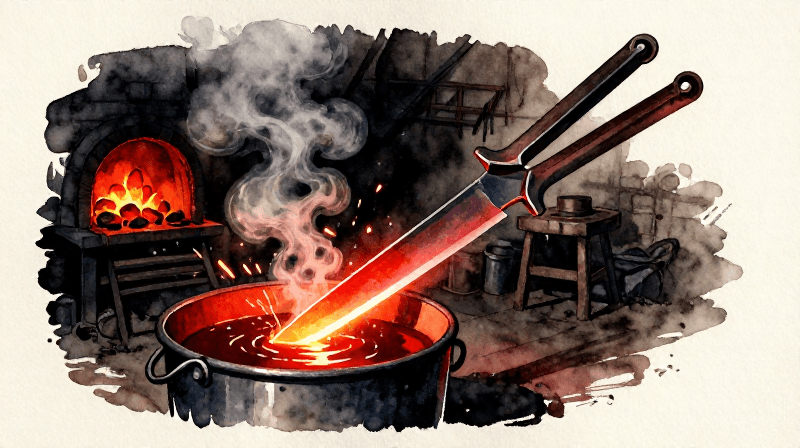
File a bevel about 1.5 mm wide on the blade's top face down to the edge, and file the trimmer's point and curved edge. Heat each part evenly to the point where a magnet no longer sticks, quench it in warm cooking oil, then clean it bright with emery. Temper both in the oven at 200 degrees C for one hour (light straw).
Tools needed:
Metal FilePropane Torch Small Magnet
 Quench Bucket
 Cooking Oil
 Emery Paper
 Oven
 Oven Thermometer
 Heat-Resistant Gloves
 Safety Glasses
9
9
Fit the guide rod and pins
Fit the guide rod and pins
Cut 2 mm stainless wire: one guide rod 48 mm long and two pins 5 mm long. Push the rod through both rod holes and peen each end to a small head no more than 1.3 mm high. Put a pin through each pivot hole from inside, peen the inside end to a head, and leave about 3.5 mm sticking out.
Materials for this step:
 Stainless Steel Wire1 piece (2 mm, 60 mm)
Tools needed:
Hacksaw Ball Peen HammerBench ViseMetal FileDigital Caliper 6-Inch
10
10
Assemble
Assemble
Spring the legs apart and let the pins drop into the pivot holes, the guide rod towards the loop. Rivet the trimmer on the outside of its leg with two 2 mm wire rivets, leaving rivet 14 with a full 1 mm head inside the leg: it stops the swing. Last, fit the brace: 3 mm rod with 2 mm stubs filed on the ends, so the shoulders hold the legs 48.2 mm apart; peen the ends.
Materials for this step:
Stainless Steel Wire1 piece (2 mm, 15 mm, two rivets) Stainless Steel Rod1 piece (3 mm, 55 mm)
Tools needed:
Ball Peen HammerMetal FileBench ViseHacksaw11
11
Sharpen and peel
Sharpen and peel
Hone the bevel on the stone and take the burr off the flat face. Hold the loop and draw the peeler towards you over a potato, guide rod first: the blade tilts by itself to follow the surface. Wash, dry and oil the blade after use.
Materials for this step:
 Food-grade Mineral Oil2 ml
Tools needed:
 Sharpening Stone
12
12
Troubleshooting
Troubleshooting
Peeler problems and fixes.
Flow
Loading...
13
13
History and honest limits
History and honest limits
Ralph P. De Vault, South Pasadena, Calif.: US 2,106,796, "Peeler", filed 26 March 1935, granted 1 February 1938. The 22 1/2 degrees and the one-third pivot are from his second form (Figs. 5-7, a stamped cutter on a round-bar handle); we use them on his strip form. Ours: every size, the steels, the folded paddles and the heat treatment. Not made by us yet.
Materials
5- 1 piece (1.5 mm, 12 x 295 mm strip)Placeholder
- 1 piece (0.6 mm, 60 x 40 mm)Placeholder
- 1 piece (2 mm, 15 mm, two rivets)Placeholder
- 1 piece (3 mm, 55 mm)Placeholder
- Placeholder
Tools Required
21- Placeholder
- Placeholder
- Placeholder
- Placeholder
- Placeholder
- Placeholder
- Placeholder
- Placeholder
- Placeholder
- Placeholder
- Placeholder
- Placeholder
- Placeholder
- Placeholder
- Placeholder
- Placeholder
- Placeholder
- Placeholder
- Placeholder
- Placeholder
- Placeholder
Design Files
1Connected Blueprint Materials
This blueprint makes

Related Blueprints
These blueprints share knowledge with this one — techniques, materials, or principles that connect them in the learning graph.
CC0 Public Domain
This blueprint is released under CC0. You are free to copy, modify, distribute, and use this work for any purpose, without asking permission.
Support the Maker by purchasing products through their Blueprint where they earn a Maker Commission set by Vendors, or create a new iteration of this Blueprint and include it as a connection in your own Blueprint to share revenue.