ART
BEAUTY & WELLNESS
CRAFT
CULTURE & HISTORY
ENTERTAINMENT
ENVIRONMENT
FOOD & DRINKS
REVERSE ENGINEERING
SCIENCES
SPORTS
TECHNOLOGY
WEARABLES
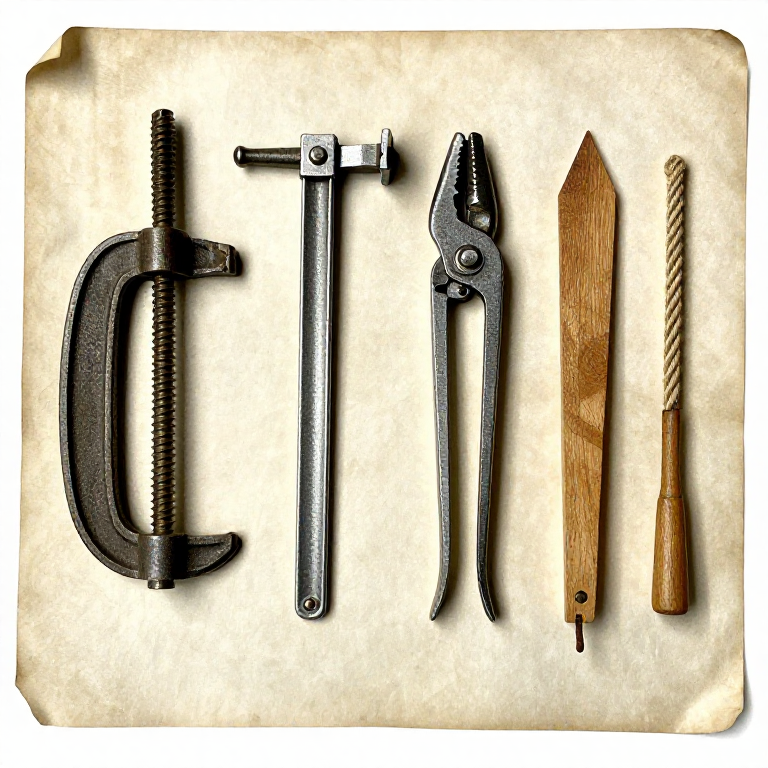


Which Clamp: What Each Type Is For, and Making Your Own
Clamps are the tool everyone runs out of. A glue-up needs more than seems reasonable, they are expensive, and the temptation is to make do with too few — which produces exactly the uneven pressure the pressure rung warns about.
The good news is that clamping force is cheap to improvise. Wedges, rope, weight and rubber all apply real pressure, and several of them cost nothing.
This rung is what each type is genuinely good at, and three ways to have enough of them without buying more.
Beginner
3 hours
Instructions
1
1
The four types and where each belongs
The four types and where each belongs
A G or C CLAMP gives high force in a small throat. It is the one for pressing two thicknesses together hard, and it marks the work unless a block goes under the jaw.
A BAR or SASH CLAMP reaches across a panel or a carcass. Force is moderate and the length is the point. A PIPE CLAMP is the same thing built on a length of pipe, so the reach costs almost nothing and you can make any length you need.
A SPRING CLAMP applies light constant pressure instantly with one hand — right for holding something while you position it, wrong for a structural glue line. Light pressure is genuinely useful: it is what veneer and thin edging want.
Tools needed:
 C-Clamp
 Bar Clamp
 Pipe Clamp
 Spring Clamp
2
2
Wedges: the oldest clamp, and still one of the best
Wedges: the oldest clamp, and still one of the best
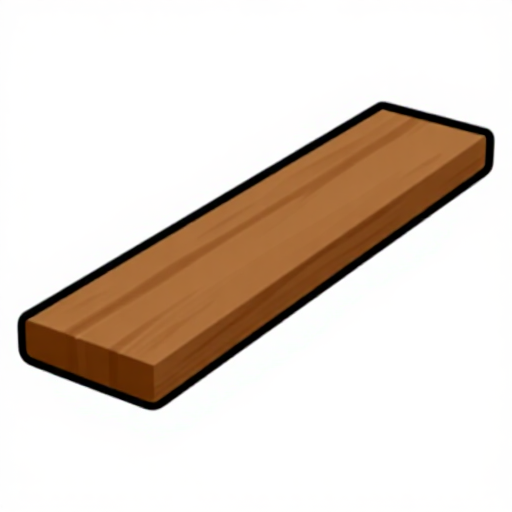
Two shallow wedges driven against each other between the work and a fixed stop generate enormous force, cost nothing, and can be made to any size in minutes.
A shallow taper multiplies force the way any inclined plane does — the same geometry as the screw thread. Folding wedges, a pair driven in opposite directions, keep the pressure square to the joint instead of pushing the work sideways.
They need something to push against: a batten screwed to the bench, a notched board, or a simple frame. Build that once and you have as many clamps as you have wedges, which is as many as you care to saw.
Materials for this step:
 Hardwood Board2 pieces
 Dry Softwood Board2 pieces
Tools needed:
 Clamping Caul
3
3
Rope, rubber and weight
Rope, rubber and weight
A SPANISH WINDLASS is a loop of rope round the work with a stick through it; twist the stick and the loop tightens enormously. It is the right answer for anything round, irregular or awkwardly shaped, where no rigid clamp fits.
Cut bands from an old inner tube for light even pressure round a curve — ideal for holding edging or a repair while it sets. Ordinary WEIGHT works for anything flat: a stack of books on a glued panel applies genuine, perfectly even pressure and costs nothing.
None of these is a compromise. They are the correct tool for specific shapes, and a windlass will out-pull most bar clamps on a chair leg.
Materials for this step:
Dry Softwood Board1 pieceTools needed:
Clamping Caul Wooden Clamping Blocks
4
4
Look after them, and keep the glue off the threads
Look after them, and keep the glue off the threads
Dried glue on a clamp screw makes it stiff and eventually seizes it. Wipe the bar and the jaws after every glue-up, while the squeeze-out is still soft.
Keep a light oil or wax on the threads. A clamp that turns freely gets tightened by feel; one that is stiff gets over-tightened because the resistance you are feeling is the thread, not the joint — which is a real and overlooked cause of starved joints.
Wax the bar of a bar clamp as well, and glue will not stick to it and stain the next piece of work. Store them hanging or in a rack rather than in a pile, for the same reason as every other tool in this series.
Tools needed:
Bar Clamp Cotton ClothC-Clamp
Materials
2- 2 piecesPlaceholder
- 2 piecesPlaceholder
Related Blueprints
These blueprints share knowledge with this one — techniques, materials, or principles that connect them in the learning graph.
CC0 Public Domain
This blueprint is released under CC0. You are free to copy, modify, distribute, and use this work for any purpose, without asking permission.
Support the Maker by purchasing products through their Blueprint where they earn a Maker Commission set by Vendors, or create a new iteration of this Blueprint and include it as a connection in your own Blueprint to share revenue.