Collaboration
ART
BEAUTY & WELLNESS
CRAFT
CULTURE & HISTORY
ENTERTAINMENT
ENVIRONMENT
FOOD & DRINKS
REVERSE ENGINEERING
SCIENCES
SPORTS
TECHNOLOGY
WEARABLES
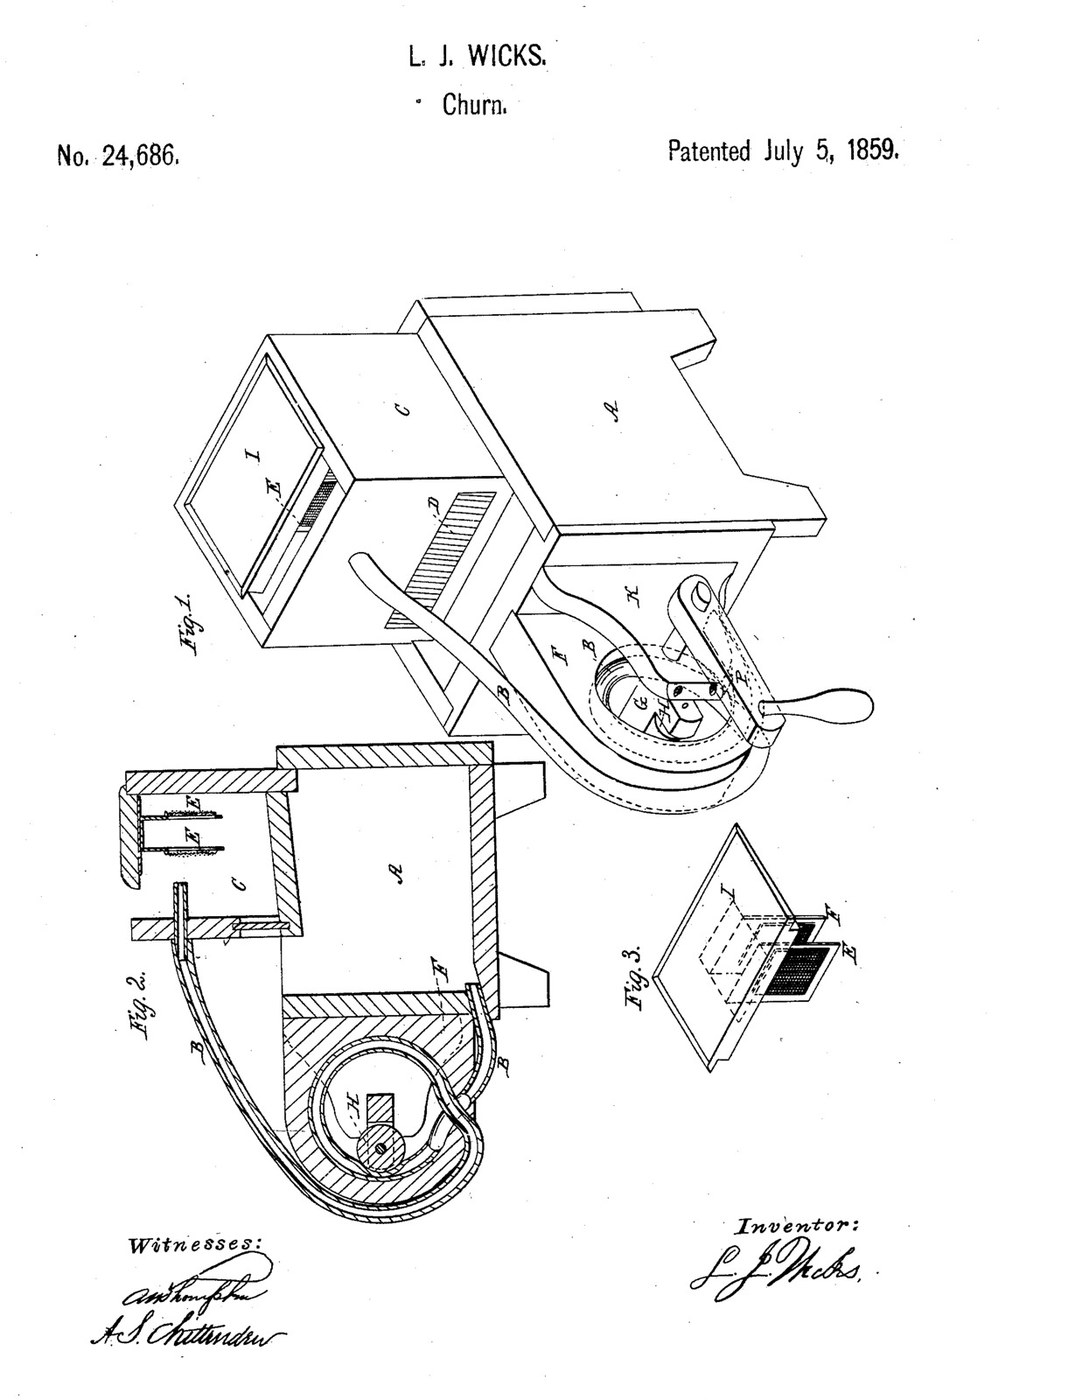

Rubber-Pipe Pump Churn: A Pulley Rolls Milk Through a Tube in a Ring and Jets It Through Gauze
Loren J. Wicks of Racine, Wisconsin, received US 24,686, dated 5 July 1859, for a churn that is a rolling-tube pump. An india-rubber pipe runs from the bottom of the milk box once round the groove inside a ring and up into a smaller box on top. A pulley on a fast crank rolls round the ring on the pipe and drives the milk up in a stream against two gauze partitions hung under the top box's cap. The broken milk runs back through a screen of fine wooden strips into the box below, the butter staying behind; the stream keeps going until all the butter is out.
This rung builds it with silicone tubing, a printed ring and pulley, and pine boxes.
Intermediate
About 1 day, plus printing
Instructions
1
1
A rolling pulley as a pump
A rolling pulley as a pump
Loading Jupyter Notebook...
2
2
A churn that pumps the cream round, before it
A churn that pumps the cream round, before it
McClintock pumped with a vane and valves. Wicks squeezes a rubber pipe and needs no valve at all.
3
3
Read US 24,686
Read US 24,686
"Thus it will plainly be seen that in the manner which pipe (B) passes round circular frame (F) the pulley when rolling on it will force the milk up into box (C)."
4
4
Print the frame F
Print the frame F
The ring with the tube's groove round its inside and the hole in its foot. PETG, 0.2 mm layers, 50 % infill, 5 walls; wash before first use.
5
5
Print the rotor
Print the rotor
The hub with the two projections that carry the pulley. PETG, 0.2 mm layers, 50 % infill, 5 walls; wash before first use.
6
6
Print the pulley H
Print the pulley H
The pulley that rolls on the tube. PETG, 0.2 mm layers, 50 % infill, 5 walls; wash before first use.
7
7
Stand and boxes
Stand and boxes
From pine make box A 360 x 240 mm inside and 230 mm deep, and stand it on four 44 mm legs 400 mm tall. Drill a 13 mm hole near the front of its floor. Make box C 360 x 122 mm inside and 180 mm deep, with a floor, and stand it on two cleats across A's back, leaving A open for 100 mm in front of it. Cut C's front out between 18 and 122 mm up and glue hardwood strips 6 mm wide upright in the opening, 4 mm apart, as screen D. Drill C's front 13 mm above the screen for a 8 mm stainless spout.
Materials for this step:
 Pine Board3 pieces
 Softwood Timber 70x70mm2 pieces
 Wood Glue1 piece
 Wood Screws40 pieces
 Hardwood Board1 piece
 Stainless Steel Tube1 piece
 Silicone Sealant1 piece
Tools needed:
 Hand Saw
 Jigsaw
 Cordless Drill
 Drill Bit Set
 Clamps
 Sandpaper
 Tape Measure
8
8
Cap I and partitions E
Cap I and partitions E
Cut a plywood cap 340 x 100 mm to slide on C's top. Make two frames 240 x 138 mm from 3 mm plywood with a window in each, staple stainless mesh over the windows (for his tin and gauze), and screw them upright under the cap 40 mm apart, across the jet's path.
Materials for this step:
 Plywood Sheet1 piece
 Wire Mesh / Screen1 pieceWood Screws8 pieces
Tools needed:
Jigsaw Tin Snips
 Screwdriver Set
9
9
Frame F, pulley and pipe B
Frame F, pulley and pipe B
Screw a pine board across the front legs below box A and screw the printed frame F on its front, 220 mm up. Bore the board for a 12 mm stainless shaft G with a hardwood support K behind it, fit the rotor and pulley H on its pin inside the frame and a hardwood crank P outside. Push 12 x 8 mm silicone tubing into A's floor hole, sealed, down through a hole in the board and the hole in F's foot, once round the groove, out through the same hole, round the outside of F and up to C's spout.
Materials for this step:
Pine Board1 piece PETG Filament1 piece
 Stainless Steel Rod2 piecesHardwood Board1 piece
 Hardwood Dowels1 piece
 Machine Screws3 pieces
 Nylon Insert Lock Nut3 pieces
 Silicone Tubing1 pieceSilicone Sealant1 piece
Tools needed:
 FDM 3D PrinterCordless DrillDrill Bit Set
 Hacksaw
 Utility KnifeScrewdriver Set
10
10
The build in 3D
The build in 3D
FreeCAD model of this build, half the boxes cut away: box A on its stand, box C with screen D, the cap and the two mesh partitions, the board with frame F, the rotor and pulley on the shaft, the crank, and the tube's run from A's floor round the ring and up to C. The rotor was checked at six angles.
11
11
Churn
Churn
Pour about 10 litres of cream at about 15 °C into box A, checked with the thermometer. Turn the crank fast and time it: a stream jets into C against the mesh and runs back through the screen. Slide the cap back and forth now and then. When the butter is held in C, stop, lift C off, take the butter out, pour the buttermilk from A, wash the butter in cold water until it runs clear, work in a pinch of salt and weigh it.
Materials for this step:
 Heavy Cream10 l
 Coarse Sea Salt1 piece
 Water1 piece
Tools needed:
 Leave-In Probe Thermometer
 Stopwatch
 Digital Kitchen Scale
 Stainless Steel Mixing Bowl (Large)
12
12
Troubleshooting
Troubleshooting
Rubber-pipe pump troubleshooting.
Flow
Loading...
13
13
History and honest limits
History and honest limits
**Loren J. Wicks** of Racine, Wisconsin, US 24,686, 5 July 1859, "Churn". He did not claim forcing milk in a stream against a substance as such, only boxes A and C with pipe B, and box C with screen D and the hanging partitions E. His pipe was india rubber and his partitions tin and gauze; our silicone tubing, mesh frames, printed ring and pulley and every size are ours.
Materials
18- 3 piecesPlaceholder
- 2 piecesPlaceholder
- 1 piecePlaceholder
- 48 piecesPlaceholder
- 1 piecePlaceholder
- 1 piecePlaceholder
- 2 piecesPlaceholder
- 1 piecePlaceholder
- 1 piecePlaceholder
- 1 piecePlaceholder
- 2 piecesPlaceholder
- 1 piecePlaceholder
- 3 piecesPlaceholder
- 3 piecesPlaceholder
- 1 piecePlaceholder
- 10 lPlaceholder
- 1 piecePlaceholder
- 1 piecePlaceholder
Tools Required
16- Placeholder
- 1 vendor sell this, none ship to you yetPlaceholder
- 1 vendor sell this, none ship to you yetPlaceholder
- Placeholder
- Placeholder
- Placeholder
- 1 vendor sell this, none ship to you yetPlaceholder
- Placeholder
- Placeholder
- Placeholder
- Placeholder
- Placeholder
- Placeholder
- Placeholder
- Placeholder
- Placeholder
Design Files
4This blueprint makes


Related Blueprints
These blueprints share knowledge with this one — techniques, materials, or principles that connect them in the learning graph.
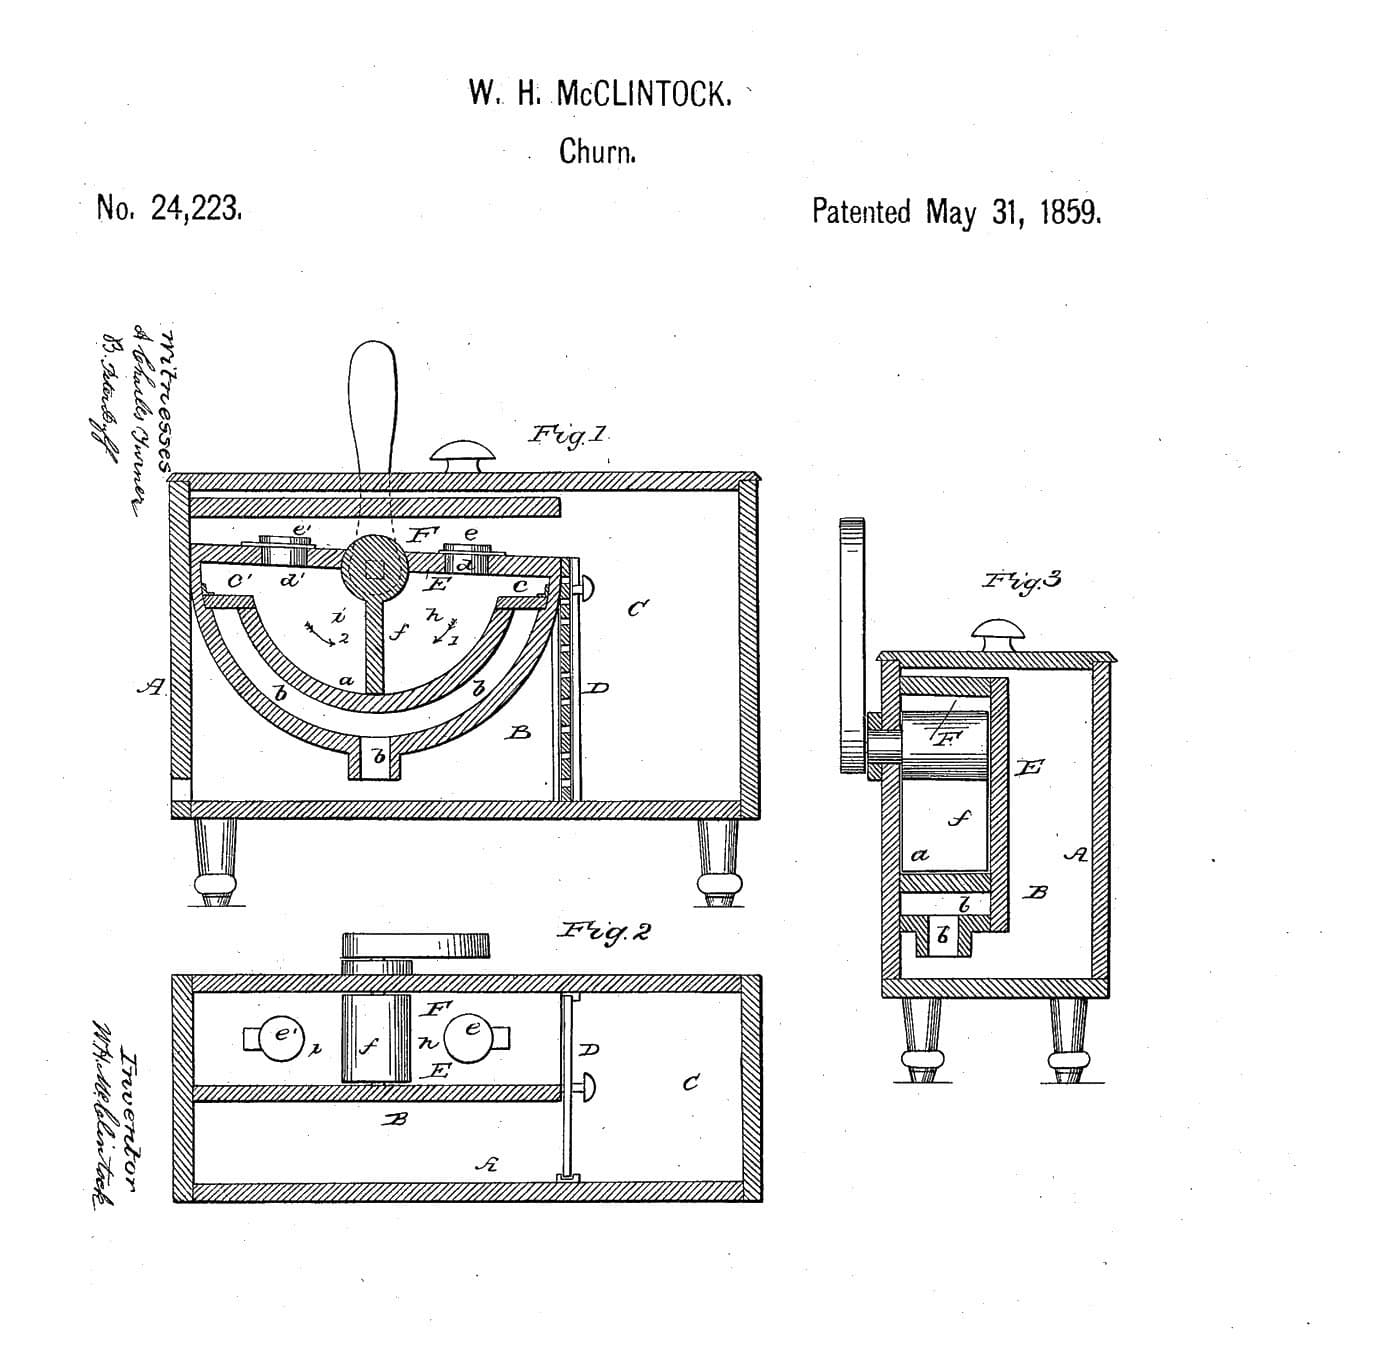
Oscillating-Pump Churn: A Half-Round Vane Pump Lifts the Cream Over and Strains It Back Through a Partition
by Martin
Woodworking
4
0
0
0
0
0
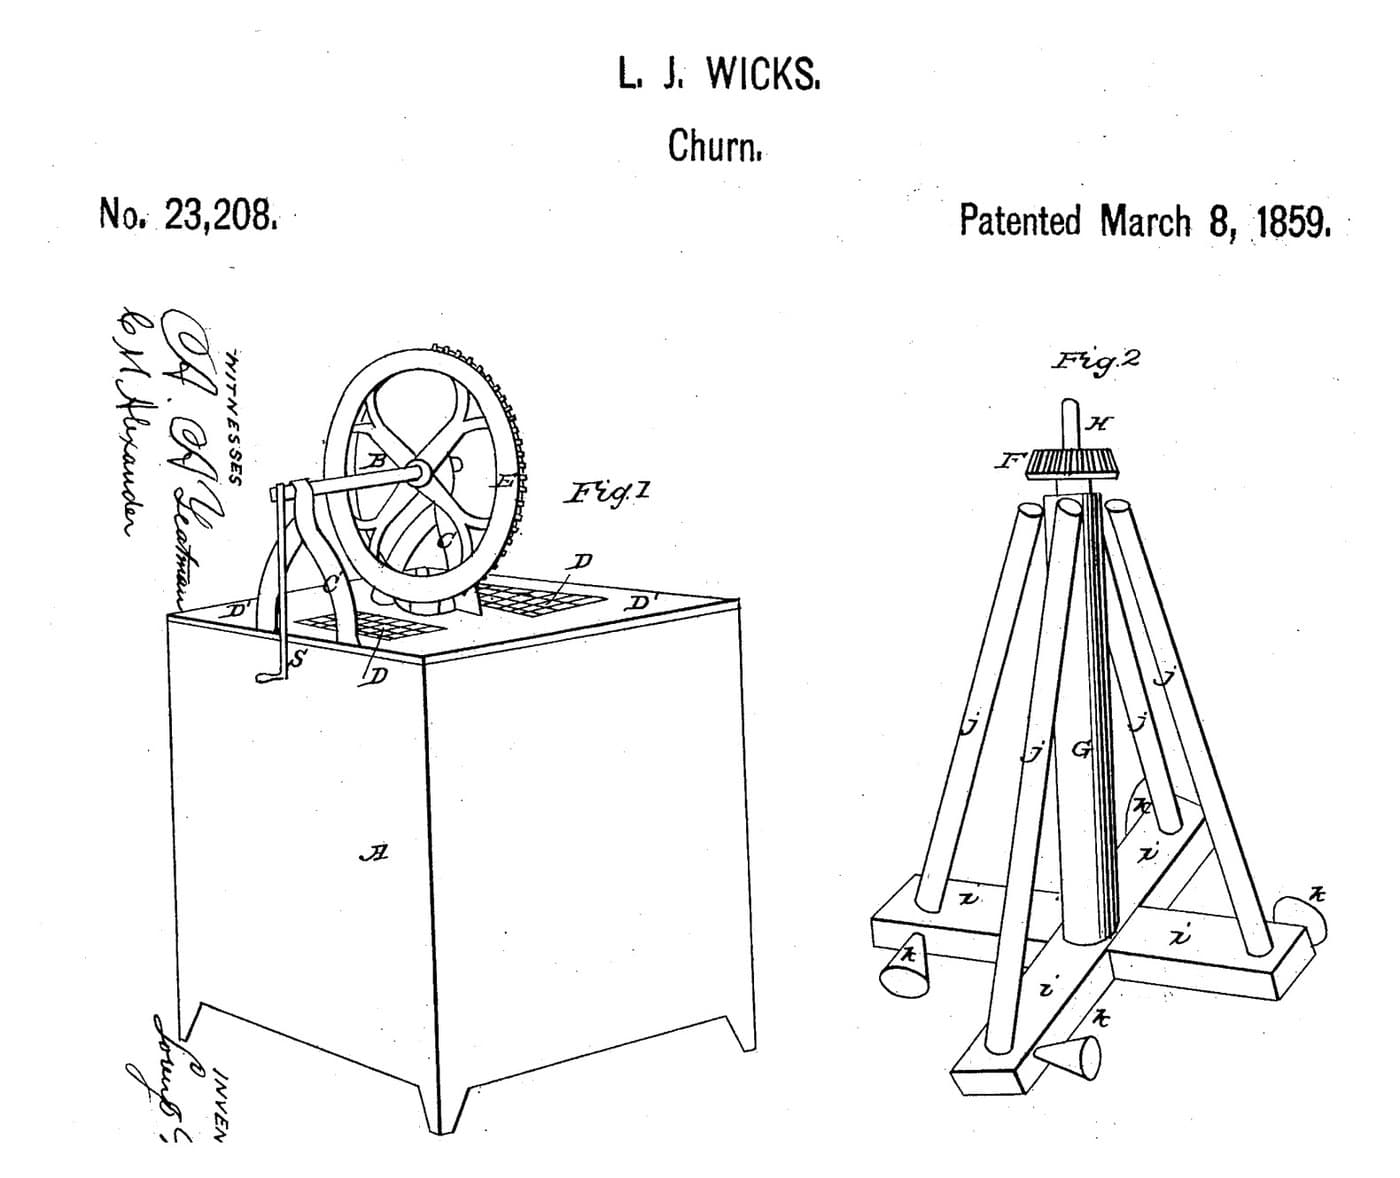
Funnel-Tube Atmospheric Churn: Trailing Funnels on a Fast Cross Draw Air Down Slanting Tubes Into the Cream
by Buttercup
FOOD & DRINKS
0
0
0
0
0
0

Churning Butter from Cream — The 5,000-Year-Old Fat Separation
by TheChef
CRAFT
60
0
0
0
0
0
CC0 Public Domain
This blueprint is released under CC0. You are free to copy, modify, distribute, and use this work for any purpose, without asking permission.
Support the Maker by purchasing products through their Blueprint where they earn a Maker Commission set by Vendors, or create a new iteration of this Blueprint and include it as a connection in your own Blueprint to share revenue.