NGHỆ THUẬT
LÀM ĐẸP VÀ SỨC KHỎE
THỦ CÔNG
VĂN HÓA VÀ LỊCH SỬ
GIẢI TRÍ
MÔI TRƯỜNG
THỰC PHẨM VÀ ĐỒ UỐNG
KỸ THUẬT NGƯỢC
KHOA HỌC
THỂ THAO
CÔNG NGHỆ
THIẾT BỊ ĐEO
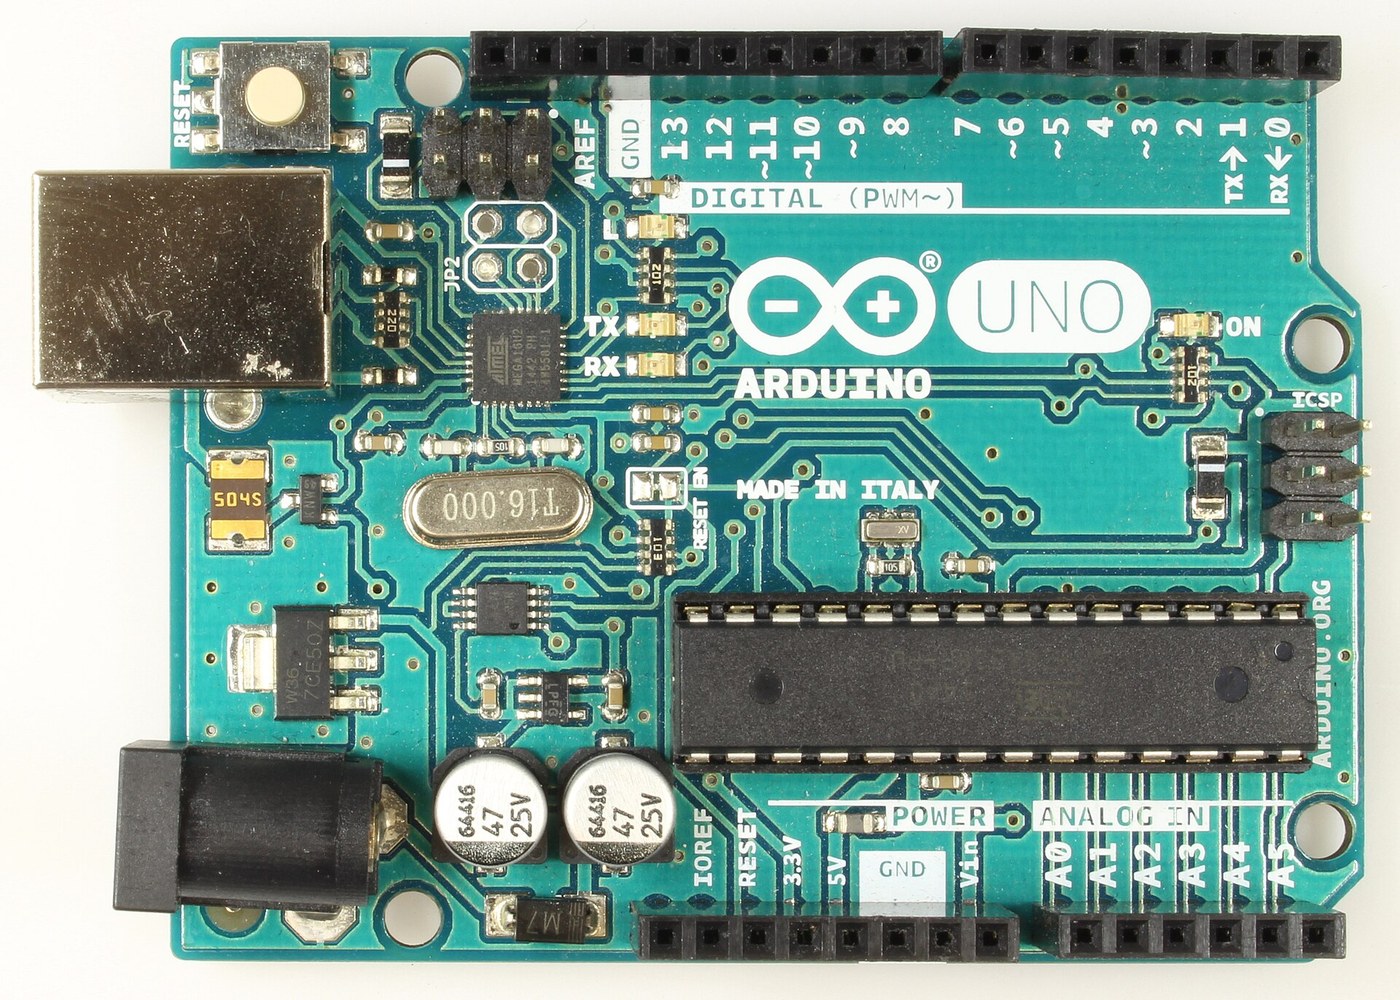


Arduino Uno R3: Assembled from Arduino's Open UNO-TH Rev3e Design Files and Flashed over ICSP
The Arduino Uno R3 is open hardware: Arduino publishes its schematic and board layout. This blueprint builds one from those files, part by part, then loads the firmware into its two processors.
Result: an Arduino Uno R3. An ATmega328P (16 MHz, 32 kB flash, 2 kB SRAM, 1 kB EEPROM) runs your programs; an ATmega16U2 turns USB into its serial link. It runs from USB (5.5 V at most) or 6-20 V at the DC jack.
Source: Arduino UNO-TH_Rev3e design files and the A000066 schematic and datasheet (Arduino, CC BY-SA). Unknown: how every bought part is made; no public source in hand says. The soldering method is ours. Picture: Wikimedia Commons.
Nâng cao
1 day
Hướng dẫn
1
1
Get the bare board
Get the bare board
Have the two-layer board made to Arduino's UNO-TH_Rev3e board layout (the .brd file of the design files). Check it against the schematic before fitting anything.
Vật liệu cho bước này:
 Bảng mạch in1 UNO-TH Rev3e layout
Công cụ cần thiết:
 Kính lúp thợ kim hoàn
2
2
Fit the small surface-mount parts
Fit the small surface-mount parts
Solder the chip parts to their marked places: resistor arrays RN1 (10K), RN2 and RN4 (1K), RN3 (22R); R1, R2 (1M); capacitors C1, C2, C4-C7, C10 (100n), C3, C8 (1u), C9, C11 (22p); varistors Z1, Z2; ferrite bead L1; inductor L2 (10 uH); diodes D2, D3; LEDs ON (green), L, RX, TX (yellow). Ours: flux, tweezers and hot air or a fine iron, checked under a loupe.
Vật liệu cho bước này:
 Mảng điện trở dán4 RN1-RN4
 Điện trở dán2 1M
 Tụ gốm dán11 7x100n, 2x1u, 2x22p
 Varistor dán2 Z1, Z2
 Hạt ferit1 L1
 Cuộn cảm dán1 L2
 Điốt dán2 D2, D3
 LED dán4 1 green, 3 yellow
 Dây thiếc hàn1 a little
Công cụ cần thiết:
 Chất trợ hàn
 Nhíp đầu nhọn
 Trạm khò khí nóng
 Mỏ hànKính lúp thợ kim hoàn
3
3
Fit the power and chip parts
Fit the power and chip parts
Solder the ATmega16U2 (U3), the 16 MHz resonator Y2 and crystal Y1, the 5 V regulator NCP1117 (U1) and 3.3 V regulator LP2985 (U2), the LMV358 op-amp (U5), the FDN340P transistor (T1), the M7 diode (D1), the 500 mA resettable fuse (F1) and the 47 uF capacitors PC1, PC2 with their polarity as marked.
Vật liệu cho bước này:
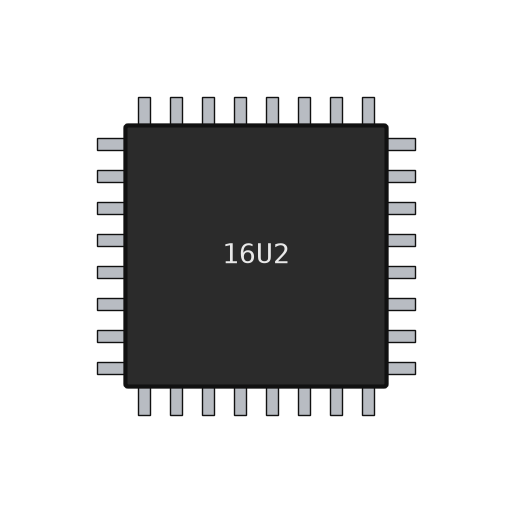 Vi điều khiển ATmega16U21 U3
 Bộ cộng hưởng gốm áp điện1 Y2
 Tinh thể thạch anh1 Y1
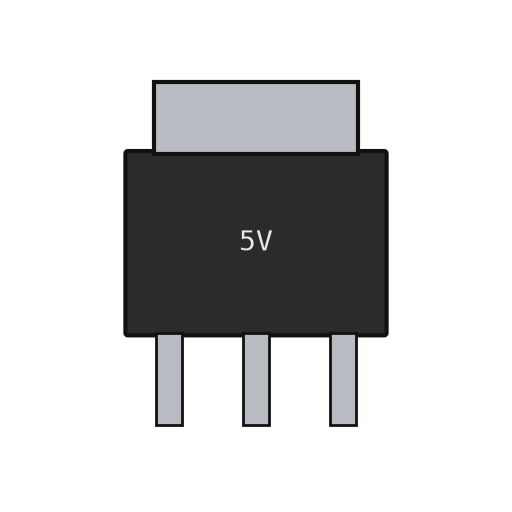 Bộ ổn áp tuyến tính2 U1 5 V, U2 3.3 V
 IC khuếch đại thuật toán1 U5 LMV358
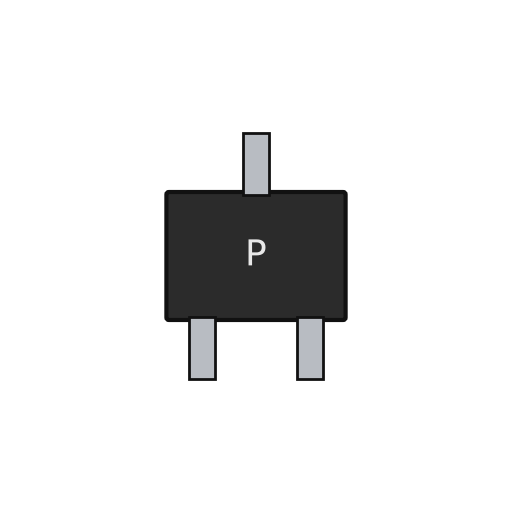 MOSFET kênh P1 T1Điốt dán1 D1 M7
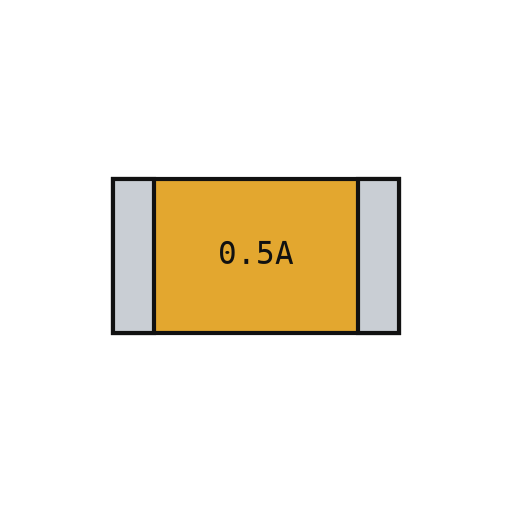 Cầu chì tự phục hồi1 F1
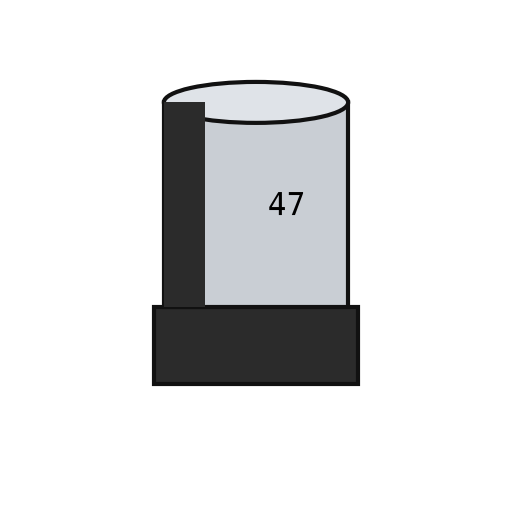 Tụ dán có cực tính2 PC1, PC2Dây thiếc hàn1 a little
Công cụ cần thiết:
Chất trợ hànNhíp đầu nhọnTrạm khò khí nóngMỏ hànKính lúp thợ kim hoàn4
4
Fit the through-hole parts
Fit the through-hole parts
Solder the USB-B socket (X2), the DC jack (X1), the reset switch, the female headers (one 10-way, two 8-way, one 6-way) and the two 2x3 ICSP headers. Seat the ATmega328P in its place (ZU4).
Vật liệu cho bước này:
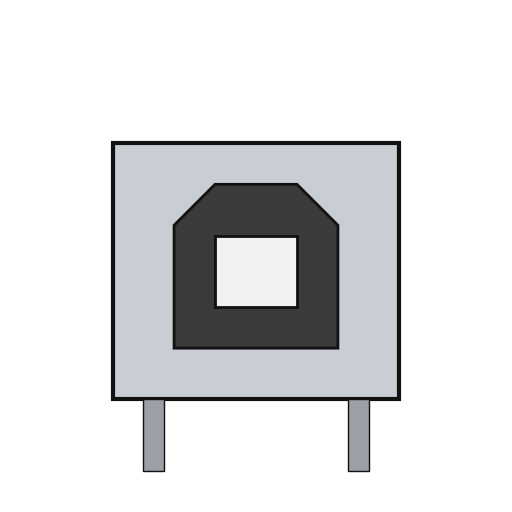 Ổ cắm USB-B1 X2
 Giắc nguồn tròn1 X1
 Nút nhấn1 RESET
 Hàng chân cắm6 10x1, 2x 8x1, 6x1 female; 2x 3x2 ICSP
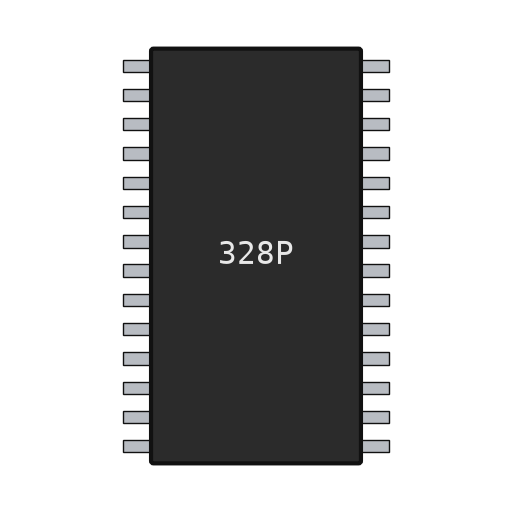 Vi điều khiển ATmega328P1 ZU4Dây thiếc hàn1 as needed
Công cụ cần thiết:
Mỏ hàn5
5
Flash and check
Flash and check
Check with a meter that 5 V and GND are not shorted. Through the ICSP headers, load the USB-to-serial firmware into the ATmega16U2 and the bootloader into the ATmega328P. Plug in USB: the green ON LED lights, and the blink test in the next step flashes the L LED. Ours: an AVR ISP programmer and a multimeter.
Vật liệu cho bước này:
 Phần sụn Arduino Uno1 download
Công cụ cần thiết:
 Đồng hồ vạn năng
 Bộ nạp AVR ISP
 Cáp USB-B
6
6
The blink test
The blink test
blink_test.ino: the same check as Arduino's Blink example. Upload it over USB from the Arduino IDE with the board set to Arduino Uno; the L LED on pin 13 turns on for one second and off for one second, over and over. If it does, both processors, the USB link and the bootloader work.
blink_test.inocpp
Công cụ cần thiết:
Cáp USB-BVật liệu
24- 1 UNO-TH Rev3e layoutTạm thời
- 4 RN1-RN4Tạm thời
- 2 1MTạm thời
- 11 7x100n, 2x1u, 2x22pTạm thời
- 2 Z1, Z2Tạm thời
- 1 L1Tạm thời
- 1 L2Tạm thời
- 1 D1 M7Tạm thời
- 4 1 green, 3 yellowTạm thời
- 1 as neededTạm thời
- Tạm thời
- Tạm thời
- Tạm thời
- 2 U1 5 V, U2 3.3 VTạm thời
- 1 U5 LMV358Tạm thời
- 1 T1Tạm thời
- Tạm thời
- 2 PC1, PC2Tạm thời
- 1 X2Tạm thời
- Tạm thời
- Tạm thời
- Tạm thời
- Tạm thời
- 1 downloadTạm thời
Công cụ yêu cầu
8- Tạm thời
- Tạm thời
- Tạm thời
- Tạm thời
- 2 vendors sell this, none ship to you yetTạm thời
- Tạm thời
- Tạm thời
- 1 vendor sell this, none ship to you yetTạm thời
Bản thiết kế này làm ra
Blueprint liên quan
Các blueprint này chia sẻ kiến thức — kỹ thuật, vật liệu hoặc nguyên tắc
CC0 Phạm vi công cộng
Bản thiết kế này được phát hành theo CC0. Bạn tự do sao chép, sửa đổi, phân phối và sử dụng cho bất kỳ mục đích nào mà không cần xin phép.
Hỗ trợ nhà sáng tạo bằng cách mua sản phẩm qua bản thiết kế, nơi họ nhận Hoa hồng nhà sáng tạo do nhà bán hàng đặt, hoặc tạo phiên bản mới và kết nối trong bản thiết kế riêng để chia sẻ doanh thu.