NGHỆ THUẬT
LÀM ĐẸP VÀ SỨC KHỎE
THỦ CÔNG
VĂN HÓA VÀ LỊCH SỬ
GIẢI TRÍ
MÔI TRƯỜNG
THỰC PHẨM VÀ ĐỒ UỐNG
KỸ THUẬT NGƯỢC
KHOA HỌC
THỂ THAO
CÔNG NGHỆ
THIẾT BỊ ĐEO
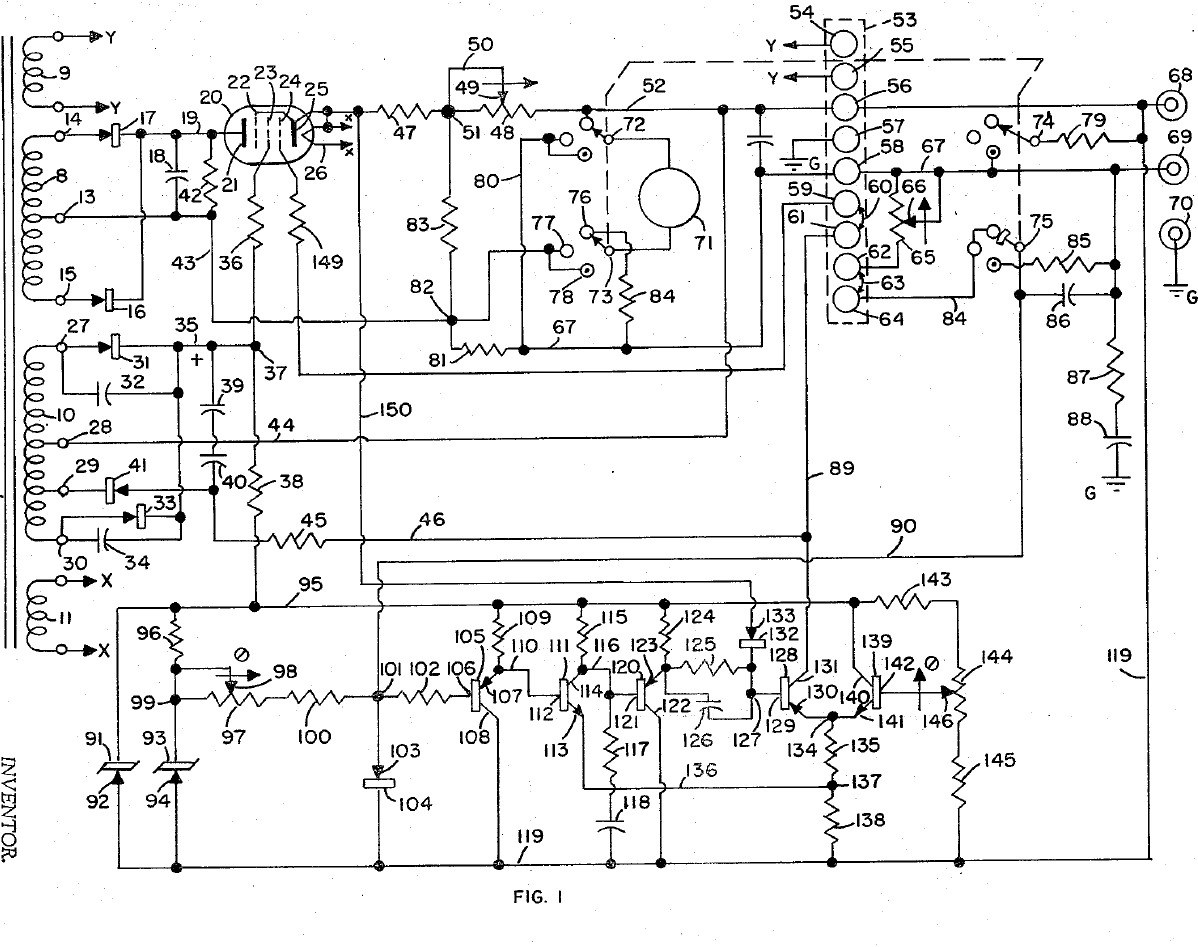


Bench Power Supply: Regulated, with Adjustable Current Limit and a Pentode Pass Tube (Gately, Forbro, US 3,243,690, 1966)
An adjustable bench supply that holds its output voltage steady and lets you set the most current it will deliver, so a circuit under test cannot be damaged. A pentode tube in series with the output is the regulator; a bridge with Zener references and a five-transistor amplifier keeps the output equal to the setting of one knob. A meter switch reads volts, amps, and the current limit, which can be set without disturbing the voltage.
Result: a regulated DC bench supply with adjustable current limiting.
Source: J. R. Gately (Forbro Design), US 3,243,690 (1966). Unknown: all component values and the output rating. Picture: the patent drawing.
Nâng cao
Unknown
Hướng dẫn
1
1
Wire the mains side
Wire the mains side
In a case, wire the power cord through a switch and a fuse to the primary of a transformer with four secondaries, and put a neon lamp across the primary to show the supply is on. One secondary (6.3 V) goes to two terminals for outside use, one heats the pentode, one is the main supply and one the bias supply. Ours: the case. Not given: the other winding voltages.
Vật liệu cho bước này:
 Hộp vỏ nhôm1 case
 Dây mềm có phích cắm1 cái
 Công tắc gạt1 cái
 Cầu chì1 cái
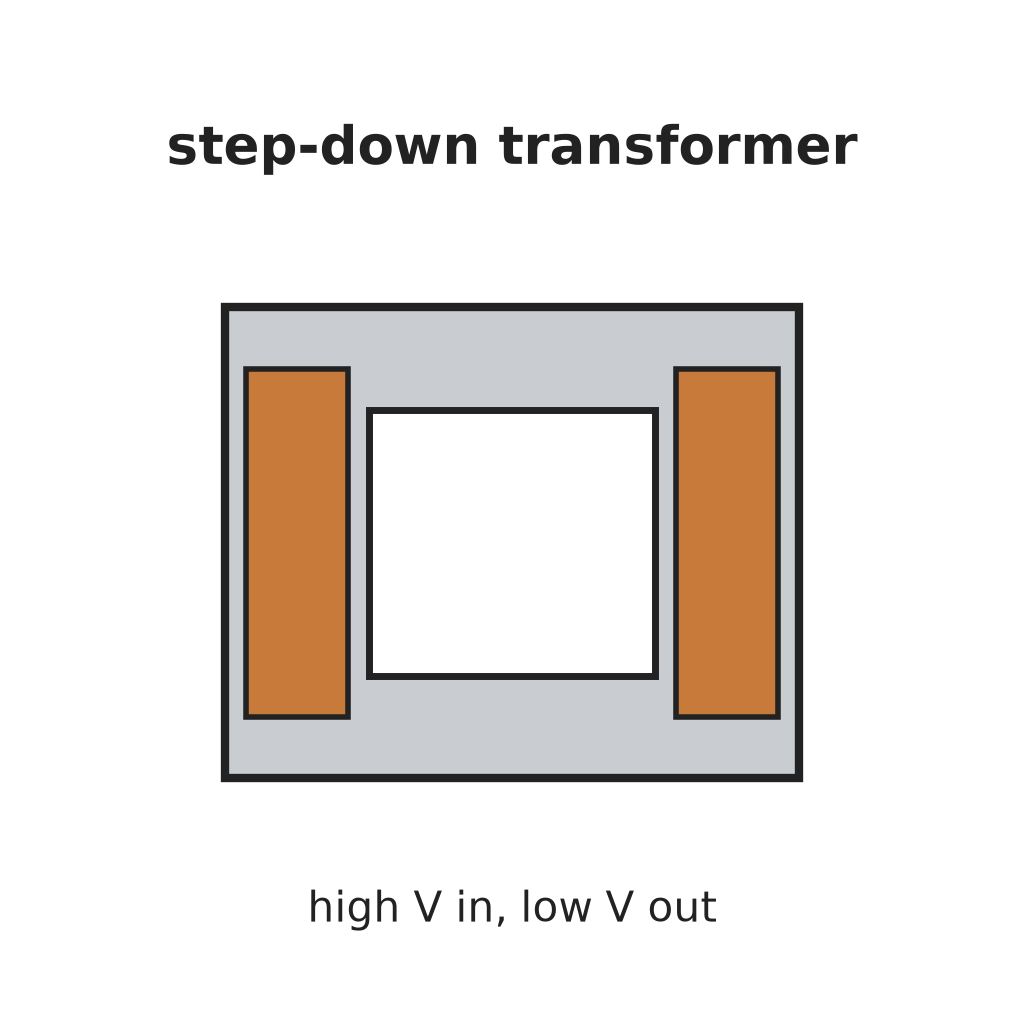 Máy biến áp hạ áp1 four secondaries
 Đèn báo neon1 cái
 Trụ đấu nối2 6.3 V terminals
Công cụ cần thiết:
 Khoan tay
 Bộ tua vít
2
2
Build the rectifiers
Build the rectifiers
Rectify the centre-tapped main winding with two rectifiers and smooth it with a capacitor. From the bias winding make two more supplies: one through two rectifiers with by-pass capacitors to a smoothing capacitor, for the pentode's screen and the reference circuit; the other through one rectifier and a capacitor, for the pentode's grid bias. Not given: the values.
Vật liệu cho bước này:
 Điốt5 rectifiers
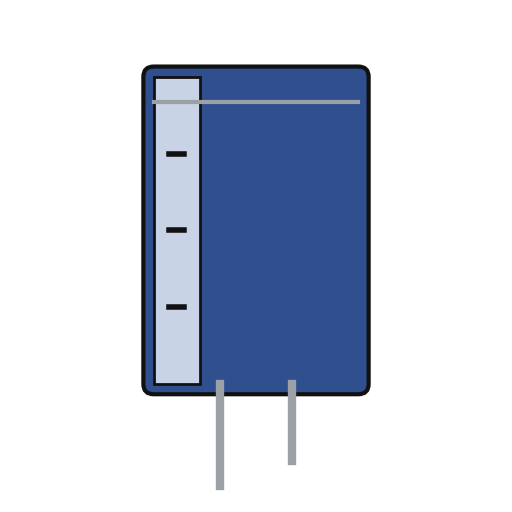 Tụ điện hóa3 smoothing
 Bộ tụ điện1 by-pass
 Dây thiếc hàn1 as needed
Công cụ cần thiết:
 Mỏ hàn
3
3
Fit the pass tube and reference
Fit the pass tube and reference
Put the pentode in series with the positive output: plate to the main supply, cathode through two current-sensing resistors (one fixed, one adjustable) to the + output terminal; suppressor tied to the cathode, screen fed through a resistor. Build the reference: a Zener fed through a resistor feeds a second Zener at constant current, giving a fixed voltage. Against it set two resistors and the voltage-control variable resistor: the output voltage is proportional to that resistor's setting. Not given: the tube type and values.
Vật liệu cho bước này:
 Đèn điện tử pentode1 series pass tube
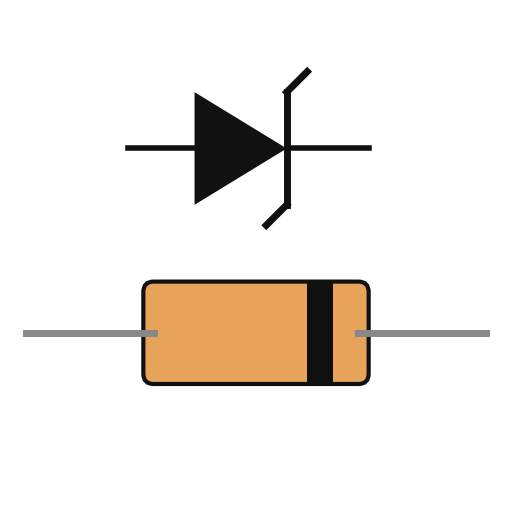 Điốt Zener2 cái
 Điện trở1 bộ
 Biến trở công suất2 voltage control, current-limit rangeTrụ đấu nối2 output + and -Dây thiếc hàn1 as needed
Công cụ cần thiết:
Mỏ hàn4
4
Build the error amplifier and current limit
Build the error amplifier and current limit
Build a five-transistor amplifier that drives the pentode's grid to keep the bridge balanced: a PNP emitter follower, an NPN stage, a PNP emitter follower with a resistor-capacitor roll-off against oscillation, a PNP driver whose base resistor has a capacitor across it for quick response, and an NPN clamp whose base is set by a potentiometer. Feed the voltage across the current-sensing resistors to the driver's base through a diode: above the limit it takes over and turns the pentode down. Choose the fixed sensing resistor to limit at about 125 % of rated current, trim with the potentiometer, and use the adjustable one to set lower limits. Not given: the transistor types and values.
Vật liệu cho bước này:
 Tranzito PNP3 cái
 Transistor NPN2 cáiĐiốt1 cái
 Chiết áp1 cáiBộ tụ điện1 roll-off, speed-upĐiện trở1 bộDây thiếc hàn1 as needed
Công cụ cần thiết:
Mỏ hàn5
5
Fit the meter and use it
Fit the meter and use it
Fit a meter with a four-pole, three-position switch. Position 1 reads output volts through a multiplier resistor; position 2 reads current across a shunt in the negative line; position 3 (spring-return) puts a load resistor across the output and swaps a fixed resistor for the voltage control, so you can turn the limit control until the current limits at the value you want, without touching the voltage setting. Release the switch and use the supply.
Vật liệu cho bước này:
 Đồng hồ bảng khung quay1 cái
 Công tắc xoay1 4-pole, 3-positionĐiện trở1 multiplier, shunt, load resistors
 Vật liệu không rõ1 terminal strip
Công cụ cần thiết:
Mỏ hànBộ tua vítVật liệu
21- 1 caseTạm thời
- 1 cáiTạm thời
- Tạm thời
- 1 cáiTạm thời
- 1 four secondariesTạm thời
- 1 cáiTạm thời
- Tạm thời
- 1 cáiTạm thời
- 3 smoothingTạm thời
- 1 roll-off, speed-upTạm thời
- 3 as neededTạm thời
- 1 series pass tubeTạm thời
- 2 cáiTạm thời
- 1 multiplier, shunt, load resistorsTạm thời
- 2 voltage control, current-limit rangeTạm thời
- 3 cáiTạm thời
- 2 cáiTạm thời
- Tạm thời
- Tạm thời
- 1 4-pole, 3-positionTạm thời
- 1 terminal stripTạm thời
Bản thiết kế này làm ra

CC0 Phạm vi công cộng
Bản thiết kế này được phát hành theo CC0. Bạn tự do sao chép, sửa đổi, phân phối và sử dụng cho bất kỳ mục đích nào mà không cần xin phép.
Hỗ trợ nhà sáng tạo bằng cách mua sản phẩm qua bản thiết kế, nơi họ nhận Hoa hồng nhà sáng tạo do nhà bán hàng đặt, hoặc tạo phiên bản mới và kết nối trong bản thiết kế riêng để chia sẻ doanh thu.