
Making a Bronze Needle — Drawing and Hammering Fine Wire
The bronze needle was one of the smallest yet most transformative tools of the Bronze Age. It made possible fitted clothing, leather working, sail-making, and surgical suturing — tasks that bone needles could perform but bronze needles did faster, finer, and without breaking.
Unlike larger tools that are cast in moulds, a needle is too thin to cast directly. Instead, a short bronze rod is hammered and drawn into a taper, then the eye is punched through with a fine pointed tool. The entire process relies on repeated cycles of cold-hammering (to shape and harden) and annealing (heating to soften for further working).
A well-made bronze needle is 6-10 cm long, about 2 mm in diameter at the thickest point, tapers to a sharp point, and has an eye large enough to thread sinew or flax fibre.
Hướng dẫn
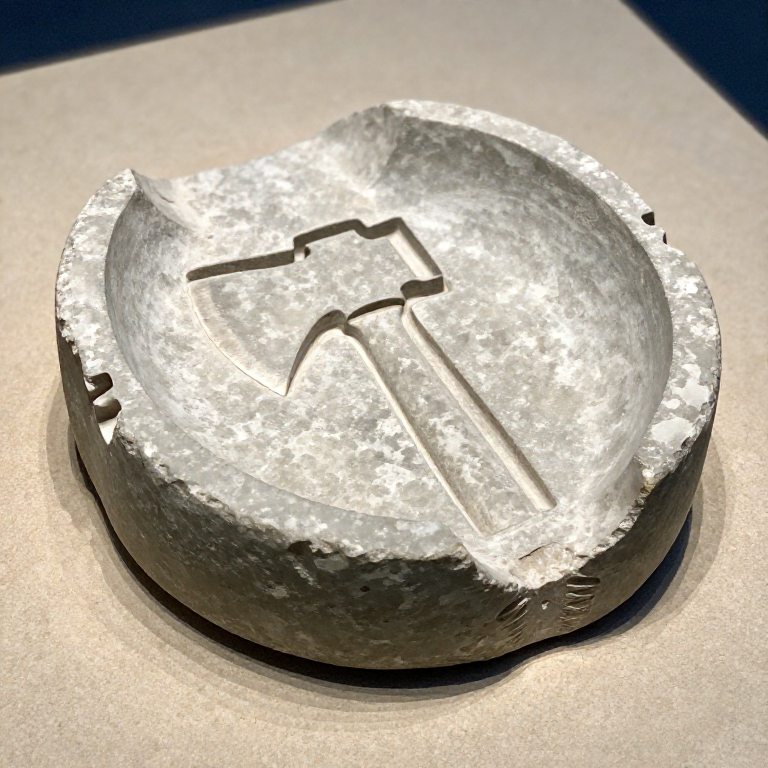
Cast a small bronze rod
Cast a small bronze rod
Vật liệu cho bước này:
 Copper Sheet (0.5-1mm)27 g
Hammer the rod to initial taper
Hammer the rod to initial taper
Công cụ cần thiết:
 Hammerstone
 Flat Stone Slab
Anneal to restore workability
Anneal to restore workability
Vật liệu cho bước này:
 Charcoal500 g
Continue hammering to needle dimensions
Continue hammering to needle dimensions
Form the eye end
Form the eye end
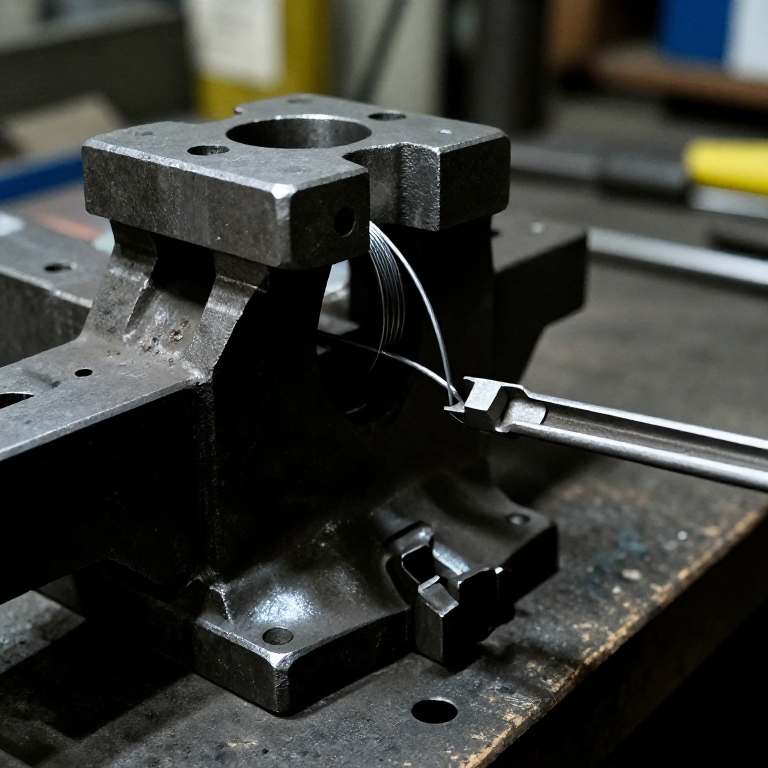
Punch the eye
Punch the eye
Sharpen the point
Sharpen the point
Vật liệu cho bước này:
 Whetstone1 cái
Polish and final work-hardening
Polish and final work-hardening
Vật liệu
3- Tạm thời
Công cụ yêu cầu
2- Tạm thời
- Tạm thời
Vật liệu bản thiết kế liên kết
Blueprint liên quan
Các blueprint này chia sẻ kiến thức — kỹ thuật, vật liệu hoặc nguyên tắc
Related blueprints
Other builds that share materials, tools, or techniques with this one.


CC0 Phạm vi công cộng
Bản thiết kế này được phát hành theo CC0. Bạn tự do sao chép, sửa đổi, phân phối và sử dụng cho bất kỳ mục đích nào mà không cần xin phép.
Hỗ trợ nhà sáng tạo bằng cách mua sản phẩm qua bản thiết kế, nơi họ nhận Hoa hồng nhà sáng tạo do nhà bán hàng đặt, hoặc tạo phiên bản mới và kết nối trong bản thiết kế riêng để chia sẻ doanh thu.