
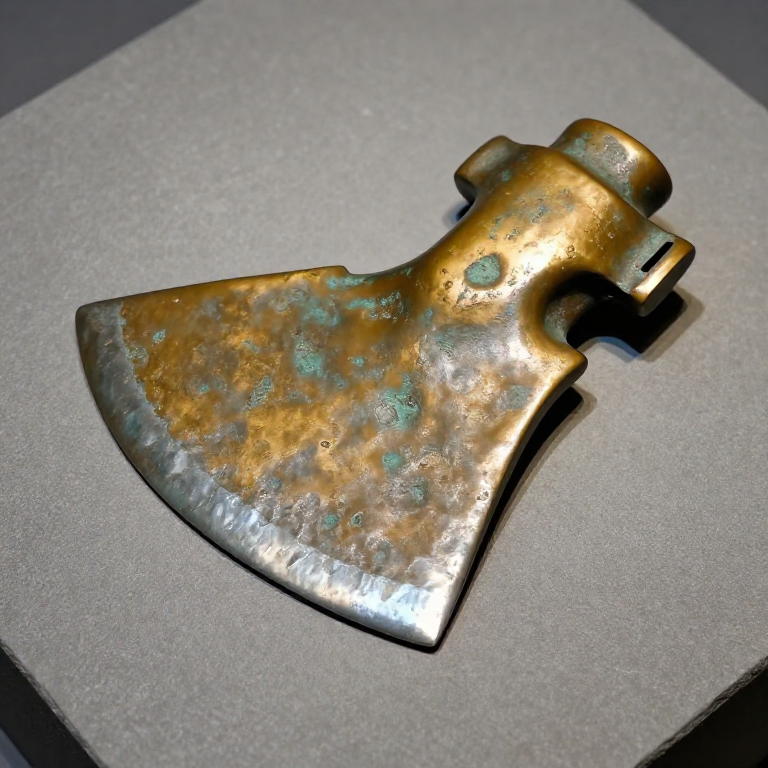
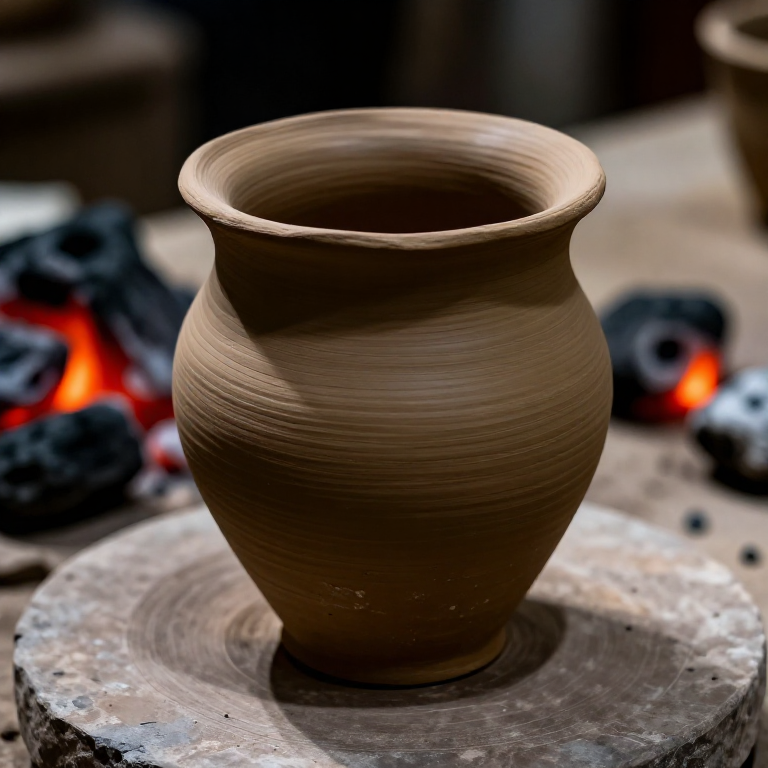
Casting a Bronze Socketed Spearhead — Bivalve Mould Method
The socketed spearhead was a major advance over the flat tanged point — the hollow socket allowed the shaft to be inserted directly into the head, creating a stronger and more aerodynamic weapon. This design appeared across the Bronze Age world from approximately 2000 BCE and remained in use for over a thousand years.
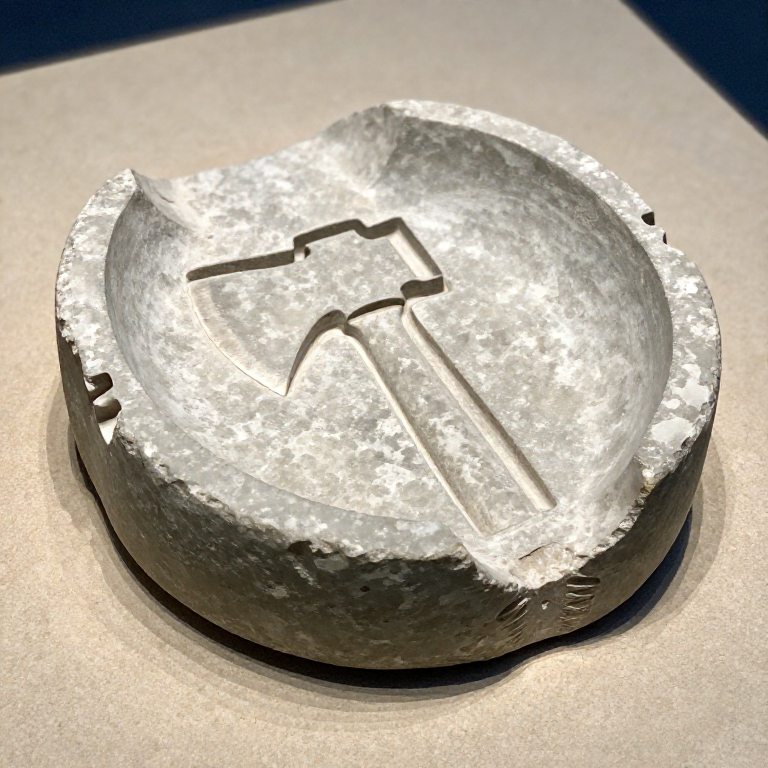
Creating the socket requires a bivalve mould with a clay core inserted between the two stone halves. The core occupies the space where the socket will be, so when the bronze solidifies around it and the core is broken out, a hollow tube remains. This is one of the earliest examples of core-casting — a technique that later evolved into the lost-wax process for complex hollow sculptures.
The leaf-shaped blade is cast with a raised midrib for rigidity, then the edges are cold-hammered and ground sharp. Two small holes at the socket base allow a pin or binding to lock the shaft in place.
Hướng dẫn
Prepare the bivalve mould
Prepare the bivalve mould
Vật liệu cho bước này:
 Soapstone Block (Steatite)2 cái
Form the clay core for the socket
Form the clay core for the socket
Vật liệu cho bước này:
 Refractory Clay200 g
 Fine Sand100 g
Assemble the mould with core
Assemble the mould with core
Vật liệu cho bước này:
 Rawhide Strips1 m
Pre-heat the assembled mould
Pre-heat the assembled mould
Melt and pour the bronze
Melt and pour the bronze
Vật liệu cho bước này:
 Charcoal4 kg
Công cụ cần thiết:
 Crucible Tongs (long-handled)
Cool and separate the mould halves
Cool and separate the mould halves
Remove the clay core
Remove the clay core
Công cụ cần thiết:
 Antler Tine
Remove sprue and grind the parting line
Remove sprue and grind the parting line
Vật liệu cho bước này:
 Sandstone (Abrasive)1 cái
Cold-hammer and sharpen the blade edges
Cold-hammer and sharpen the blade edges
Vật liệu cho bước này:
 Whetstone1 cái
Công cụ cần thiết:
 Hammerstone
 Flat Stone Slab
Drill the rivet holes and haft
Drill the rivet holes and haft
Vật liệu
7- Tạm thời
- 200 gTạm thời
- Tạm thời
- 1 cáiTạm thời
Công cụ yêu cầu
4- Tạm thời
- Tạm thời
- Tạm thời
- Tạm thời
Vật liệu bản thiết kế liên kết
You can swap these in
Can't get one of the materials? Swap it for an equivalent — these work just as well.
- Instead of Fine Sand, try:
 Casting Sand
 - Instead of Crucible Tongs (long-handled), try:
 Long-Handled Tongs
 Jar Tongs
 Forge Tongs
 Long-Handled Fire Tongs
 - Instead of Charcoal, try:
 Activated Charcoal Powder
 - Instead of Refractory Clay, try:
 Wild Clay
 Porcelain Clay
 Kaolin Clay Powder
 Palygorskite Clay (Attapulgite)
 Bentonite Clay
 - Instead of Flat Stone Slab, try:
 Live Edge Maple Slab
Recommended for this build
Products makers often use with builds like this one.
 Copper Sheet (0.5-1mm)Used together and in similar builds
 Leather Gauntlet GlovesFrequently used with this build's materials
 Charcoal Furnace (small)Frequently used with this build's materials
 BellowsFrequently used with this build's materials
 Clay Crucible (refractory)Frequently used with this build's materials
 Hardwood SaplingFrequently used with this build's materials
 Safety GogglesFrequently used with this build's materialsForge TongsUsed together and in similar builds
Blueprint liên quan
Các blueprint này chia sẻ kiến thức — kỹ thuật, vật liệu hoặc nguyên tắc
Related blueprints
Other builds that share materials, tools, or techniques with this one.


CC0 Phạm vi công cộng
Bản thiết kế này được phát hành theo CC0. Bạn tự do sao chép, sửa đổi, phân phối và sử dụng cho bất kỳ mục đích nào mà không cần xin phép.
Hỗ trợ nhà sáng tạo bằng cách mua sản phẩm qua bản thiết kế, nơi họ nhận Hoa hồng nhà sáng tạo do nhà bán hàng đặt, hoặc tạo phiên bản mới và kết nối trong bản thiết kế riêng để chia sẻ doanh thu.