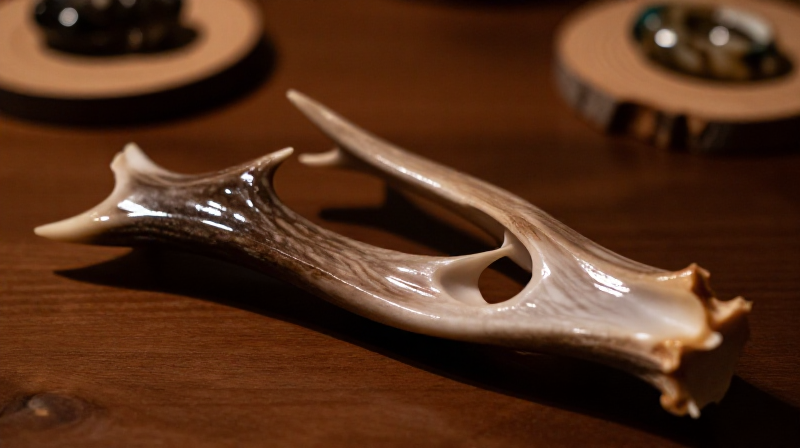
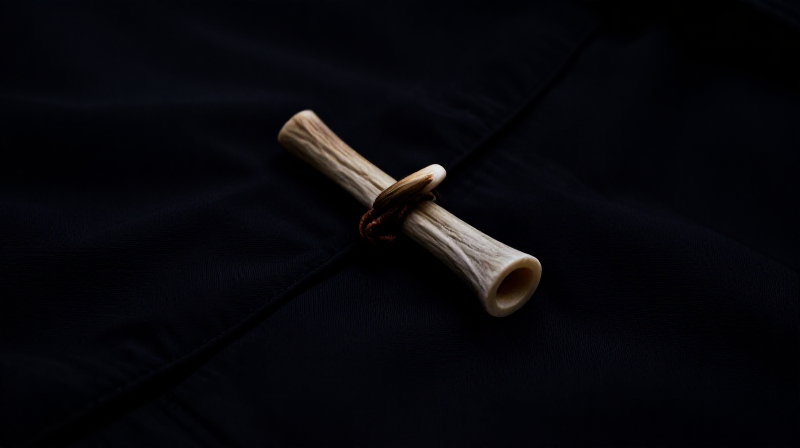
Cutting Decorative Deer Antler Slices — Polished Rounds for Display and Jewelry
A cross-section slice of deer antler reveals a striking natural pattern — the hard, glossy cortex ring surrounding an intricate network of cancellous bone that looks like fine lacework under polish. Each slice is unique in diameter, colour, and internal pattern. Polished antler slices make attractive coasters, pendants, Christmas ornaments, and display pieces.
This blueprint covers cutting thin rounds from a deer antler beam, wet-sanding to a high polish, optionally drilling a hanging hole, and sealing with linseed oil and beeswax to preserve the natural grain pattern.
Hướng dẫn
Select the beam section
Select the beam section
Choose the thickest part of the main beam for the largest slices — the lower beam near the coronet (the bumpy ring at the base) can be 50-70 mm in diameter on a mature white-tailed deer. For pendants, thinner tine sections (15-25 mm) work well. Avoid cracked or sun-bleached antler.
Vật liệu cho bước này:
 Deer Antler Section1 cái
 Deer1 cái
Saw thin rounds
Saw thin rounds
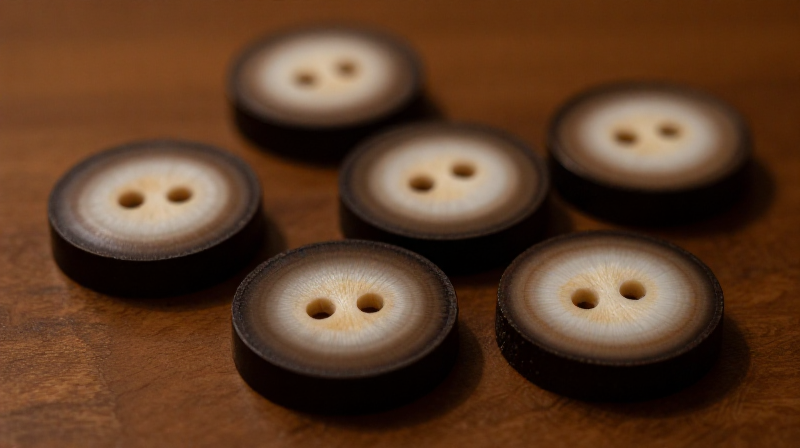
Clamp in a bench vise and cut slices 6-10 mm thick with a fine-toothed hacksaw. Thicker slices (8-10 mm) work for coasters and ornaments; thinner ones (6 mm) for pendants. Saw slowly and evenly to keep both faces parallel. Mark cut lines with a pencil for uniform thickness.
Công cụ cần thiết:
 Bench Vise
 Hacksaw
Sand and polish both faces
Sand and polish both faces
Sand flat on sandpaper laid on a hard surface. Start at 120 grit to flatten saw marks, then 220, 400, and finally 800 grit for a high polish. Wet-sand at 400+ grit — water keeps the dust down and produces a smoother finish. The cortex ring polishes to a glassy sheen; the spongy centre shows an intricate bone-grain pattern.
Vật liệu cho bước này:
 Sandpaper (120 Grit)1 tờ
 Sandpaper (220 Grit)1 tờ
 Sandpaper (400 Grit)1 tờ
 Sandpaper (800 Grit)1 tờ
Drill a hanging hole for pendants
Drill a hanging hole for pendants
For pendants or ornaments, drill a 2 mm hole near the edge of the cortex ring. Position it in the thickest part of the cortex so it does not crack through to the spongy centre. Drill at low speed on a scrap board backing. Skip this step for coasters or display pieces.
Công cụ cần thiết:
 Cordless Drill
 Drill Bit Set
Seal with oil and wax
Seal with oil and wax
Apply boiled linseed oil to both faces with a cloth, let it soak in for 10 minutes, then wipe dry. Once the oil dries (24 hours), buff with a thin layer of beeswax for a protective sheen. The oil deepens the natural colour contrast between cortex and core; the wax prevents the spongy centre from absorbing moisture or staining.
Vật liệu cho bước này:
 Boiled Linseed Oil30 ml
 Beeswax15 g
Vật liệu
8- 1 cáiTạm thời
- Tạm thời
- Tạm thời
- Tạm thời
- Tạm thời
- 30 mlTạm thời
Vật liệu bản thiết kế liên kết
Blueprint liên quan
Các blueprint này chia sẻ kiến thức — kỹ thuật, vật liệu hoặc nguyên tắc
Related blueprints
Other builds that share materials, tools, or techniques with this one.
CC0 Phạm vi công cộng
Bản thiết kế này được phát hành theo CC0. Bạn tự do sao chép, sửa đổi, phân phối và sử dụng cho bất kỳ mục đích nào mà không cần xin phép.
Hỗ trợ nhà sáng tạo bằng cách mua sản phẩm qua bản thiết kế, nơi họ nhận Hoa hồng nhà sáng tạo do nhà bán hàng đặt, hoặc tạo phiên bản mới và kết nối trong bản thiết kế riêng để chia sẻ doanh thu.