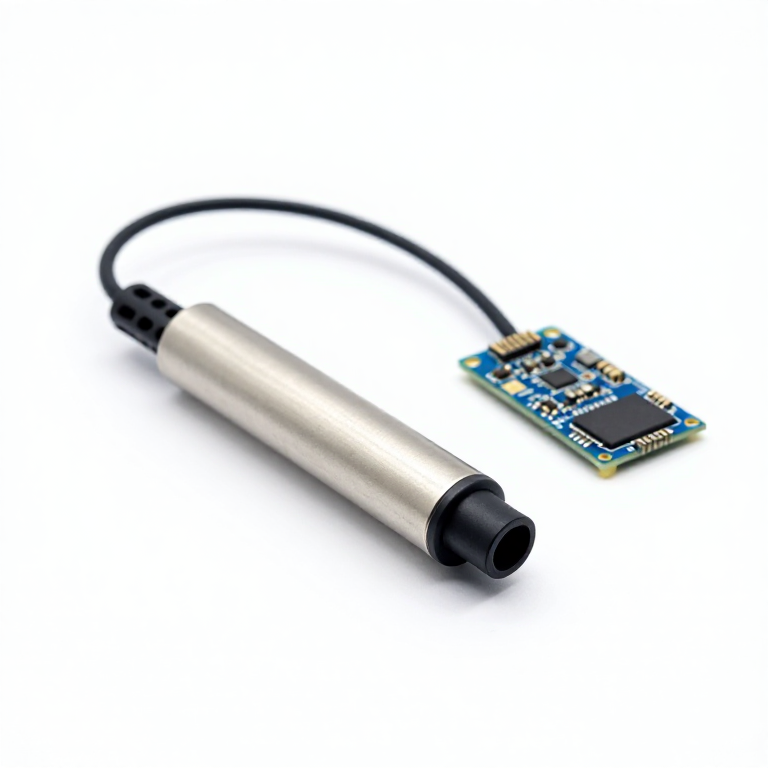


Data-Logging Thermometer
Hướng dẫn
Solder headers to the microSD shield
Solder headers to the microSD shield
Solder the stacking headers to the microSD shield.
- Seat the headers in the shield from the top.
- Tack one pin at each end first, then check the header sits square before doing the rest.
- Give each joint about two seconds of heat.
Vật liệu cho bước này:
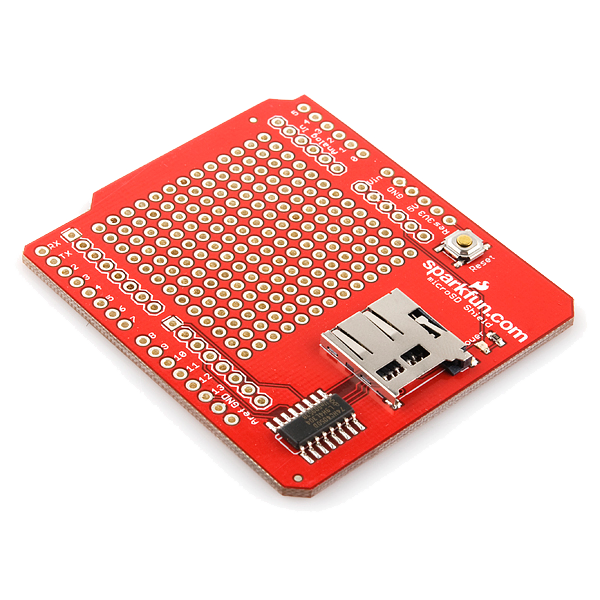 microSD Shield1 cái
Công cụ cần thiết:
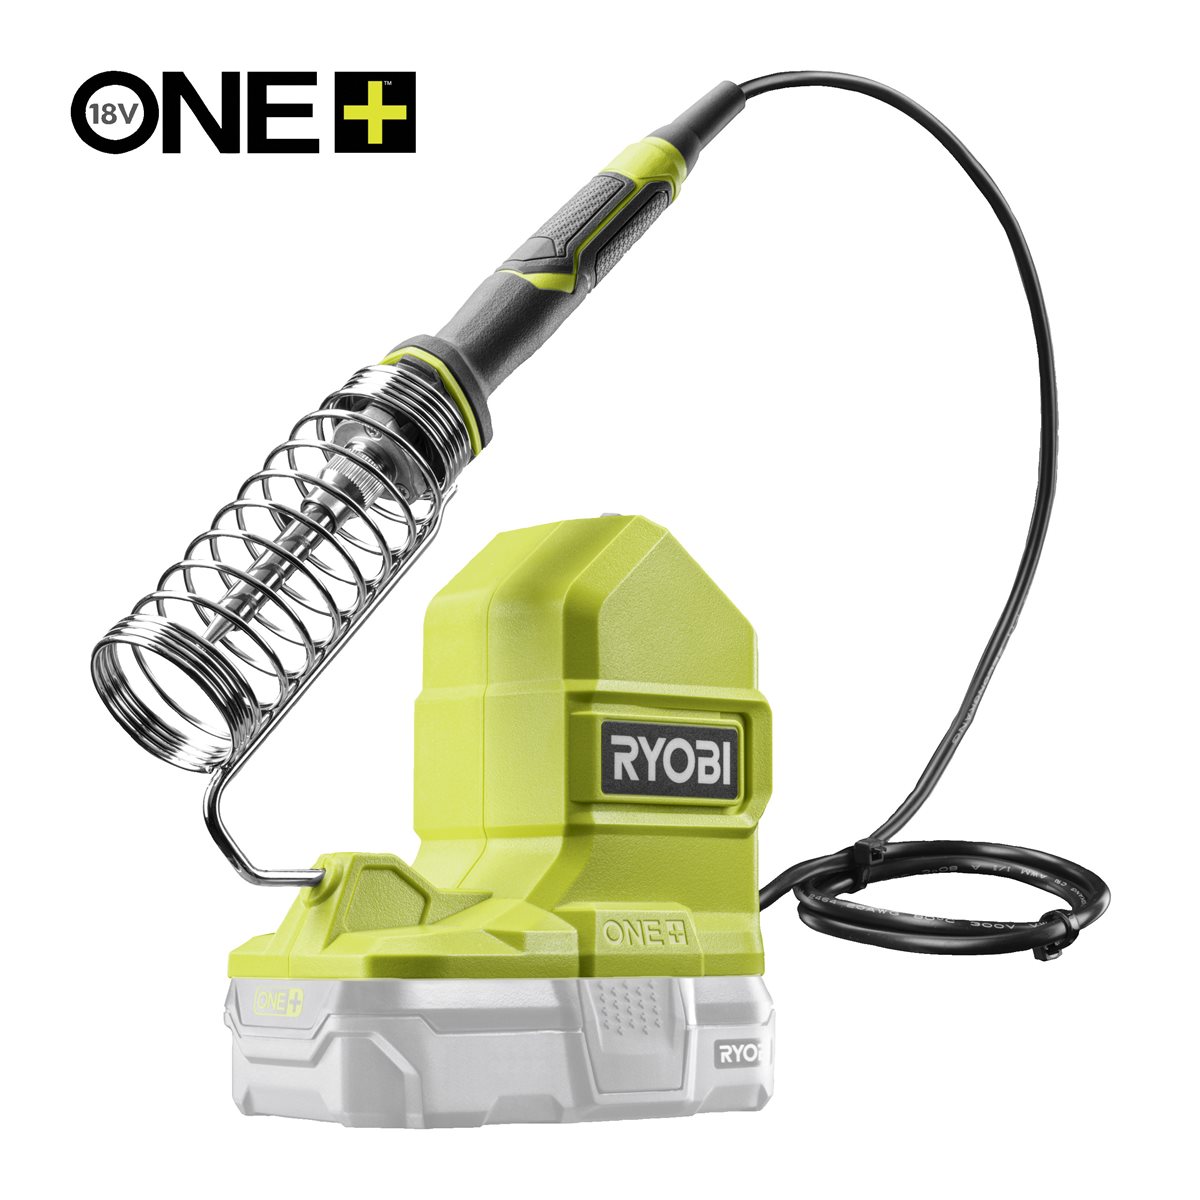 Ryobi ONE+ RSI18-0 Cordless Soldering Iron
Wire the probe — pin by pin
Wire the probe — pin by pin
Stack the shield on the Uno, then wire the probe on the breadboard.
- Probe red → Arduino 5V
- Probe black → Arduino GND
- Probe yellow (data) → Arduino D2
- 4.7 kΩ resistor between D2 and 5V
The shield already uses D11 MOSI, D12 MISO, D13 SCK and D8 as card select. Leave those four alone.
The 4.7 kΩ pull-up is not optional. The 1-Wire bus is open-drain: without it the bus never rises and every reading comes back -127.Vật liệu cho bước này:
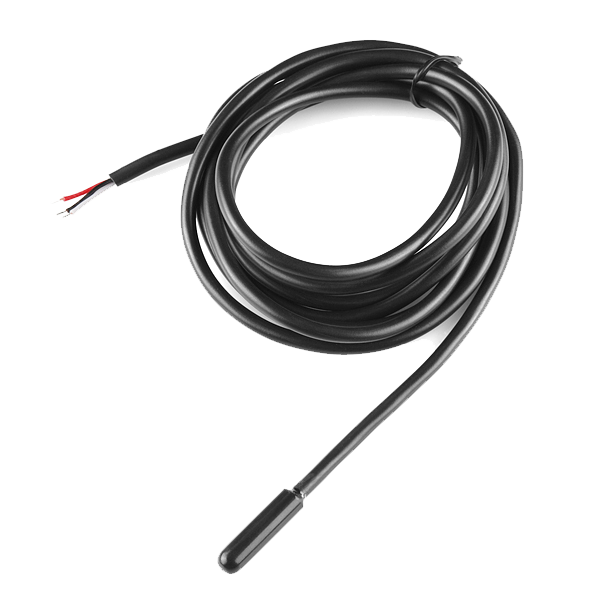 Temperature Sensor - Waterproof (DS18B20)1 cái
 Arduino Uno R3 SMD1 cái
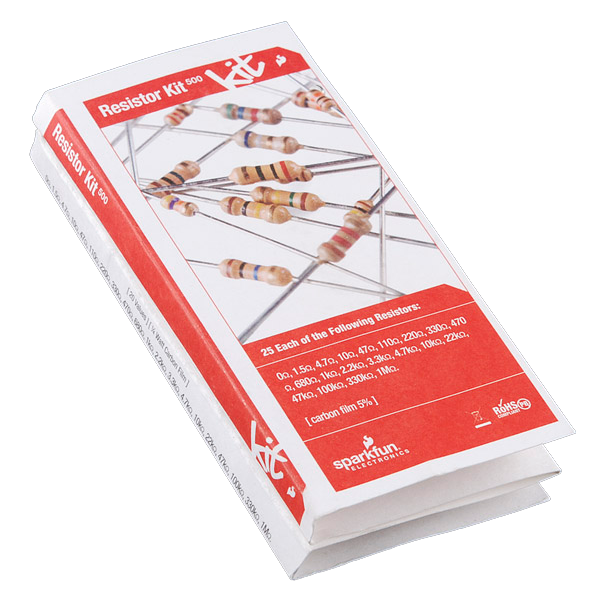 Resistor Kit - 1/4W (500 total)1 bộ
 Breadboard - Classic1 cái
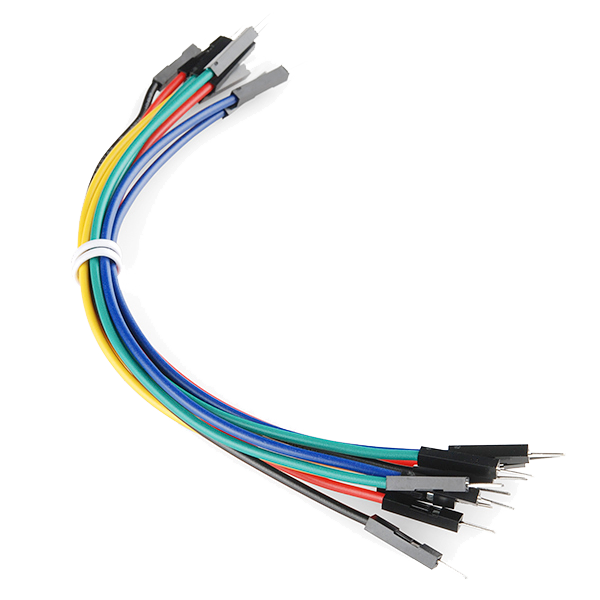 Jumper Wires Premium M/M 20 AWG - 15.5 cm (Pack of 10)1 gói
Power it, and decide how it will run
Power it, and decide how it will run
For setup and for reading the serial monitor, the USB-B cable from the computer both powers the board and carries the upload.
To leave it logging away from a computer, feed 7–12 V into the Uno's barrel jack instead, or a regulated 5 V into the 5V pin. Do not do both at once.
The card only receives what was written and closed. Pulling power mid-write loses at most the sample in flight, because the sketch closes the file after every line.Vật liệu cho bước này:
 USB-B Cable1 cái
Format the card
Format the card
Format the microSD card as FAT32.
The Arduino SD library cannot read exFAT, which is what cards larger than 32 GB are formatted with from the factory. A card that 'does not work' is nearly always this.Upload the logging sketch
Upload the logging sketch
Install OneWire and DallasTemperature via Library Manager. SD and SPI ship with the IDE. Select Tools → Board → Arduino Uno, then Upload.
Verify against a known point
Verify against a known point
Put the probe in a stirred ice-water bath — ice and water together, not ice alone.
- A correct DS18B20 settles at 0.0 °C ± 0.5.
- A constant -127 means no sensor on the bus: pull-up missing or data on the wrong pin.
- A constant 85.0 is the sensor's power-on default — it was read before its first conversion finished.
Vật liệu
7- microSD ShieldHoa hồng 10%1 cái$14.14
- Temperature Sensor - Waterproof (DS18B20)Hoa hồng 10%1 cái$9.43
- Arduino Uno R3 SMDHoa hồng 10%1 cái$26.85
- Resistor Kit - 1/4W (500 total)Hoa hồng 10%1 bộ$7.49
- Breadboard - ClassicHoa hồng 10%1 cái$9.43
- 1 gói$4.97
- SparkFun Cerberus USB Cable - 1.8 meterHoa hồng 10%1 cái$5.64
Công cụ yêu cầu
1- Ryobi ONE+ RSI18-0 Cordless Soldering IronHoa hồng 3%$92.47
CC0 Phạm vi công cộng
Bản thiết kế này được phát hành theo CC0. Bạn tự do sao chép, sửa đổi, phân phối và sử dụng cho bất kỳ mục đích nào mà không cần xin phép.
Hỗ trợ nhà sáng tạo bằng cách mua sản phẩm qua bản thiết kế, nơi họ nhận Hoa hồng nhà sáng tạo do nhà bán hàng đặt, hoặc tạo phiên bản mới và kết nối trong bản thiết kế riêng để chia sẻ doanh thu.