NGHỆ THUẬT
LÀM ĐẸP VÀ SỨC KHỎE
THỦ CÔNG
VĂN HÓA VÀ LỊCH SỬ
GIẢI TRÍ
MÔI TRƯỜNG
THỰC PHẨM VÀ ĐỒ UỐNG
KỸ THUẬT NGƯỢC
KHOA HỌC
THỂ THAO
CÔNG NGHỆ
THIẾT BỊ ĐEO
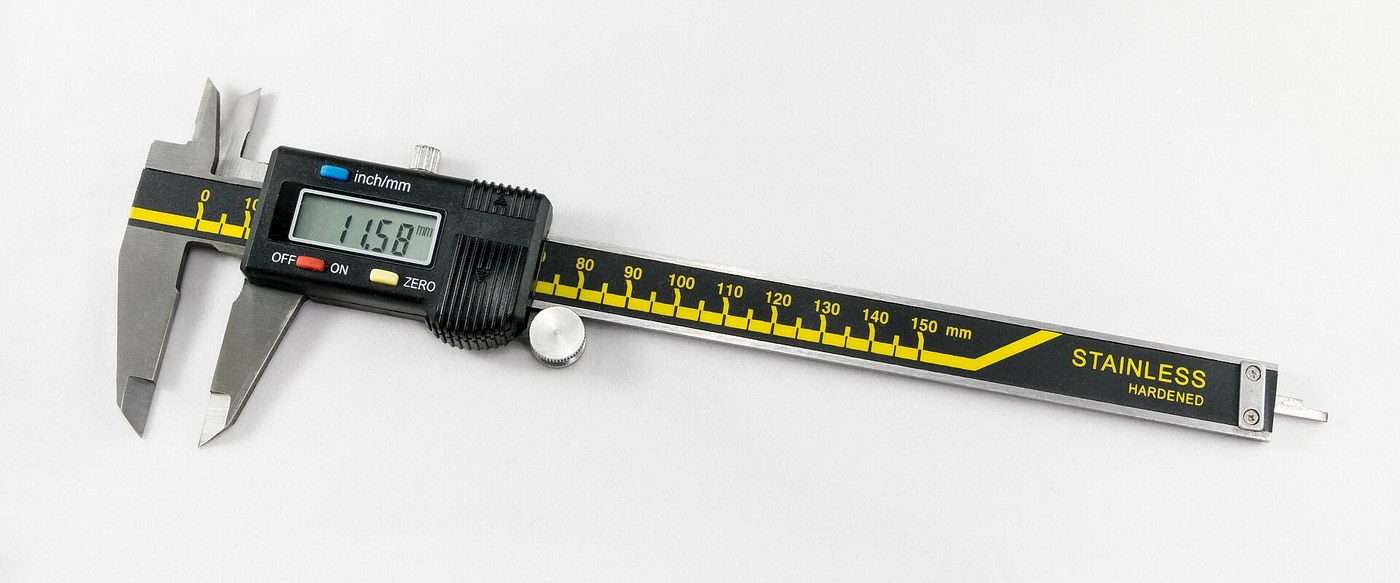


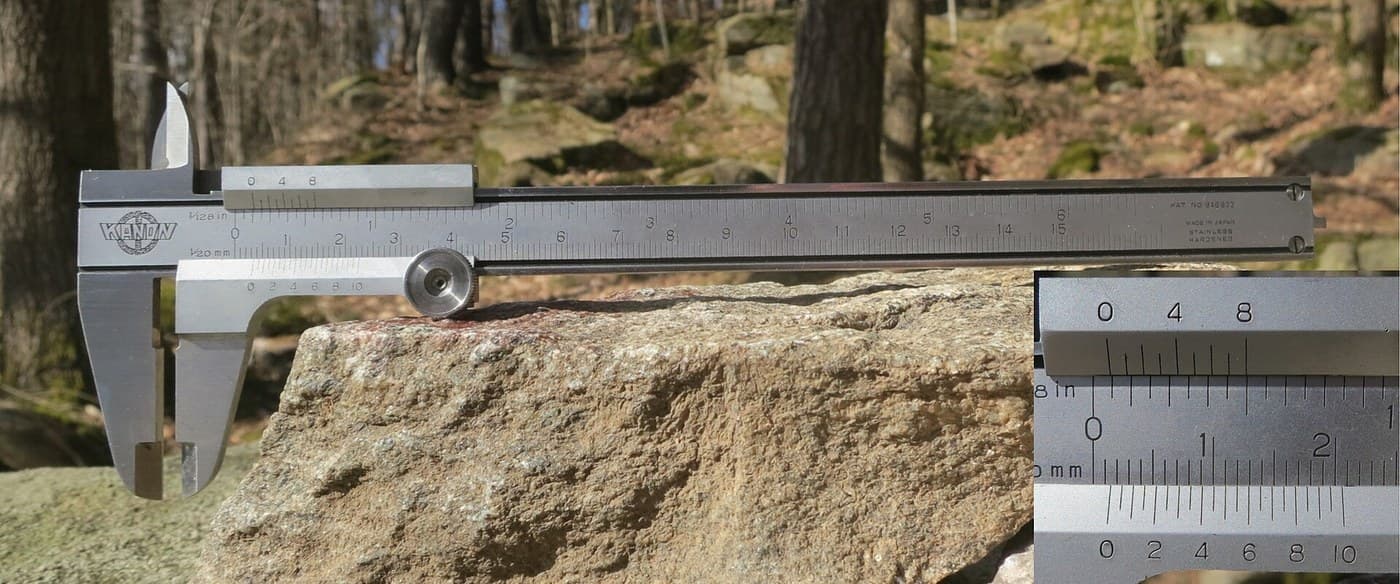
Digital Caliper: Capacitive Scale and Slider with Two-Chip Electronics (Baxter and Buehler, Starrett, 1986)
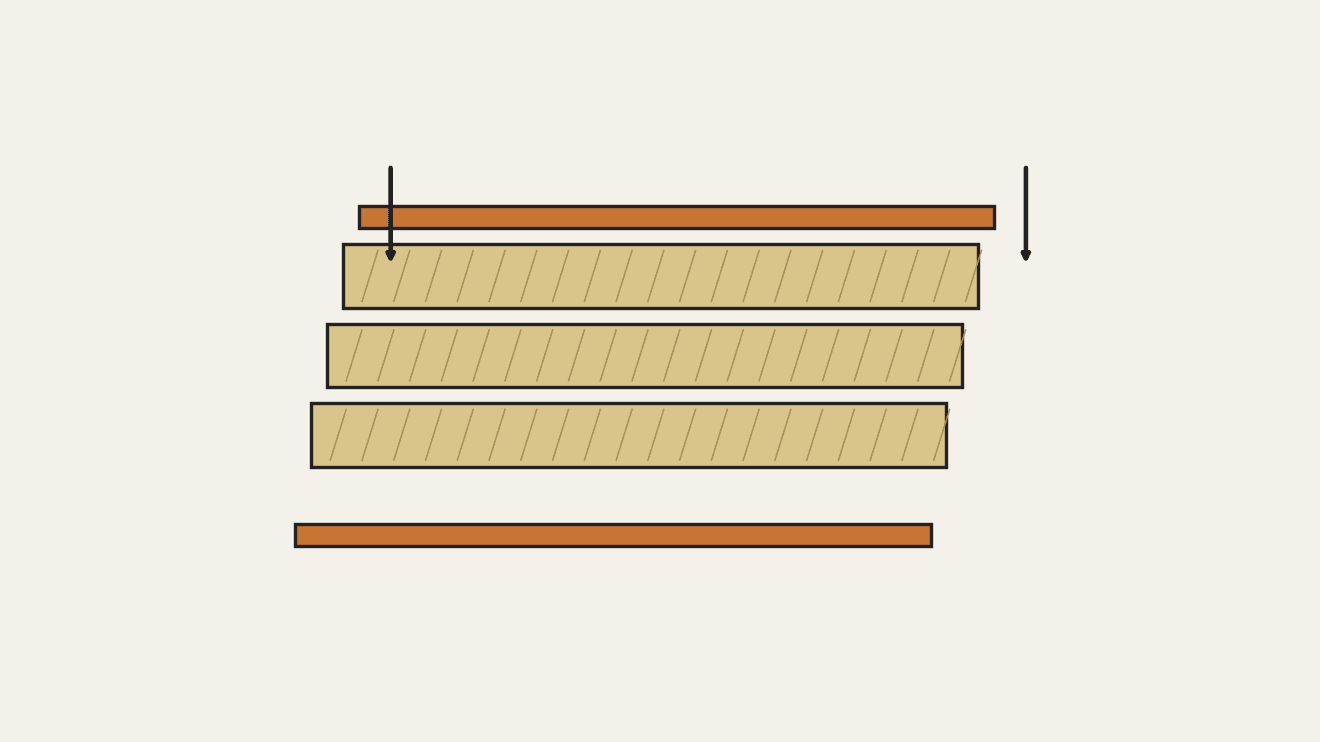
A six-inch caliper that reads out on a display. Under the slide, a strip of etched copper bars runs along the beam. Electrodes on the slider pass a signal through the bars by capacitance, and the slider's electronics count the bars crossed and work out the position in between.
Result: a digital caliper reading in inches or millimetres, repeatable to a ten-thousandth of an inch, with floating zero, peak hold and high/low limits. It runs on two 1.5 V cells at 10-50 microamps.
Source: L. K. Baxter and R. J. Buehler (L. S. Starrett Co.), US Patent 4,586,260 (1986). Unknown: the metal of the beam, slide and rod, their dimensions, the processor's program, and how the chips and display are made. Ours: the etchant, photoresist and glue. Picture: Wikimedia Commons.
Nâng cao
2 days
Hướng dẫn
1
1
Etch the scale
Etch the scale
Etch the scale pattern onto a strip of copper-clad epoxy fibreglass with photoresist and etchant. Each copper bar is 0.40 inch long, with a wider centre 0.12 inch long and two ends 0.14 inch long. Space the bars on 0.05 inch centres: the centres sit 0.004 inch apart, the ends 0.025 inch apart. Run the pattern the full length of the scale. Ours: dry film resist and ferric chloride.
Vật liệu cho bước này:
 Phôi mạch in (phủ đồng)1 strip, length of the beam
Công cụ cần thiết:
 Màng cảm quang khô
 Dung dịch sắt(III) clorua
 Găng tay chống hóa chất
2
2
Fix the scale into the beam
Fix the scale into the beam
The beam is a metal bar with the fixed outside and inside jaws at one end, a wide shallow channel in its face and a second channel along its back. Fix the scale permanently into the face channel, copper up. The patent allows etching before or after this step. Not given: the metal, the dimensions and how the scale is fixed. Ours: epoxy.
Vật liệu cho bước này:
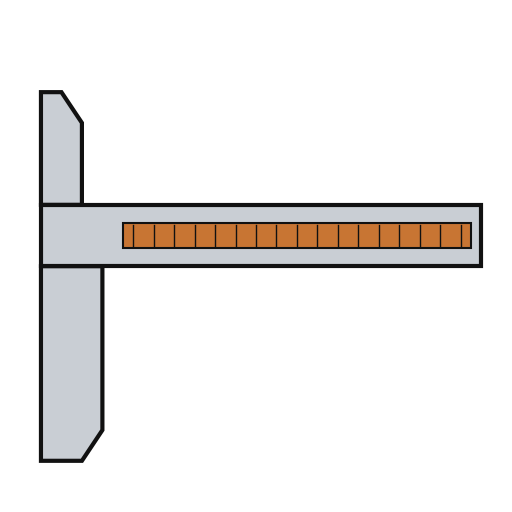 Thân thước cặp1 with integral jaws
 Keo epoxy hai thành phần (đông nhanh)1 a little
Công cụ cần thiết:
 Kích thước chưa rõ
3
3
Fit the parts to the circuit
Fit the parts to the circuit
The circuit is one folded piece: a double-sided slider board joined by a flexible hinge to a circuit board. Its bottom face has two pickup electrodes, 0.750 x 0.110 inch and 0.0625 inch apart. On each side of them is an interdigitated transmitter array: fingers 0.115 inch long on 0.025 inch spacing, opening to 0.0375 inch at the centre. On the circuit board, solder or wire-bond the two chips: an NEC uPD7503 3 V processor (768 bits RAM, 2 kB ROM) and a CMOS gate array. Then fit the LCD, the 100 kHz crystal, the integrating capacitor and the MODE and SET buttons. Not given: the processor's program. Ours: a capacitor from a kit.
Vật liệu cho bước này:
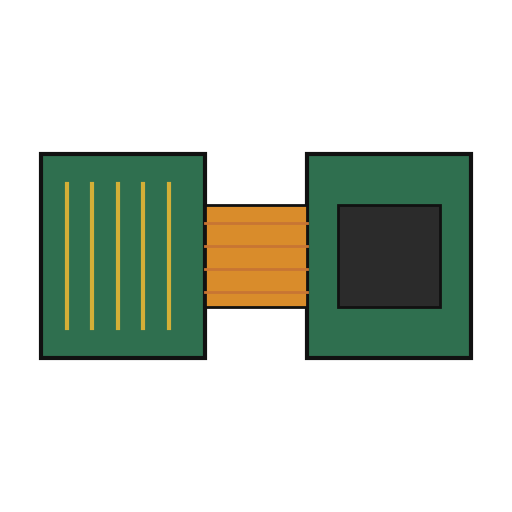 Bảng mạch cứng-dẻo1 slider board + circuit board
 Vi mạch tích hợp2 uPD7503 CPU, CMOS gate array
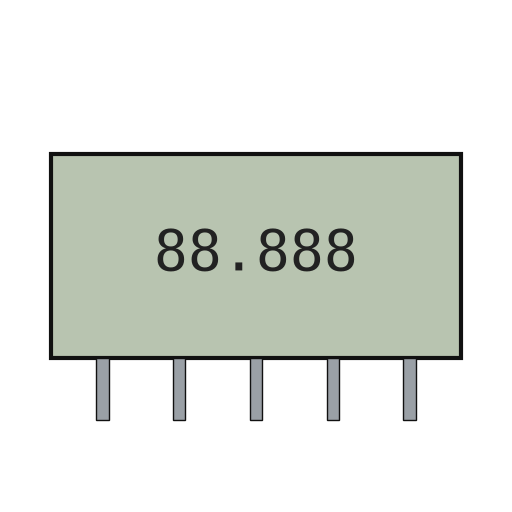 Màn hình LCD phân đoạn1 5 digits
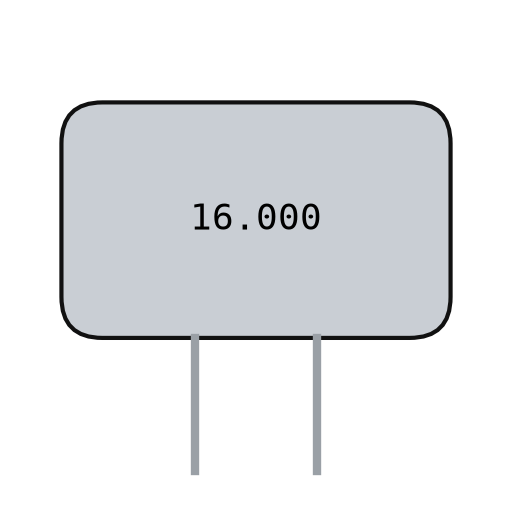 Tinh thể thạch anh1 100 kHz
 Bộ tụ điện1 one integrating capacitor
 Nút nhấn2 MODE, SET
 Dây thiếc hàn1 a little
Công cụ cần thiết:
 Mỏ hàn
4
4
Build the slide
Build the slide
The slide frame wraps the back and edges of the beam and carries the movable jaws. Fix it to the depth rod, which runs in the back channel of the beam; the rod's free end is the depth gauge. Put the moulded plastic housing between the frame ends. Fasten two metal wear strips under the slider board, one on each side of the scale. They ride on the beam and connect the board's copper to it. Not given: the metal and sizes.
Vật liệu cho bước này:
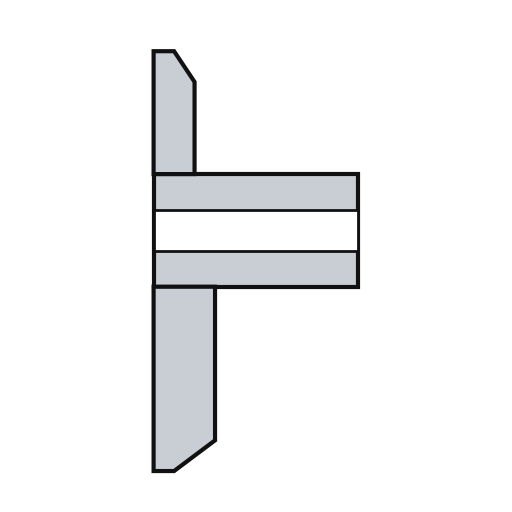 Khung con trượt1 with jaws
 Kim loại chưa rõ1 depth rod and two wear strips
 Vỏ con trượt1 cái
Công cụ cần thiết:
Kích thước chưa rõ Bộ tua vít chính xác
5
5
Assemble and check
Assemble and check
Fold the circuit into the housing recess, slider board facing the scale, and screw it to the frame. The electrodes must lie parallel to the scale bars at every point of travel. Put the two 1.5 V cells (the patent says 'zinc oxide') in the battery pockets of the circuit. The display shows five digits, a ten-thousandths bar graph, a minus sign and 'mm', plus PEAK, LOW, HIGH and LIMIT. Ours: check the reading against a vernier caliper.
Vật liệu cho bước này:
 Vít máy2 cái
 Pin cúc áo 1,5 V2 cái
Công cụ cần thiết:
Bộ tua vít chính xác Thước cặp
Vật liệu
15- 1 strip, length of the beamTạm thời
- 1 with integral jawsTạm thời
- 1 a littleTạm thời
- 1 slider board + circuit boardTạm thời
- 2 uPD7503 CPU, CMOS gate arrayTạm thời
- 1 5 digitsTạm thời
- 1 100 kHzTạm thời
- 1 one integrating capacitorTạm thời
- Tạm thời
- 1 a littleTạm thời
- 1 with jawsTạm thời
- 1 depth rod and two wear stripsTạm thời
- 1 cáiTạm thời
- 2 cáiTạm thời
- 2 cáiTạm thời
Công cụ yêu cầu
7- Tạm thời
- Tạm thời
- Tạm thời
- Tạm thời
- 2 vendors sell this, none ship to you yetTạm thời
- Tạm thời
- Tạm thời
Vật liệu bản thiết kế liên kết

Bản thiết kế này làm ra

Blueprint liên quan
Các blueprint này chia sẻ kiến thức — kỹ thuật, vật liệu hoặc nguyên tắc
CC0 Phạm vi công cộng
Bản thiết kế này được phát hành theo CC0. Bạn tự do sao chép, sửa đổi, phân phối và sử dụng cho bất kỳ mục đích nào mà không cần xin phép.
Hỗ trợ nhà sáng tạo bằng cách mua sản phẩm qua bản thiết kế, nơi họ nhận Hoa hồng nhà sáng tạo do nhà bán hàng đặt, hoặc tạo phiên bản mới và kết nối trong bản thiết kế riêng để chia sẻ doanh thu.