
Greek Marble Column — Fluting a Marble Column Drum
Hướng dẫn
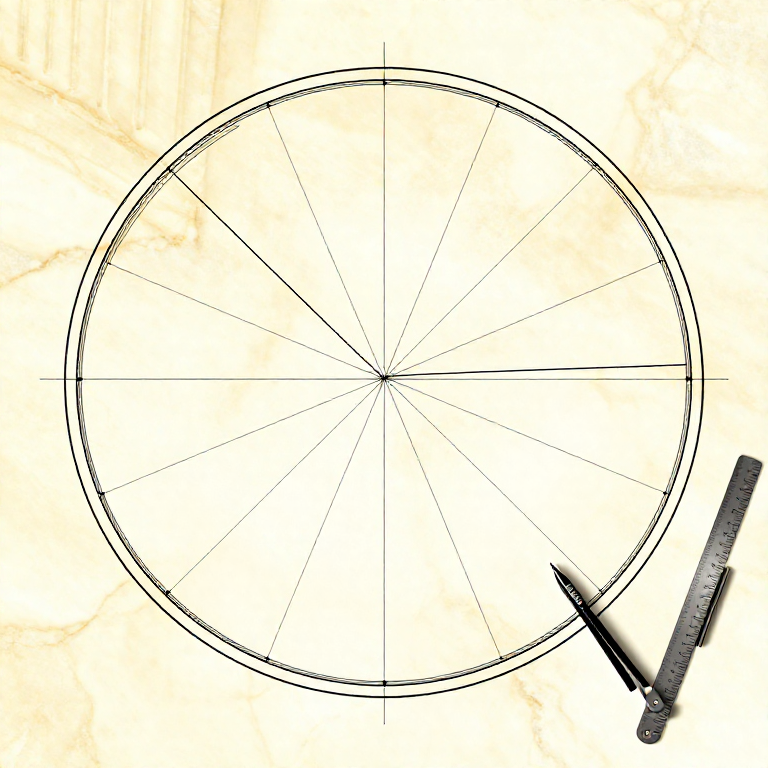
Lay Out the Flute Positions
Lay Out the Flute Positions
Greek Doric columns have 20 flutes; Ionic columns have 24. Using dividers, divide the circumference of the column drum into the correct number of equal segments. Mark vertical lines down the full height of the drum at each division point — these represent the sharp ridges (arrises) between adjacent flutes. The flute itself occupies the space between two consecutive arris lines. For Doric columns, the flute profile is a shallow concave arc (approximately an arc of a circle), and adjacent flutes meet at a sharp arris. For Ionic columns, the flutes are separated by flat fillets (narrow flat bands between the concave channels). Use a curved template cut to the exact flute profile to ensure consistency across all 20 or 24 flutes.
Vật liệu cho bước này:
 Wateras needed cái
Công cụ cần thiết:
 Iron ChiselIron ChiselIron Chisel
 Dividers
 Safety Goggles
Rough Out the Flute Channels
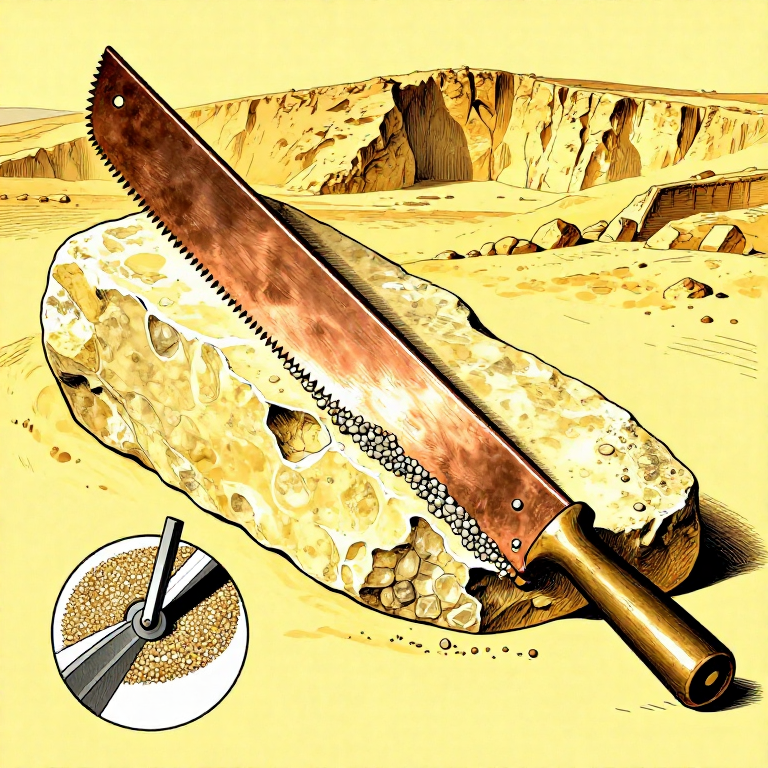
Rough Out the Flute Channels
Using a point chisel and mallet, rough out the concave channel of each flute by removing marble in a series of closely spaced grooves along the channel length. Work from top to bottom, following the marked layout lines carefully. Remove material to within approximately 3-5 mm of the final surface, leaving enough for the finishing cuts. The depth of each flute is typically about 1/20 of the column diameter — for a 50 cm diameter column, each flute is approximately 2.5 cm deep at its center. Work all flutes to the same rough stage before starting finish work, as this allows you to check the spacing and symmetry of the overall pattern before committing to final surfaces.
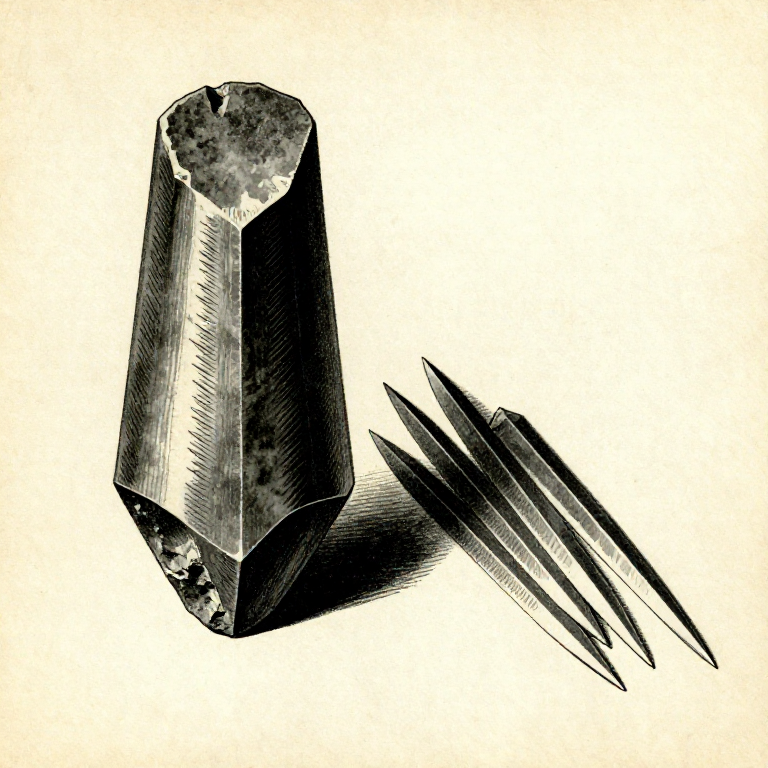
Refine with Claw and Flat Chisels
Refine with Claw and Flat Chisels
Switch to a claw chisel (toothed chisel) to refine the concave surface of each flute, removing the ridges left by the point chisel. The claw chisel leaves a uniformly textured surface with parallel tooth marks. Check the profile frequently against the curved template to maintain the correct concave arc. Then use a flat chisel to smooth the surface further, working with the grain of the marble. The sharp arrises between adjacent flutes require particular care — each arris must be a clean, straight, sharp edge running the full height of the drum. Any waviness in the arris line is highly visible because it catches light differently from its neighbors.
Final Smoothing and Polishing
Final Smoothing and Polishing
Polish the flute surfaces using progressively finer abrasive stones — coarse emery, fine emery, then pumice — rubbed along the length of each channel. The finished surface should be uniformly smooth with no visible tool marks. Greek marble work achieved extraordinarily precise surfaces — the columns of the Parthenon show tolerances of fractions of a millimeter across flute surfaces several meters tall. A well-carved flute catches light along its concave surface in a gradient from bright (at the edges near the arrises) to dark (at the deepest point), creating the rhythmic pattern of light and shadow that gives fluted columns their distinctive visual life. This optical effect is dramatically different from a plain cylindrical surface.

Understand Column Assembly
Understand Column Assembly
Greek columns were assembled from individual drums stacked on top of each other, not carved from single blocks (except for the smallest columns). Each drum was precision-ground on its top and bottom faces to ensure perfect horizontal contact, and aligned with its neighbors using a central wooden or metal dowel (empolion) set in a socket carved into the center of each drum face. Critically, the fluting was carved after the column drums were assembled in their final position — this ensured perfect alignment of the flutes from drum to drum, despite the impossibility of achieving this alignment during individual drum carving. Evidence for this sequence comes from unfinished temples (like Temple E at Selinus) where drums are in place but fluting is incomplete. The column was finished by carving the flutes downward from the top while standing on scaffolding around the erected column.
Vật liệu
2- 1 cylindrical block, 30-50 cm diameter cáiTạm thời
Công cụ yêu cầu
7- Tạm thời
- Tạm thời
- Tạm thời
- Tạm thời
- Tạm thời
- Tạm thời
Related blueprints
Other builds that share materials, tools, or techniques with this one.

CC0 Phạm vi công cộng
Bản thiết kế này được phát hành theo CC0. Bạn tự do sao chép, sửa đổi, phân phối và sử dụng cho bất kỳ mục đích nào mà không cần xin phép.
Hỗ trợ nhà sáng tạo bằng cách mua sản phẩm qua bản thiết kế, nơi họ nhận Hoa hồng nhà sáng tạo do nhà bán hàng đặt, hoặc tạo phiên bản mới và kết nối trong bản thiết kế riêng để chia sẻ doanh thu.