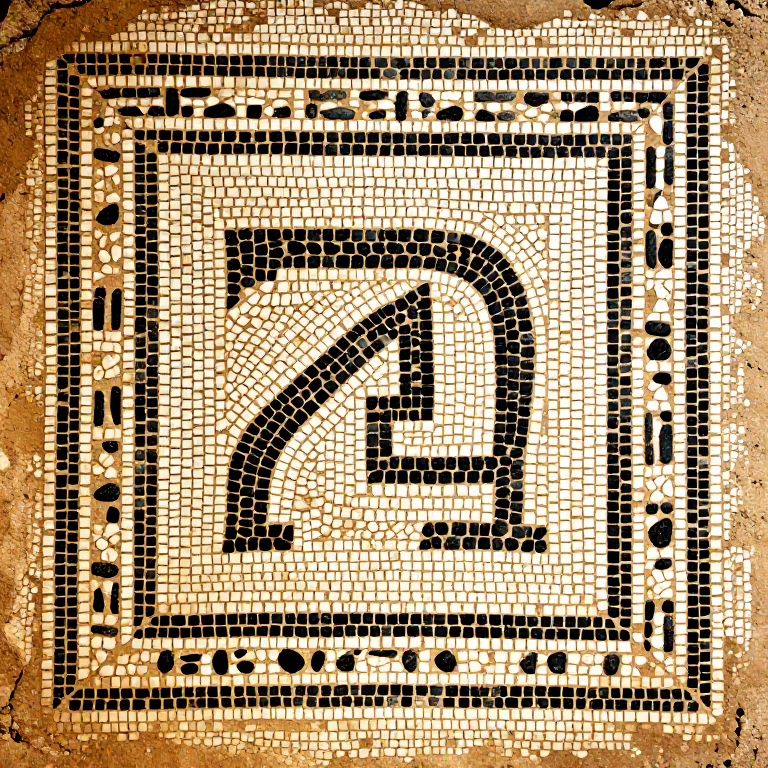
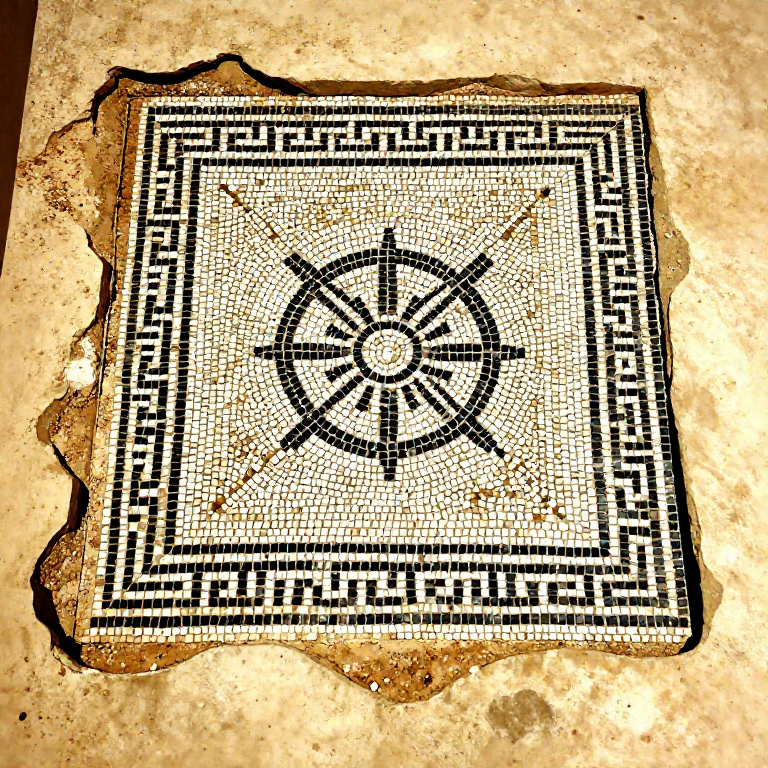
Greek Mosaic Floor — Laying a Pebble Mosaic Floor
Hướng dẫn
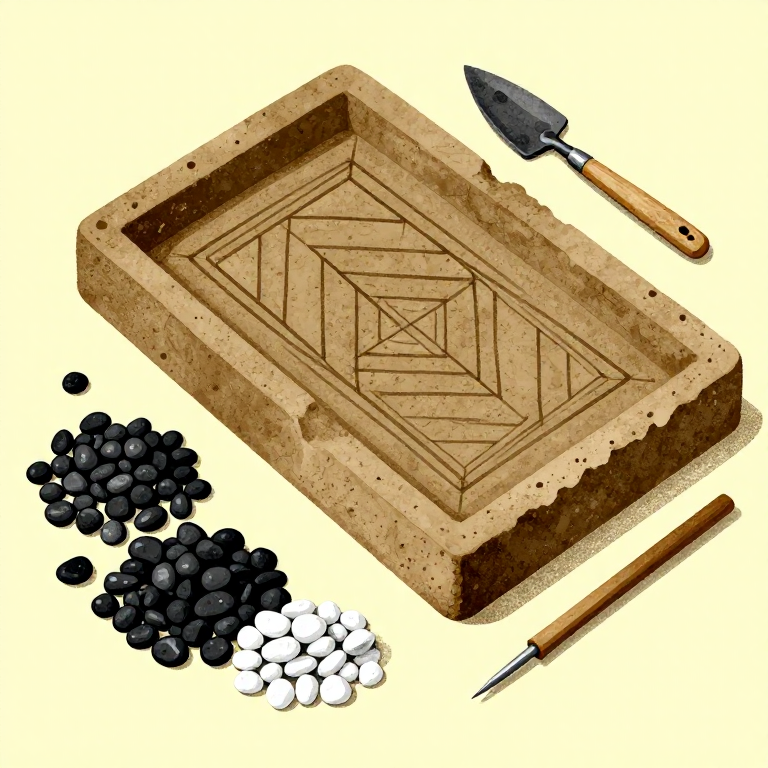
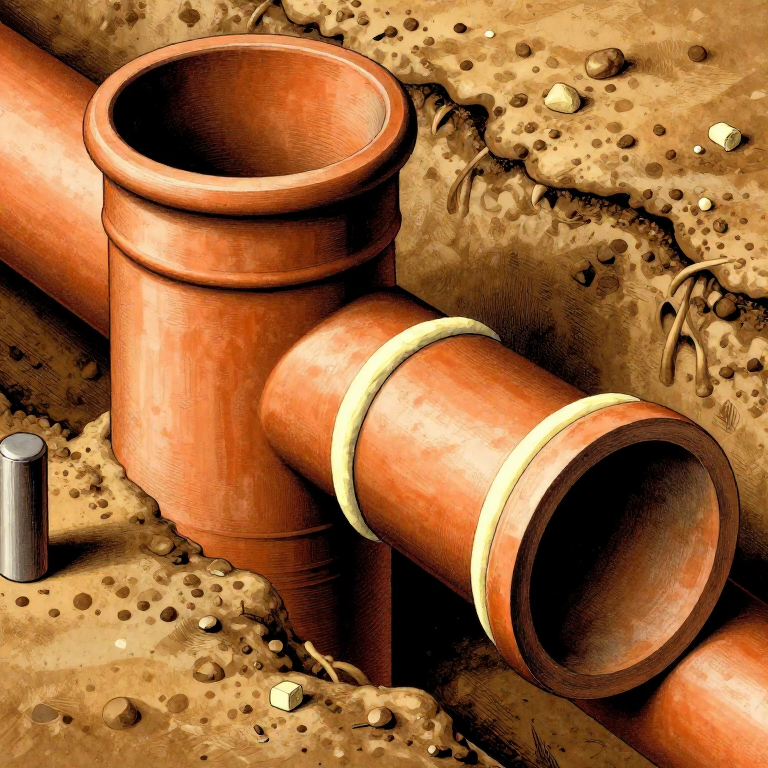
Prepare the Foundation Bed
Prepare the Foundation Bed
Excavate the floor area to a depth of approximately 15-20 cm. Lay a foundation of compacted coarse aggregate (gravel, broken pottery sherds, or rubble) approximately 10-12 cm deep. This drainage layer prevents moisture from wicking up through the mosaic and causing frost damage. Over the aggregate, spread a leveling layer of coarse sand approximately 3 cm thick and tamp it flat and level. Greek pebble mosaics at Olynthos (destroyed 348 BCE) and Pella (4th century BCE) were laid on carefully prepared multi-layer foundations that have survived over 2,300 years. The foundation must be perfectly level, as any unevenness will show as bumps or dips in the finished mosaic surface.
Vật liệu cho bước này:
 Lime (Calcium Hydroxide)enough for the design area cái
 Gravelsufficient for foundation layer cái
Công cụ cần thiết:
 Level and straightedge
 Spray Bottle (Glass, Amber)
Apply the Mortar Setting Bed and Mark the Design
Apply the Mortar Setting Bed and Mark the Design
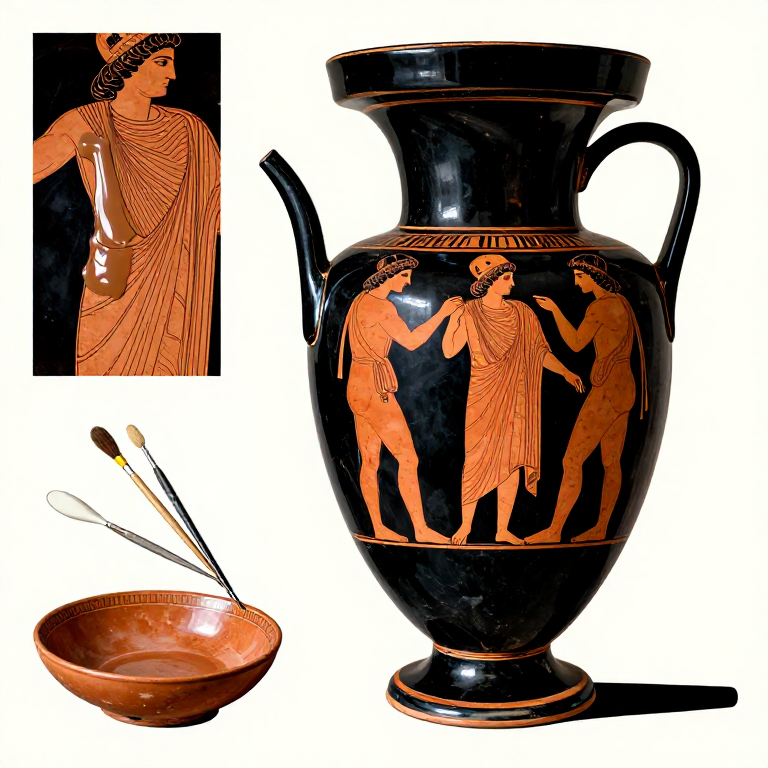
Mix lime mortar (1 part hydrated lime to 2-3 parts sharp sand) to a stiff, workable consistency. Spread a setting bed approximately 3-4 cm thick over the prepared foundation, working in small sections to prevent the mortar from setting before pebbles are placed. Lightly sketch the design outline into the wet mortar surface using a pointed stick. Start with simple geometric borders (meanders, wave patterns, chevrons) before attempting figural designs. Sort your pebbles by size and color before beginning — you will need white pebbles for the background and dark (black or dark grey) pebbles for the design figures and borders, following the established Greek convention of dark figures on a light ground.
Set the Pebbles into the Mortar
Set the Pebbles into the Mortar
Press pebbles vertically (on edge, not flat) into the mortar bed, pushing each one approximately two-thirds of its depth into the mortar so only the top third protrudes. Setting pebbles on edge creates a denser surface with less visible mortar between stones, and provides a better wearing surface for foot traffic. Work from the border inward, completing the geometric frame before filling the central design. Place pebbles close together with only 1-2 mm gaps between them. Follow the sketched design lines carefully, using the darkest pebbles for outlines and fill progressively. Some of the finest Greek pebble mosaics, like the lion-hunt mosaic at Pella attributed to Gnosis, achieve remarkable detail and naturalism using carefully selected pebbles of graduated sizes and colors.
Tamp and Level the Surface
Tamp and Level the Surface
Once a section is fully set with pebbles, place a flat board over the surface and tap it gently with a mallet to push all pebbles to the same height, creating a level wearing surface. Check with a straightedge across the surface. Any pebbles that sit too high or too low should be individually adjusted — push deeper or add mortar beneath as needed. The finished surface should be smooth enough to walk on comfortably in bare feet or sandals. Keep the mortar moist during setting by misting with water — lime mortar cures by carbonation (absorbing carbon dioxide from the air), not by drying, and it needs moisture to cure properly. Curing takes several days to weeks.
Grout and Cure the Mosaic
Grout and Cure the Mosaic
After the setting mortar has firmed (24-48 hours), brush a thin slurry of fine lime mortar over the surface to fill any remaining gaps between pebbles, then wipe the excess off the pebble tops with a damp sponge. This grouting step locks all the pebbles securely and creates a smooth, continuous surface. Allow the completed mosaic to cure slowly for at least 2-4 weeks, keeping it damp by periodic misting. The lime mortar gradually hardens by absorbing atmospheric carbon dioxide, converting calcium hydroxide back to calcium carbonate (essentially re-forming limestone). Over time, lime mortar continues to harden and can approach the compressive strength of natural stone — which is why Greek pebble mosaics laid over 2,300 years ago are still intact and walkable at archaeological sites today.
Vật liệu
3- several kg, 1-3 cm diameter cáiTạm thời
- enough for design area cáiTạm thời
Công cụ yêu cầu
4- Tạm thời
- Tạm thời
- Tạm thời
Related blueprints
Other builds that share materials, tools, or techniques with this one.
CC0 Phạm vi công cộng
Bản thiết kế này được phát hành theo CC0. Bạn tự do sao chép, sửa đổi, phân phối và sử dụng cho bất kỳ mục đích nào mà không cần xin phép.
Hỗ trợ nhà sáng tạo bằng cách mua sản phẩm qua bản thiết kế, nơi họ nhận Hoa hồng nhà sáng tạo do nhà bán hàng đặt, hoặc tạo phiên bản mới và kết nối trong bản thiết kế riêng để chia sẻ doanh thu.