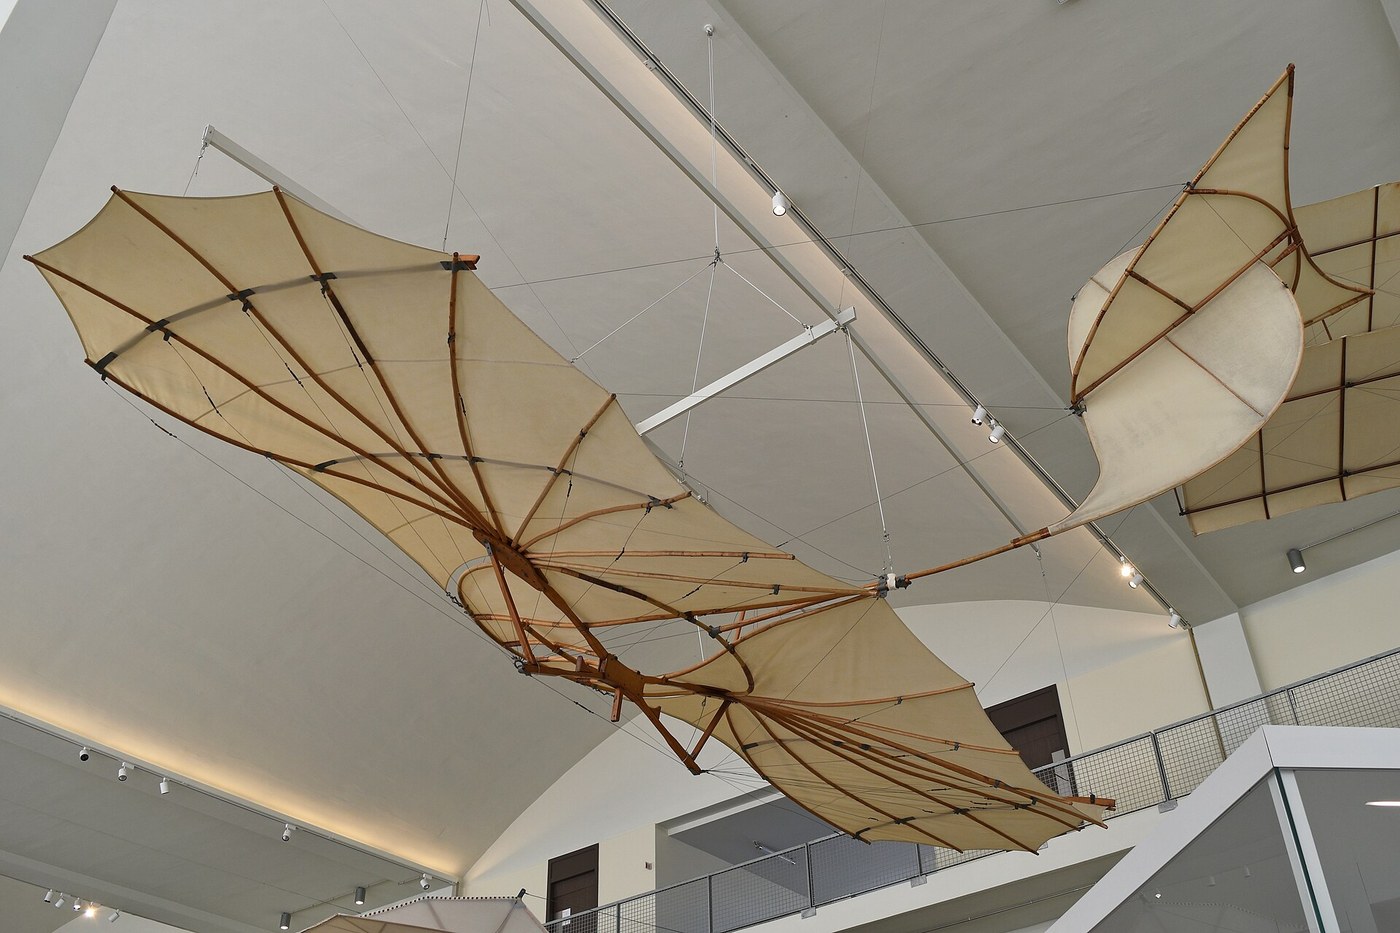


Lilienthal Glider
Hướng dẫn
Build a model at a scale you can throw
Build a model at a scale you can throw
Build the glider small first. Every mistake is then a broken stick rather than a broken person.
- Make a bat-like monoplane wing of roughly 600 mm span from balsa sticks and sheet, with a shallow camber matching the best section from the whirling-arm tests.
- Fit a fixed cruciform tail — a horizontal surface for pitch, a vertical one for yaw.
- Hang a weight beneath the wing on a short pylon so the centre of gravity sits at about 30 percent of the chord.
- Launch it gently, level, into still air. Adjust ballast until it glides straight rather than diving or stalling.
The trimming is the lesson: a glider is a balance between where the weight is and where the lift acts, and a few millimetres of ballast decides whether it flies or drops. Lilienthal did this trimming with his own body, in flight, which is why his control authority was limited by how far he could lean.
Measure the glide ratio while you are here: launch from a known height, measure the distance travelled, and divide. A ratio of 6:1 means six metres forward per metre down. Lilienthal’s best machines managed roughly that.Vật liệu cho bước này:
 Tấm gỗ balsa2 tờ
 Thanh gỗ balsa1 bó
 Keo dán gỗ1 chai
 Đất nặn làm vật dằn1 gói
Công cụ cần thiết:
 Dao thủ công kèm lưỡi thay
 Thước cặp điện tử 6 inch
 Thước đo góc
 Máy chà nhám băng
 Cân điện tử
 Kính bảo hộ trong suốt
Cover the frame, and learn why the covering is structural
Cover the frame, and learn why the covering is structural
A wing is a frame plus a skin, and the skin is not just there to keep the air out.
- Build a wing frame of ribs and spars with no covering, and try to twist it by hand. Note how easily it distorts.
- Cover it tightly with cotton fabric or modelling tissue, glued or doped to the frame on both surfaces.
- Try to twist it again.
The covered frame is dramatically stiffer in torsion than the bare one. A taut skin turns an open lattice into something approaching a closed box, and it carries shear that the sticks alone cannot. Lilienthal used cotton shirting over willow; the Wrights used cotton doped tight; the principle is identical and it is why an uncovered model feels alarmingly floppy and a covered one feels solid.
Doping shrinks the fabric as it dries and pulls the surface drum-tight. Overdo it on a light frame and the shrinkage will bow the spars — a real failure mode, and the reason dope is applied in several thin coats rather than one heavy one.Vật liệu cho bước này:
 Vải bông (mỏng)1 m
 Giấy lụa bọc mô hình1 bộ
 Sơn căng cho mô hình1 bộThanh gỗ balsa1 bó
Công cụ cần thiết:
Dao thủ công kèm lưỡi thay Vam chữ CMáy chà nhám băngKính bảo hộ trong suốt
Fly it off a slope in small increments
Fly it off a slope in small increments
Lilienthal’s method matters more than his machine, and it is the part worth copying exactly.
- Choose a smooth grassy slope with a steady breeze blowing up it, and clear ground beyond.
- Start at the very bottom, with hops measured in metres, not from the top.
- Change ONE thing at a time — ballast position, tail angle, launch speed — and repeat the same short hop.
- Record every run: what you changed, what it did.
Incremental testing on a shallow slope is what made Lilienthal survive long enough to learn anything. The alternative — build the whole machine, launch from height, hope — killed a great many of his contemporaries and eventually killed him too, in 1896, when a gust stalled him from about fifteen metres.
Do this with models, not with yourself. A person-carrying glider is genuinely dangerous, needs a suitable site, and is not what this blueprint is for. Everything worth learning here is learnable at 600 mm span, and the trimming logbook you build is the real deliverable.Vật liệu cho bước này:
 Giấy kẻ ô ly1 pad
Công cụ cần thiết:
 Máy đo gió cầm tay
 Điện thoại thông minh quay chậmCân điện tửThước đo gócKính bảo hộ trong suốt
Find the limit of weight-shift control
Find the limit of weight-shift control
Understand why this design could not be scaled up, because that is what the next thirty years were about.
- On the model, simulate weight-shift by moving the ballast sideways and observing the response.
- Now double the model’s size — or reason it through — and ask how far the ballast must move to produce the same effect.
- Compare the mass being moved with the mass of the whole machine in each case.
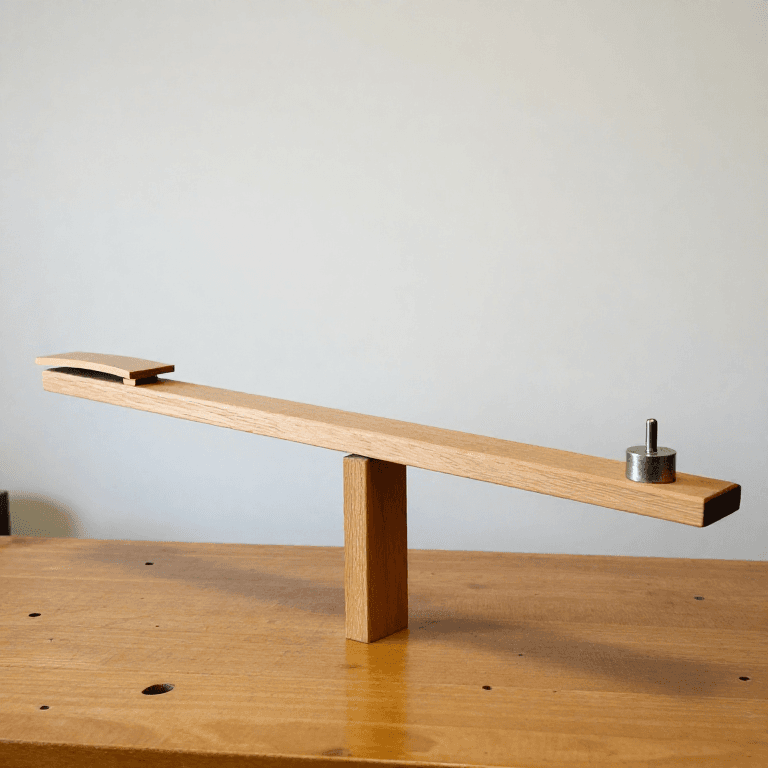
Weight-shift control works only while the pilot is a large fraction of the total mass, and its authority falls away as the machine grows. A person can shift perhaps half a metre; on a small glider that is a big change in balance, on a large one it is nothing. Worse, it is slow — the pilot must physically swing before anything happens, and a gust does not wait.
So the machine had to be given control surfaces of its own: things that redirect the AIR rather than move the mass. That is the entire subject of the next stage, and it is why the aileron and wing-warping blueprints exist.
Hang gliders still use weight shift, and they are precisely as large as that method allows. It is not a discarded idea, it is a technique with a size limit — which is a much more useful way to think about superseded engineering.Vật liệu cho bước này:
Đất nặn làm vật dằn1 góiCông cụ cần thiết:
Cân điện tửThước cặp điện tử 6 inchThước đo gócĐiện thoại thông minh quay chậmKính bảo hộ trong suốtCopy his lift table, and note what he could not know
Copy his lift table, and note what he could not know
Lilienthal’s published tables were the best data in the world and they contained an error that nearly ended the Wrights.
- Using the whirling arm from the previous blueprint, measure lift coefficients for your cambered section across the angle range.
- Tabulate them the way Lilienthal did: coefficient against angle of attack.
- Note the conditions of your measurement — the size of the surface, the speed, and whether the air was already moving.
Write those conditions down, because a coefficient without its conditions is not a measurement, it is a rumour. Lilienthal’s figures were taken on a whirling arm, in air his own apparatus had already disturbed, on surfaces of one particular size. Used outside those conditions they were wrong — and they were used outside those conditions by everyone, because they were the only numbers available.
The Wrights built their 1900 and 1901 gliders using these tables, found the lift far short of prediction, and faced a choice: assume they had built badly, or assume the world’s best data was wrong. Choosing the second is the subject of the next blueprint, and it is the most important decision in the history of aviation.Vật liệu cho bước này:
Giấy kẻ ô ly1 padCông cụ cần thiết:
 Cân lò xoThước đo gócThước cặp điện tử 6 inchCân điện tửKính bảo hộ trong suốt
Vật liệu
8- 2 tờTạm thời
- 1 bóTạm thời
- 1 chaiTạm thời
- 1 góiTạm thời
- Tạm thời
- Tạm thời
- Tạm thời
- 1 padTạm thời
Công cụ yêu cầu
10- Tạm thời
- Tạm thời
- Tạm thời
- 1 vendor sell this, none ship to you yetTạm thời
- Tạm thời
- Tạm thời
- Tạm thời
- Tạm thời
- Tạm thời
- Tạm thời
Blueprint liên quan
Các blueprint này chia sẻ kiến thức — kỹ thuật, vật liệu hoặc nguyên tắc

CC0 Phạm vi công cộng
Bản thiết kế này được phát hành theo CC0. Bạn tự do sao chép, sửa đổi, phân phối và sử dụng cho bất kỳ mục đích nào mà không cần xin phép.
Hỗ trợ nhà sáng tạo bằng cách mua sản phẩm qua bản thiết kế, nơi họ nhận Hoa hồng nhà sáng tạo do nhà bán hàng đặt, hoặc tạo phiên bản mới và kết nối trong bản thiết kế riêng để chia sẻ doanh thu.