Hợp tác
NGHỆ THUẬT
LÀM ĐẸP VÀ SỨC KHỎE
THỦ CÔNG
VĂN HÓA VÀ LỊCH SỬ
GIẢI TRÍ
MÔI TRƯỜNG
THỰC PHẨM VÀ ĐỒ UỐNG
KỸ THUẬT NGƯỢC
KHOA HỌC
THỂ THAO
CÔNG NGHỆ
THIẾT BỊ ĐEO
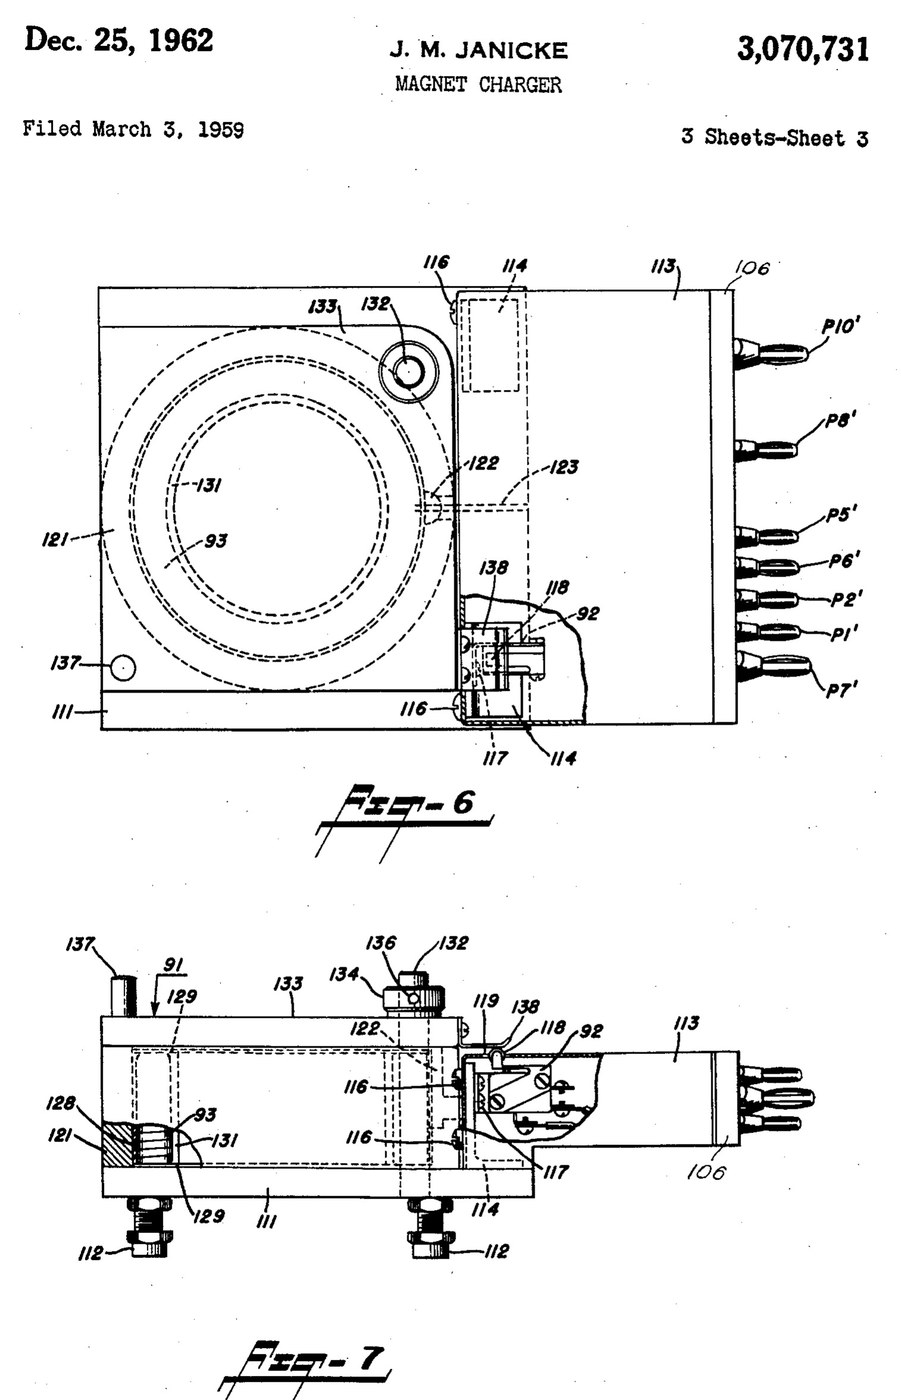


Magnetiser: Capacitor-Discharge Magnet Charger with a Wire-Wound Fixture (Janicke, US 3,070,731, 1962)
An impulse magnetiser. A capacitor is charged to a high voltage, then an ignitron dumps it all at once through a coil. The magnet sits inside the coil in a closed steel pot, so almost all of the flux goes through it.
Result: a magnet charger that magnetises rods, bars and blocks in one pulse, with an interlocked lid.
Source: J. M. Janicke, US 3,070,731 (1962). Unknown: voltages, capacitance, coil windings, field strength and sizes. Picture: the patent drawing.
Chuyên gia
Unknown
Hướng dẫn
1
1
Build the charging supply
Build the charging supply
Feed a line switch from the mains through two fuses, with a pilot lamp. Wire a high-voltage transformer with two primaries, which a high-low switch puts in series or in parallel. Run its centre-tapped secondary to two mercury-vapour rectifier tubes, "or the like", with their own filament transformer, so they charge the energy-storage capacitor. A charging on-off switch with a red lamp switches the high-voltage side. A meter with multiplier resistors across the capacitor shows its voltage. Ours: toggle switches, neon lamps, a moving-coil meter. Not given: any voltage or value.
Vật liệu cho bước này:
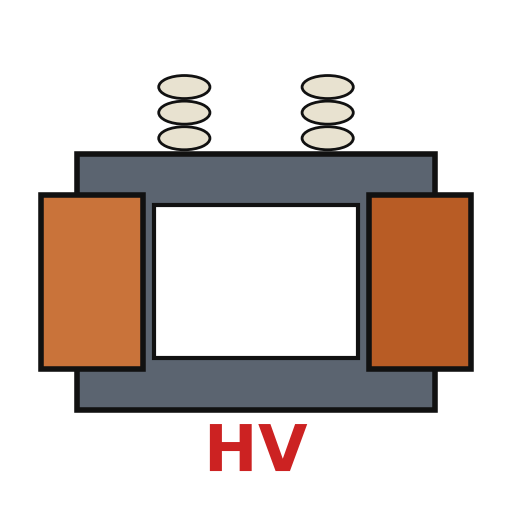 Biến áp cao áp1 high-voltage transformer
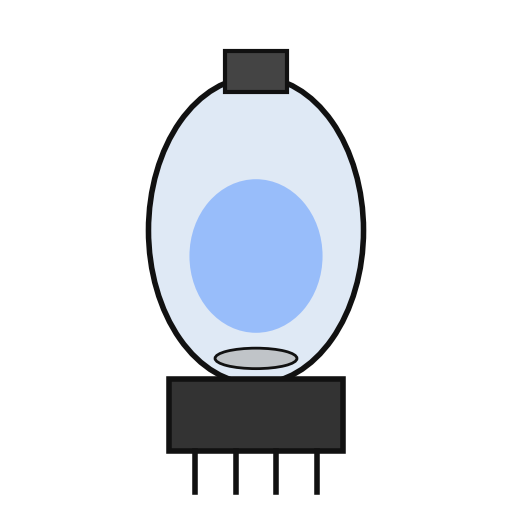 Đèn chỉnh lưu hơi thủy ngân2 rectifier tubes
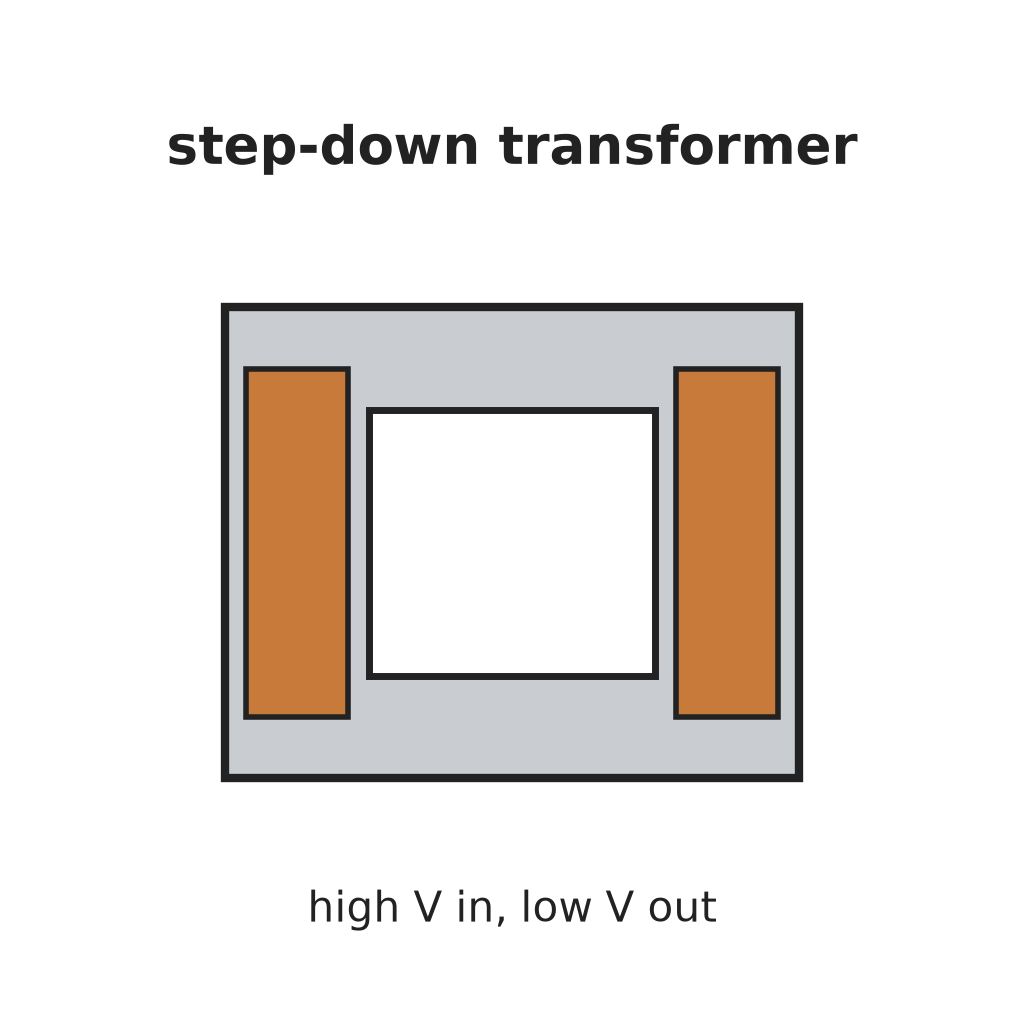 Máy biến áp hạ áp1 filament transformer
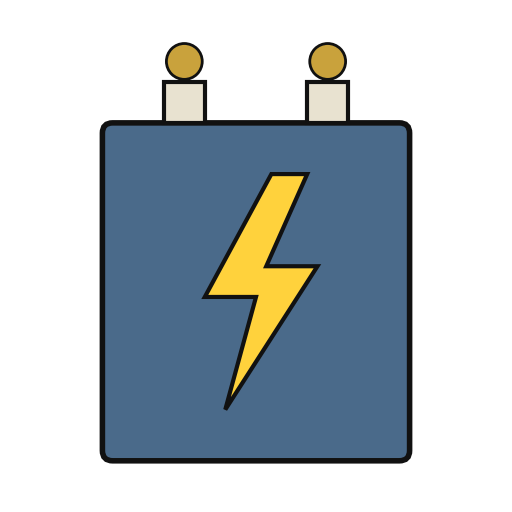 Tụ điện tích trữ năng lượng1 storage capacitor
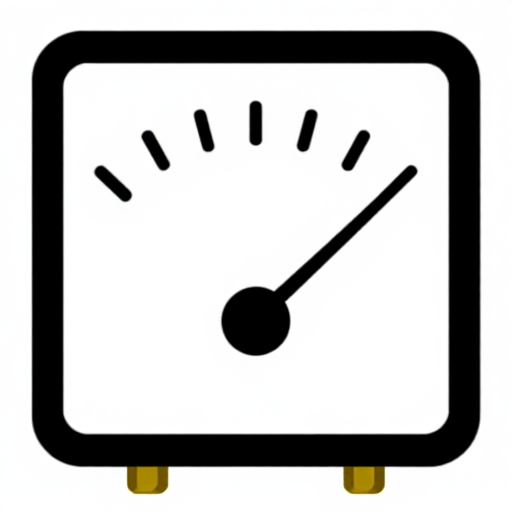 Đồng hồ bảng khung quay1 voltage meter
 Điện trở chưa rõ2 meter multipliers
 Công tắc gạt3 line, charging and high-low switches
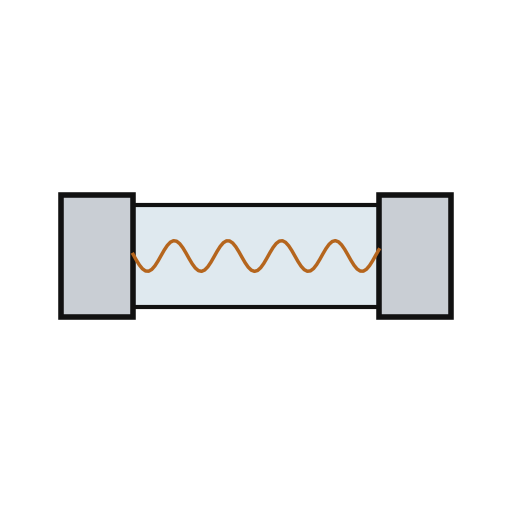 Cầu chì2 fuses
 Đèn báo neon2 pilot and red lamps
Công cụ cần thiết:
 Mỏ hàn
 Kìm tuốt dây
2
2
Add the delay and the bleeder
Add the delay and the bleeder
Put a thermal time-delay relay before the charging switch: about thirty seconds after switch-on it energises a control relay, which feeds the charging switch and holds itself on. A third contact of the control relay lifts a bleeder resistor off the capacitor while the charger runs. When the charger is shut down the relay drops out and the bleeder drains the dangerous high-voltage charge from the capacitor.
Vật liệu cho bước này:
 Rơ le thời gian1 thermal delay relay
 Rơ le1 control relay, three contact setsĐiện trở chưa rõ1 bleeder resistor
Công cụ cần thiết:
Mỏ hànKìm tuốt dây3
3
Fit the ignitron firing circuit
Fit the ignitron firing circuit
Put an ignitron in the discharge path of the storage capacitor, as its switch. The meter's multiplier resistors also form a divider that charges a small firing capacitor. Pressing the push button discharges the firing capacitor through a small limiting resistor into the ignitron's igniter, and the ignitron conducts. Not given: the firing capacitor's type and value.
Vật liệu cho bước này:
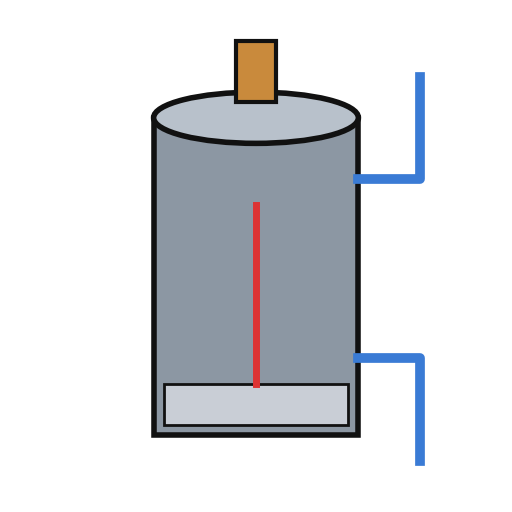 Ignitron1 discharge switch
 Vật liệu không rõ1 firing capacitorĐiện trở chưa rõ1 limiting resistor
 Nút nhấn1 charge button
Công cụ cần thiết:
Mỏ hànKìm tuốt dây4
4
Build the wire-wound fixture
Build the wire-wound fixture
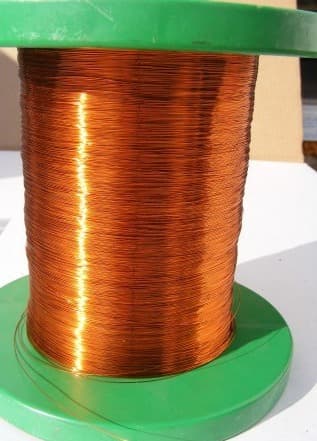
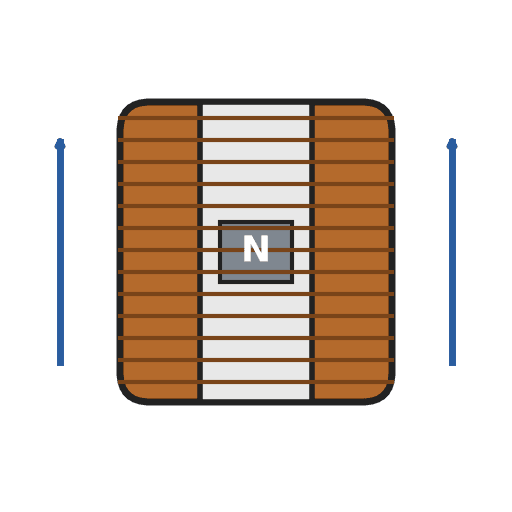
Weld a hollow cylindrical shell onto a base plate on levelling legs, both of magnetic material, to make a pot. Cut slots through the shell and the base plate so they cannot act as a shorted single-turn winding. Set the coil inside the shell in potting compound, with ring-shaped end pieces and a hollow cylindrical core in it. Hinge a square magnetic cover on a post beside the shell, held by a collar and set screw, with a handle. An L-shaped plate on the cover closes a switch in the igniter circuit only when the cover is shut. Wire the coil between the storage capacitor and the ignitron anode. Ours: mild steel, enamelled copper wire, casting epoxy. Not given: sizes, turns.
Vật liệu cho bước này:
 Tấm thép mềm1 base plate and cover
 Ống tròn thép non1 shell
 Dây đồng tráng men1 coil
 Keo epoxy đúc màu đen1 potting compound
 Kim loại chưa rõ1 end pieces, core, post, legs
 Vi công tắc (cần gạt)1 lid interlock switch
Công cụ cần thiết:
 Máy hàn hồ quang
 Máy khoan bàn
 Bộ tua vít
 Kích thước chưa rõ
5
5
Charge a magnet
Charge a magnet
Put the magnet inside the core. Fill most of the air gap between it and the base plate and cover with soft iron, but leave a small gap near the cover, or the cover will be hard to swing open afterwards. Lay insulating material about 1/16 inch thick on top of the magnet. Close the cover, which arms the igniter switch, charge the capacitor, and press the button: one pulse magnetises it. Ours: wrought iron for the soft iron.
Công cụ cần thiết:
 Thanh sắt rèn
 Vật liệu cách điện chưa rõ
Vật liệu
20- 1 high-voltage transformerTạm thời
- 2 rectifier tubesTạm thời
- 1 filament transformerTạm thời
- 1 storage capacitorTạm thời
- 1 voltage meterTạm thời
- 1 limiting resistorTạm thời
- Tạm thời
- 2 fusesTạm thời
- 2 pilot and red lampsTạm thời
- 1 thermal delay relayTạm thời
- 1 control relay, three contact setsTạm thời
- 1 discharge switchTạm thời
- 1 firing capacitorTạm thời
- Tạm thời
- 1 base plate and coverTạm thời
- 1 shellTạm thời
- 1 coilTạm thời
- 1 potting compoundTạm thời
- 1 end pieces, core, post, legsTạm thời
- 1 lid interlock switchTạm thời
Công cụ yêu cầu
8- 2 vendors sell this, none ship to you yetTạm thời
- Tạm thời
- Tạm thời
- Tạm thời
- Tạm thời
- Tạm thời
- Tạm thời
- Tạm thời
Vật liệu bản thiết kế liên kết


Bản thiết kế này làm ra
CC0 Phạm vi công cộng
Bản thiết kế này được phát hành theo CC0. Bạn tự do sao chép, sửa đổi, phân phối và sử dụng cho bất kỳ mục đích nào mà không cần xin phép.
Hỗ trợ nhà sáng tạo bằng cách mua sản phẩm qua bản thiết kế, nơi họ nhận Hoa hồng nhà sáng tạo do nhà bán hàng đặt, hoặc tạo phiên bản mới và kết nối trong bản thiết kế riêng để chia sẻ doanh thu.