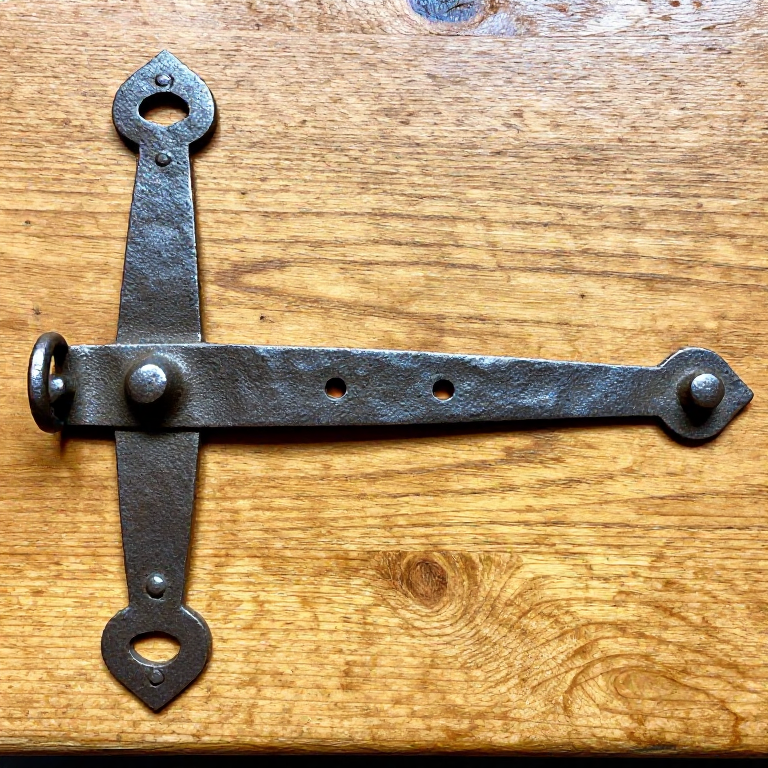


Forging a Strap Iron Door Hinge — Medieval Hardware
Hướng dẫn
Taper the Strap
Taper the Strap
Heat the iron flat bar to bright orange in the forge. On the anvil face, hammer a gradual taper along the length of the bar — the strap should be widest at the pivot end (where it wraps around the pintle) and taper to a narrow point at the decorative finial end. The taper gives the hinge a graceful appearance and concentrates weight near the pivot where it is needed for strength. A typical medieval strap hinge is approximately 30 to 45 cm long, 30 to 40 mm wide at the pivot end, and tapers to 10 to 15 mm at the tip. Maintain uniform thickness (approximately 5 to 6 mm) throughout the taper — the strap should be strong enough to support the door's weight without bending.
Forge the Scroll Finial
Forge the Scroll Finial
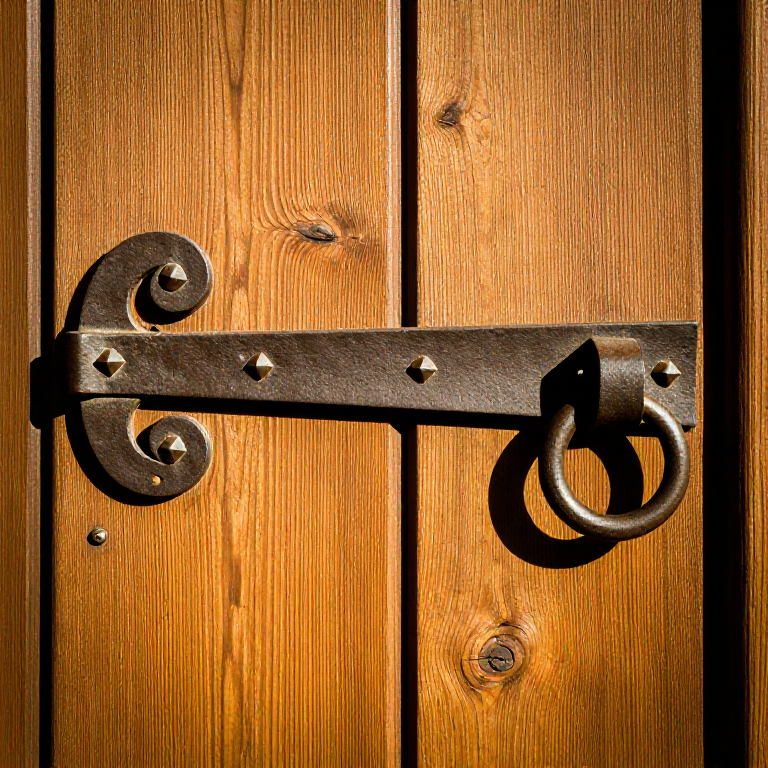
Heat the narrow tapered end of the strap to bright orange. Using the anvil horn or a scroll fork (a forked tool that grips the tip while you bend it), curl the tip into a tight spiral scroll. Start by bending the very tip sharply over the anvil edge, then gradually curve the strap around to form an inward-curling scroll of two to three turns. The scroll should be tight at the centre and open gradually toward the strap body. Medieval hinges often featured multiple scrolls — a C-scroll (single curl), S-scroll (curling in opposite directions at each end of a split strap), or branching scrolls where the strap was split and each half curled separately. For a basic strap hinge, a single C-scroll at the tip is traditional and effective. Flatten and true the scroll on the anvil face so it lies in the same plane as the strap.
Form the Eye (Pivot Loop)
Form the Eye (Pivot Loop)
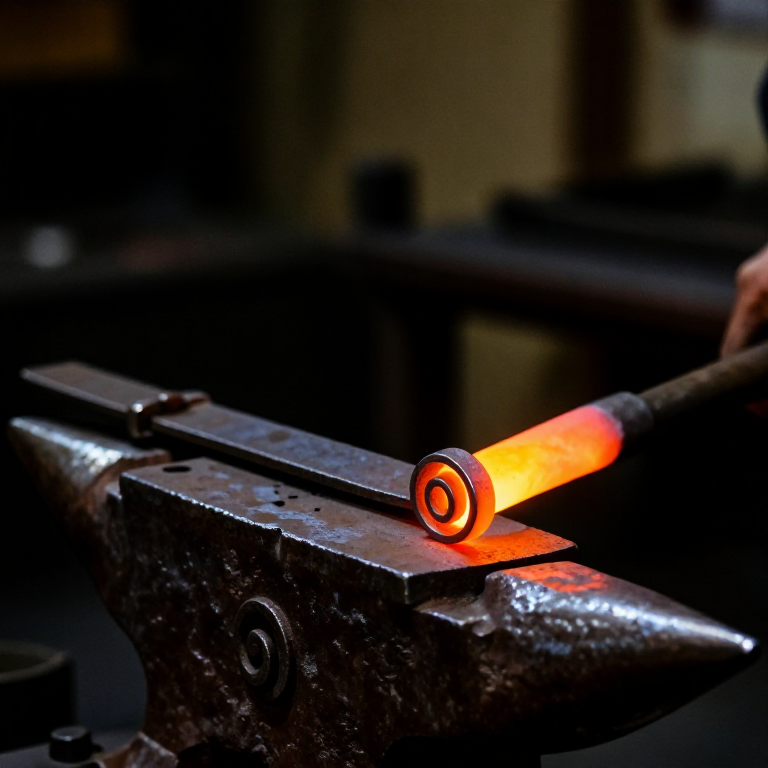
At the wide end of the strap, heat the last 5 to 6 cm to bright orange. Bend this section around a mandrel rod (12 mm diameter, matching the pintle diameter) to form a complete loop (eye) that the pintle will pass through. The eye should wrap at least 270 degrees around the mandrel — ideally a full 360-degree loop. Weld the end of the loop back onto the strap body by bringing both surfaces to welding heat (bright yellow-white, approximately 1200 degrees Celsius for mild steel), applying flux (borax), and hammer-welding them together on the anvil. If forge welding is not possible, the loop can be riveted or left as an open wrap. The eye must rotate freely on the pintle without binding or excessive play — check the fit by testing it on the mandrel rod.
Punch Nail Holes
Punch Nail Holes
Heat sections of the strap and punch nail holes at regular intervals along its length — typically 3 to 5 holes, spaced every 6 to 8 cm. Use a square or round punch slightly larger than the nail shanks that will be used (typically 5 to 6 mm for medieval square-cut nails). Punch from the decorative face side and clean the holes from the back by driving the punch through from the reverse. These holes will receive the nails or bolts that fasten the strap to the door planks. Position the holes along the centre line of the strap. The hinge must be firmly attached to distribute the door's weight across multiple planks — a single attachment point would eventually tear free from the wood.
Forge the Pintle and Assemble
Forge the Pintle and Assemble
Forge the pintle from a steel rod: bend one end into an L-shape or offset point that will be driven into the door frame. The vertical portion of the pintle should be approximately 6 to 8 cm long and match the diameter of the hinge eye. The horizontal portion (the drive pin) should be approximately 5 to 8 cm long, tapered to a point for driving into the timber frame. Drive the pintle into the door frame so the vertical pin protrudes at the correct height. Hang the strap hinge on the pintle by dropping the eye over the pin. The strap should swing freely. Attach the strap to the door by driving square-shanked nails through the punched holes into the door planks. Test the door by swinging it open and closed — the hinge should pivot smoothly without binding. A pair of strap hinges (top and bottom) is sufficient for most medieval doors.
Vật liệu cho bước này:
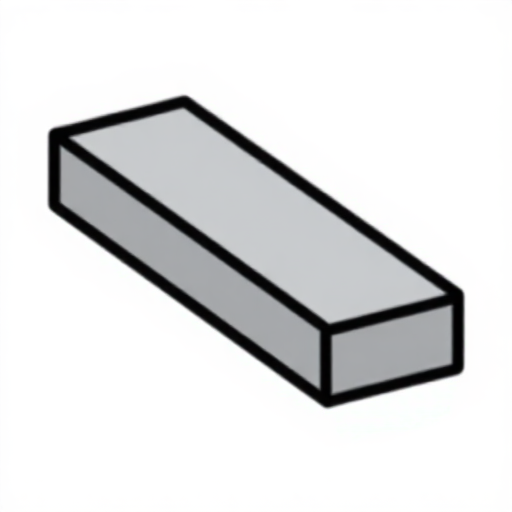 Thanh thép dẹt40-50 cm length cm
 Dây thép15 cm length cm
Vật liệu
3- 40-50 cm length cmTạm thời
- 15 cm length cmTạm thời
- 15 cm length cáiTạm thời
Công cụ yêu cầu
8- Tạm thời
- Tạm thời
- Tạm thời
- Tạm thời
- Tạm thời
- Tạm thời
- Tạm thời
- Tạm thời
CC0 Phạm vi công cộng
Bản thiết kế này được phát hành theo CC0. Bạn tự do sao chép, sửa đổi, phân phối và sử dụng cho bất kỳ mục đích nào mà không cần xin phép.
Hỗ trợ nhà sáng tạo bằng cách mua sản phẩm qua bản thiết kế, nơi họ nhận Hoa hồng nhà sáng tạo do nhà bán hàng đặt, hoặc tạo phiên bản mới và kết nối trong bản thiết kế riêng để chia sẻ doanh thu.