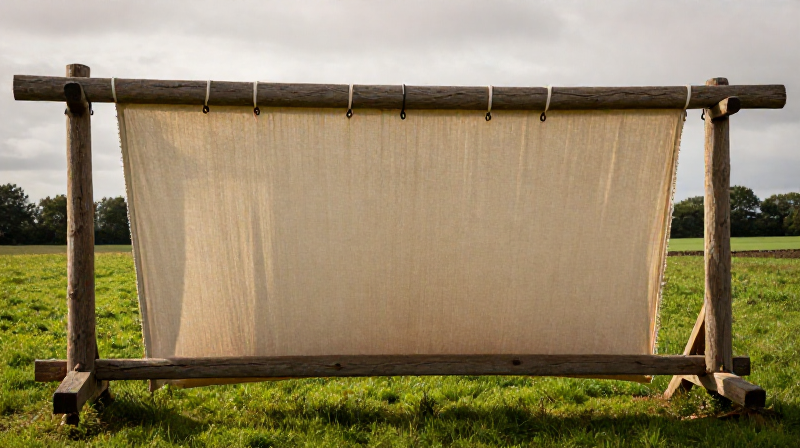
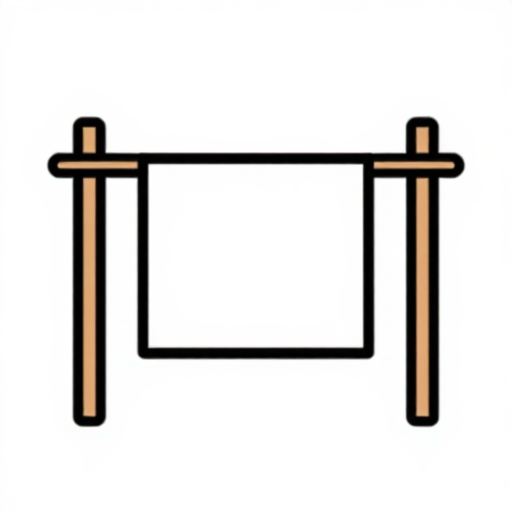
Tentering Cloth on a Frame — Stretching Fulled Wool to Set Width and Grain
Tentering is the critical finishing step between fulling and napping that transforms shapeless, shrunken fulled wool into cloth of uniform width and straight grain. The wet fulled fabric is hooked onto rows of L-shaped iron hooks — tenterhooks — driven into the rails of a large outdoor wooden frame, then stretched to its proper dimensions and left to dry in the open air. Without tentering, fulled cloth dries unevenly, shrinks to unpredictable widths, and develops a skewed grain that makes cutting and tailoring impossible. The process was so central to the medieval wool trade that every cloth town maintained communal tentergrounds, and the phrase "on tenterhooks" — meaning in a state of anxious suspense — entered the English language from this very practice. This blueprint covers the complete tentering process using a traditional two-rail tenter frame.
Hướng dẫn
Inspect the fulled cloth
Inspect the fulled cloth
Vật liệu cho bước này:
 Fulled Wool Cloth1 cái
Rinse the cloth clean
Rinse the cloth clean
Vật liệu cho bước này:
 Clean Water20 lít
Công cụ cần thiết:
 Washing Basin
Measure the target width
Measure the target width
Công cụ cần thiết:
 Measuring Tape 3m
Position the tenter frame
Position the tenter frame
Công cụ cần thiết:
 Tenter Frame
Check the tenterhooks
Check the tenterhooks
Công cụ cần thiết:
 Tenterhooks
Hook the upper selvedge
Hook the upper selvedge
Stretch and hook the lower selvedge
Stretch and hook the lower selvedge
Even the tension across the cloth
Even the tension across the cloth
Smooth the surface by hand
Smooth the surface by hand
Stretch the length if needed
Stretch the length if needed
Leave to dry in the air
Leave to dry in the air
Check tension during drying
Check tension during drying
Test for dryness
Test for dryness
Unhook the lower rail
Unhook the lower rail
Unhook the upper rail
Unhook the upper rail
Measure the finished width
Measure the finished width
Công cụ cần thiết:
Measuring Tape 3mCheck the grain
Check the grain
Fold and store the tentered cloth
Fold and store the tentered cloth
Vật liệu
2- 1 cáiTạm thời
- 20 lítTạm thời
Công cụ yêu cầu
4- Tạm thời
- Tạm thời
- Tạm thời
- Tạm thời
Vật liệu bản thiết kế liên kết
Blueprint liên quan
Các blueprint này chia sẻ kiến thức — kỹ thuật, vật liệu hoặc nguyên tắc
Related blueprints
Other builds that share materials, tools, or techniques with this one.


CC0 Phạm vi công cộng
Bản thiết kế này được phát hành theo CC0. Bạn tự do sao chép, sửa đổi, phân phối và sử dụng cho bất kỳ mục đích nào mà không cần xin phép.
Hỗ trợ nhà sáng tạo bằng cách mua sản phẩm qua bản thiết kế, nơi họ nhận Hoa hồng nhà sáng tạo do nhà bán hàng đặt, hoặc tạo phiên bản mới và kết nối trong bản thiết kế riêng để chia sẻ doanh thu.