NGHỆ THUẬT
LÀM ĐẸP VÀ SỨC KHỎE
THỦ CÔNG
VĂN HÓA VÀ LỊCH SỬ
GIẢI TRÍ
MÔI TRƯỜNG
THỰC PHẨM VÀ ĐỒ UỐNG
KỸ THUẬT NGƯỢC
KHOA HỌC
THỂ THAO
CÔNG NGHỆ
THIẾT BỊ ĐEO
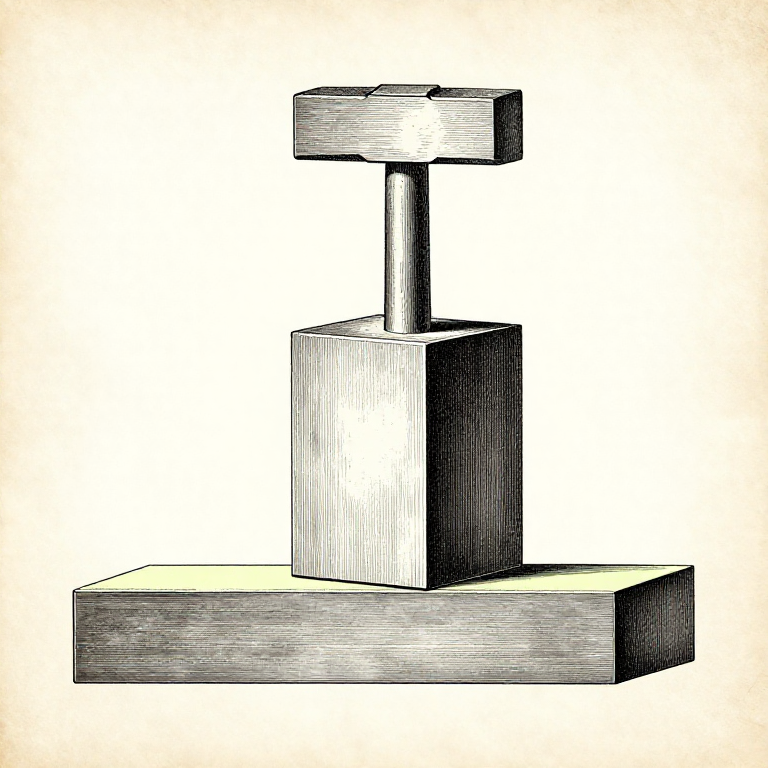


The Last Blows Decide the Surface: Planishing, Flatters and Faces
Every hammer mark you leave is either ground out afterwards or lives on the finished piece. Grinding costs time and removes the crisp forged surface, so the cheaper answer is to leave a good surface in the first place.
That is what PLANISHING is: light, fast, overlapping blows with a smooth hammer face at a low heat, which level the surface without moving the shape.
And it is why a hammer's face is a tool in its own right. A face with a nick in it prints that nick into every blow, so dressing your hammers is part of the job rather than maintenance for its own sake.
Trung cấp
3 hours
Hướng dẫn
1
1
Planish at a LOW heat, with light fast blows
Planish at a LOW heat, with light fast blows
Let the work drop to a dull red and then go over the surface with rapid light blows, overlapping each one, using a smooth slightly crowned hammer face.
The low heat is the point. Hot steel moves under a blow, so planishing hot just changes the shape again; cooler steel takes a surface impression without flowing, which is what levels the marks.
Keep the blows light and even. A heavy planishing blow leaves a deeper mark than the one it was meant to remove, and the surface ends up worse than before — which is the commonest way this step goes wrong.
Vật liệu cho bước này:
 Thanh thép mềm1 cái
Công cụ cần thiết:
 Búa làm tròn
 Đe
Đe Kính lúp thợ kim hoàn
2
2
The flatter: a hammer face you can place exactly
The flatter: a hammer face you can place exactly
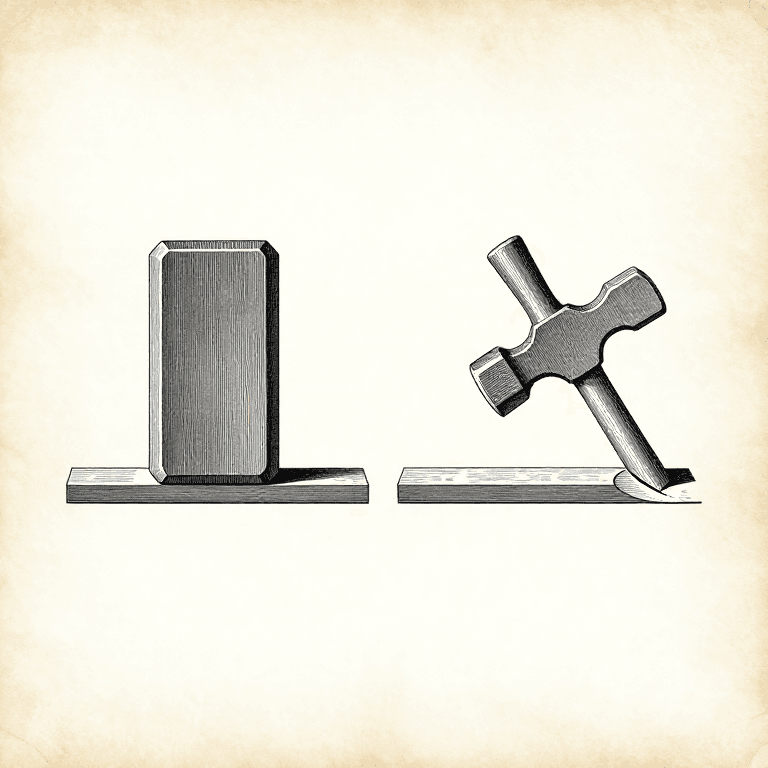
A FLATTER is a block with a broad flat bottom face and a struck face on top. Set it on the work, hit it with a second hammer, and it delivers a perfectly flat impression exactly where you placed it.
That removes the aiming problem entirely: you are not trying to land a moving hammer face flat, you are placing a flat surface and then hitting it. For a genuinely flat forged face it is far quicker than planishing and far better than grinding.
A SET HAMMER does the same in corners and against shoulders, where a flatter's wide face will not reach. Both are struck tools, so they want a striker or a second hand — which is one reason smiths traditionally worked in pairs.
Vật liệu cho bước này:
Thanh thép mềm1 cáiCông cụ cần thiết:
 Dụng cụ là phẳng
 Búa rènĐe
 Kìm rèn
3
3
Dress your hammer faces — they print
Dress your hammer faces — they print
Look at your hammer face under a light. Nicks, sharp edges and rust all print into the work, and a sharp face edge digs a crescent into the surface on every slightly-off blow.
Dress the face smooth and put a gentle crown and a radiused edge on it, then polish it. A crowned face is much more forgiving of a blow that is not perfectly flat, because the contact point moves rather than an edge digging in.
Keep one hammer dressed and polished purely for planishing and never use it for anything else. Using the drawing-out hammer to planish undoes the point, because it is the hammer that has been taking the abuse.
Công cụ cần thiết:
Búa rènBúa làm trònKính lúp thợ kim hoàn Bộ bàn chải sắt
4
4
Brush the scale off, and decide what finish you want
Brush the scale off, and decide what finish you want
Wire-brush the work while it is still warm, between heats. Scale brushed off warm comes away easily; scale hammered in is a pit that has to be ground out, as the batch-120 rung on what heat costs sets out.
Then choose the finish deliberately. A brushed-and-oiled forged surface keeps the hammer texture and the dark scale, which is what most people want from forged work. Grinding and polishing removes all of that and makes it look machined.
Whichever you choose, the piece needs protecting: bare steel rusts within days. Wax applied while the work is just too hot to touch soaks in and leaves a durable finish, and oil works too. The finishing batch covers the reasoning; this is the one case where the work is hot when you apply it.
Vật liệu cho bước này:
Thanh thép mềm1 cáiCông cụ cần thiết:
Bộ bàn chải sắtKìm rèn Găng tay da ống dàiKính lúp thợ kim hoàn
Blueprint liên quan
Các blueprint này chia sẻ kiến thức — kỹ thuật, vật liệu hoặc nguyên tắc
CC0 Phạm vi công cộng
Bản thiết kế này được phát hành theo CC0. Bạn tự do sao chép, sửa đổi, phân phối và sử dụng cho bất kỳ mục đích nào mà không cần xin phép.
Hỗ trợ nhà sáng tạo bằng cách mua sản phẩm qua bản thiết kế, nơi họ nhận Hoa hồng nhà sáng tạo do nhà bán hàng đặt, hoặc tạo phiên bản mới và kết nối trong bản thiết kế riêng để chia sẻ doanh thu.