Setting Up a Vermicompost Worm Bin — Indoor Composting with Red Wigglers
Hướng dẫn
Prepare the Bin
Prepare the Bin
Drill 15-20 small holes (5-8mm) in the lid and upper sides of the bin for ventilation — worms need oxygen and the decomposition process is aerobic. Drill 5-8 small drainage holes in the bottom to prevent waterlogging (place the bin on a tray to catch any drips). The bin should be opaque because red wigglers are photosensitive and will burrow away from light. A 50-80 litre bin is suitable for a household producing 2-3 kg of food scraps per week. The bin can be kept indoors (under a kitchen sink, in a closet, or in a garage) because a properly maintained worm bin has no unpleasant odour — it should smell like damp earth.
Vật liệu cho bước này:
 Large Plastic Tub 100L1 cái
Công cụ cần thiết:
 Cordless Drill
Create the Bedding
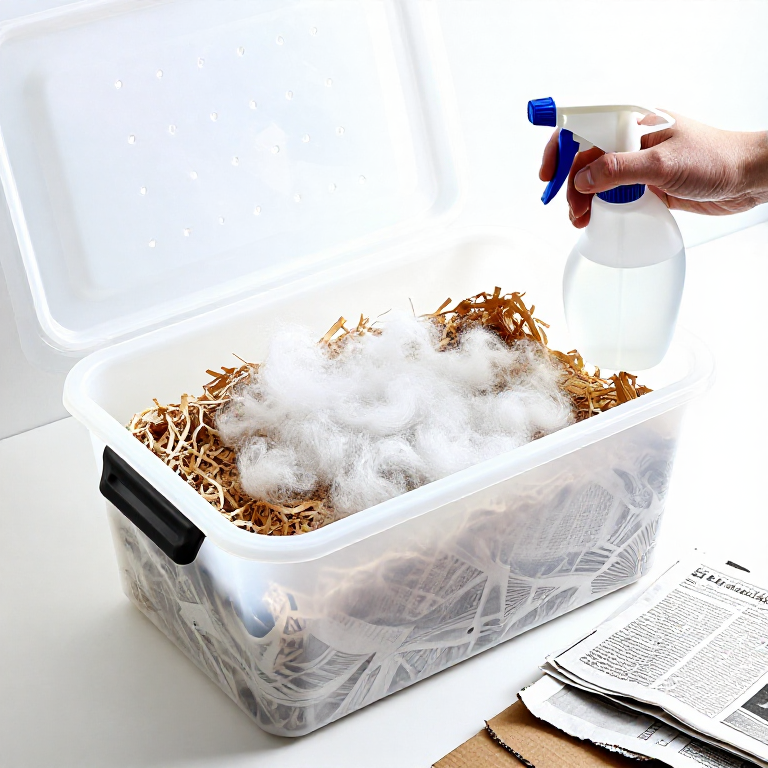
Create the Bedding
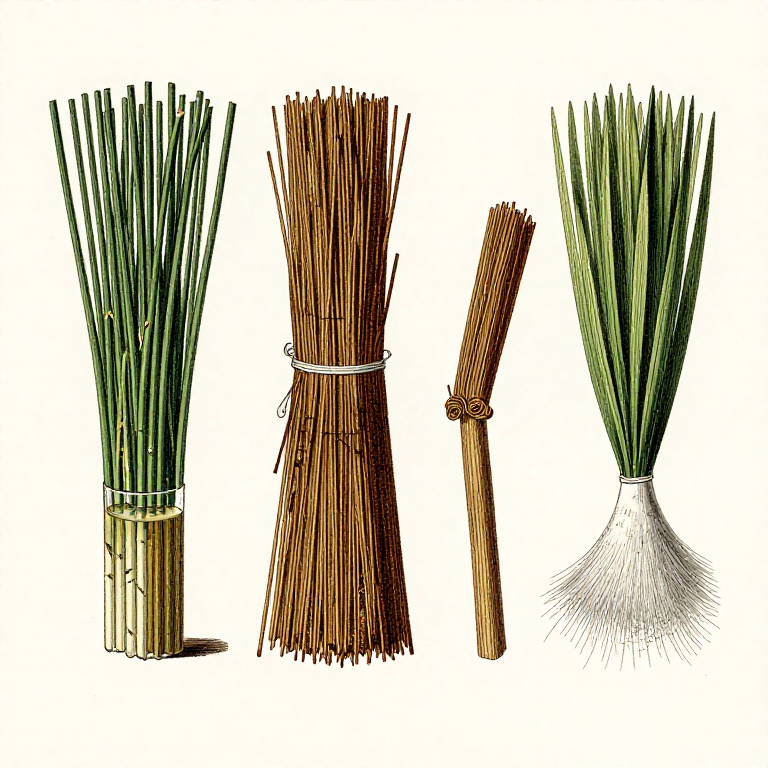
Fill the bin two-thirds full with shredded newspaper, cardboard, or a mix of both. This carbon-rich bedding provides the worms with habitat, moisture retention, and a carbon source to balance the nitrogen-rich food scraps. Moisten the bedding until it feels like a wrung-out sponge — damp but not dripping. Add a handful of garden soil or finished compost to introduce beneficial microorganisms that aid decomposition. The bedding should be fluffy and loose, not packed — worms need to move through it freely. Red wigglers live in the top 15-20cm of their habitat, so a wide, shallow bin is better than a tall, narrow one.
Vật liệu cho bước này:
 Newspaper (padding)a large bucketful, shredded cái
Công cụ cần thiết:
 Spray Bottle Set
Add the Worms
Add the Worms
Gently place the red wiggler worms on top of the moistened bedding. Leave the lid off under a light for 15-30 minutes — the light encourages the worms to burrow down into the bedding. Red wigglers (Eisenia fetida) are specifically suited to composting: they live in decomposing organic matter (not mineral soil like earthworms), tolerate crowding, reproduce rapidly, and process food waste equivalent to roughly half their body weight per day. Do not use common earthworms (Lumbricus terrestris) — they are burrowing soil worms that will not survive in a bin. Allow the worms 3-5 days to acclimate to their new habitat before adding food scraps.
Vật liệu cho bước này:
 Red Wiggler Worms500g g
Feed and Maintain the Bin
Feed and Maintain the Bin
Bury food scraps under the bedding (never leave them on the surface, which attracts fruit flies). Suitable foods: fruit and vegetable scraps, coffee grounds, tea bags, crushed eggshells (which provide calcium for worm reproduction), and small amounts of bread or grains. Avoid: meat, dairy, oily foods, citrus in large quantities (too acidic), onions and garlic (worms dislike alliums), and pet waste. Feed approximately 500g of scraps per 500g of worms per week initially, increasing as the population grows. The bin should smell like damp forest floor — if it smells sour or rotten, you are overfeeding or the bin is too wet. Add dry shredded newspaper to absorb excess moisture.
Công cụ cần thiết:
Spray Bottle SetHarvest the Worm Castings
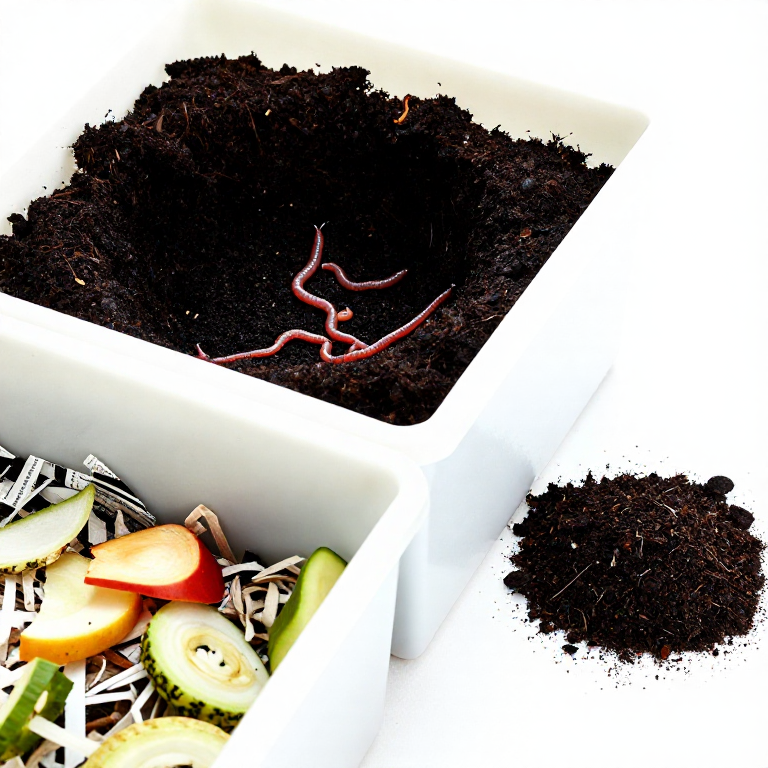
Harvest the Worm Castings
After 3-6 months, the bin contents will have transformed from recognizable bedding and food scraps into dark, crumbly worm castings with an earthy smell. To harvest, push all the bin contents to one side and add fresh bedding and food to the empty side. Over 1-2 weeks, the worms migrate toward the fresh food, leaving the finished castings worm-free for harvesting. Alternatively, dump the bin contents onto a flat surface under a bright light and form cone-shaped piles — worms dive to the bottom of each cone to escape the light, allowing you to scrape off the top layer of castings progressively. Worm castings contain 5-10 times more available nitrogen, phosphorus, and potassium than typical garden soil, plus a dense population of beneficial soil microbes. Mix castings into potting soil at 10-20% by volume or brew into compost tea.
Vật liệu
3- 500g (~500-1000 worms) cáiTạm thời
- a large bucketful, shredded cáiTạm thời
- Tạm thời
Công cụ yêu cầu
2- Tạm thời
- Tạm thời
Related blueprints
Other builds that share materials, tools, or techniques with this one.


CC0 Phạm vi công cộng
Bản thiết kế này được phát hành theo CC0. Bạn tự do sao chép, sửa đổi, phân phối và sử dụng cho bất kỳ mục đích nào mà không cần xin phép.
Hỗ trợ nhà sáng tạo bằng cách mua sản phẩm qua bản thiết kế, nơi họ nhận Hoa hồng nhà sáng tạo do nhà bán hàng đặt, hoặc tạo phiên bản mới và kết nối trong bản thiết kế riêng để chia sẻ doanh thu.