NGHỆ THUẬT
LÀM ĐẸP VÀ SỨC KHỎE
THỦ CÔNG
VĂN HÓA VÀ LỊCH SỬ
GIẢI TRÍ
MÔI TRƯỜNG
THỰC PHẨM VÀ ĐỒ UỐNG
KỸ THUẬT NGƯỢC
KHOA HỌC
THỂ THAO
CÔNG NGHỆ
THIẾT BỊ ĐEO
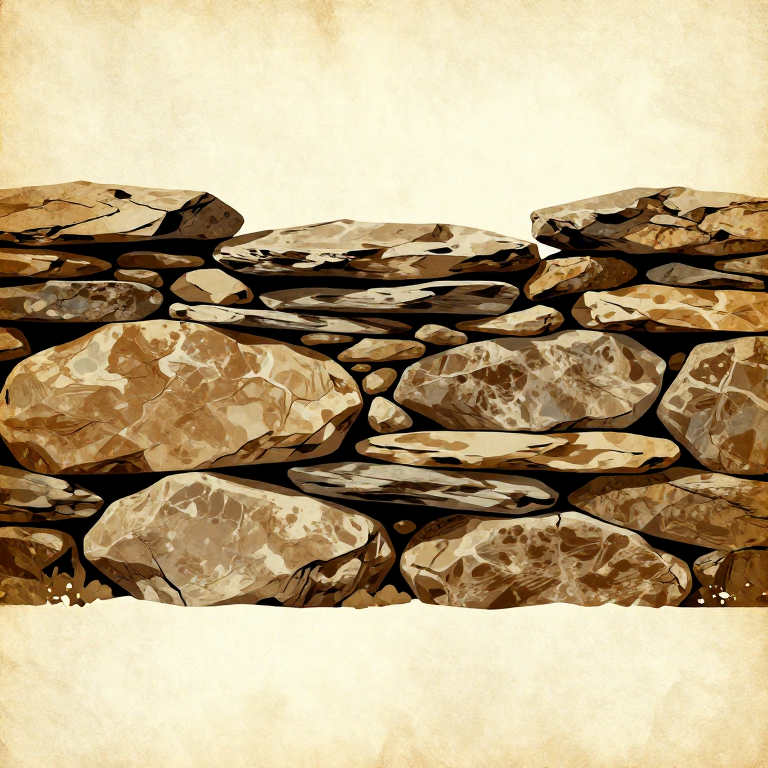


Building a Dry Stone Wall — Neolithic Mortarless Construction
Dry stone walling is the technique of building walls from carefully selected and stacked stones without mortar, relying entirely on gravity, friction, and skilled placement to hold them together. This is one of humanity's oldest construction methods, with examples dating back over 5,000 years — the Knap of Howar in Orkney (circa 3700 BCE) contains dry stone walls still standing today. The technique was used worldwide for field boundaries, animal enclosures, terracing, and building foundations. The key structural principles are: a wide base tapering inward (the batter), two parallel outer faces filled with small hearting stones in the centre, through-stones spanning the full width every two to three courses to tie the faces together, and heavy capstones on top to lock the wall together. A well-built dry stone wall distributes load through interlocking contact points — each stone bears on at least two stones below it, and through-stones prevent the two faces from splaying apart. This blueprint covers the complete process from foundation preparation through capstone placement.
Trung cấp
6-8 hours
Hướng dẫn
1
1
Select and Sort Building Stones
Select and Sort Building Stones
Gather a large quantity of stones from fields, riverbanks, or exposed rock outcrops. You need three categories: large flat-faced stones for the outer wall faces (20 to 40 cm long), small irregular stones for hearting fill, and long stones that span at least 50 cm for through-stones. Sort them into separate piles by size and shape before building begins.
Vật liệu cho bước này:
 Đá lớn có mặt phẳng80 cái
 Đá nhỏ không đều100 cái
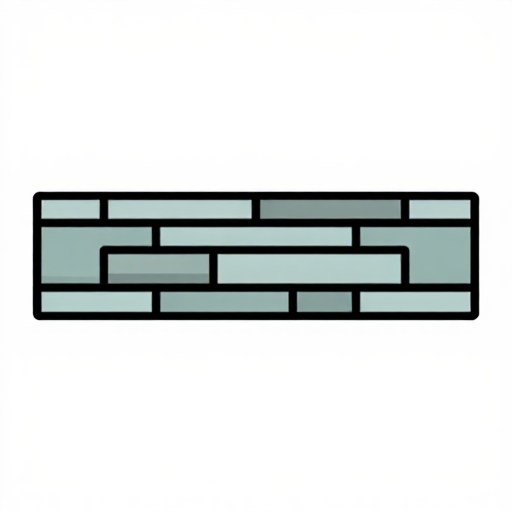 Đá xuyên tường12 cái
2
2
Mark and Excavate the Foundation Trench
Mark and Excavate the Foundation Trench
Mark out the wall line using wooden stakes and cordage. Excavate a shallow trench 60 to 70 cm wide and 15 to 20 cm deep along the full length. The trench should reach firm subsoil — never build on topsoil, which compresses and causes settlement. On sloped ground, step the foundation to follow the contour.
Công cụ cần thiết:
 Cây gỗ cứng non
 Dây thừng, dây bện
3
3
Lay the Foundation Course
Lay the Foundation Course
Place the largest and heaviest stones in the foundation trench. These foundation stones should have at least one flat face pointing upward. Set them tightly side by side across the full trench width. The foundation course is the widest part of the wall — typically 55 to 65 cm wide. Fill any gaps between large stones with smaller pieces packed in tightly.
Vật liệu cho bước này:
Đá lớn có mặt phẳng20 cáiCông cụ cần thiết:
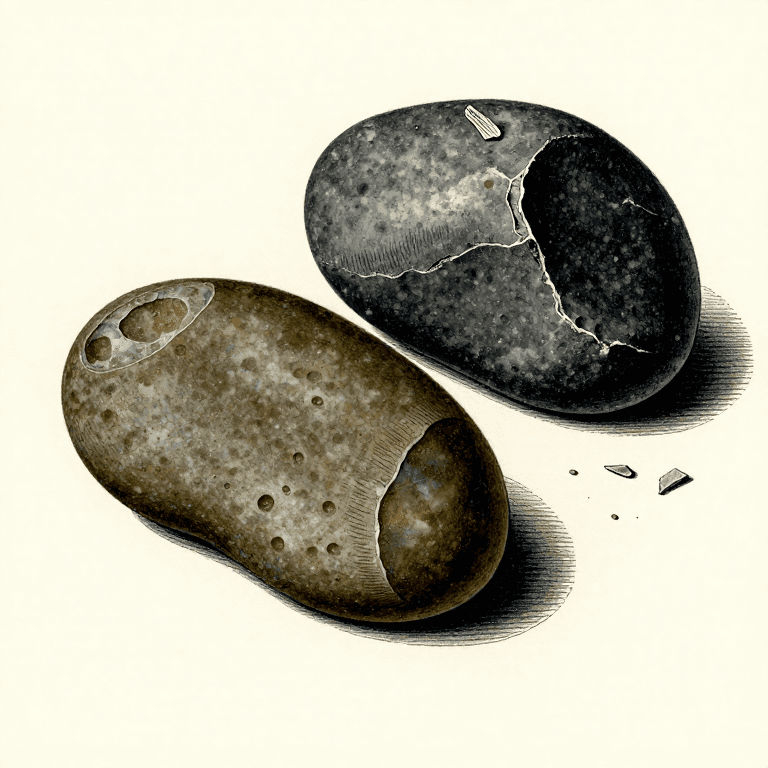
 Đá đập (hòn ghè)
4
4
Build the First Outer Face Course
Build the First Outer Face Course
Begin building two parallel outer faces on top of the foundation. Each face stone must have a flat, presentable side facing outward. Place each stone so it spans across the joint between two stones below it — never stack joints directly above each other. The outer faces should already begin leaning inward slightly from the foundation width.
Vật liệu cho bước này:
Đá lớn có mặt phẳng15 cái5
5
Fill the Centre with Hearting Stones
Fill the Centre with Hearting Stones
Pack the gap between the two outer faces with small irregular stones — this fill is called hearting. Push hearting stones in firmly so they wedge against each other and against the inner surfaces of the face stones. Good hearting is tightly packed with minimal voids. Never use soil or loose rubble — only stone. The hearting provides mass and prevents the faces from being pushed inward.
Vật liệu cho bước này:
Đá nhỏ không đều25 cái6
6
Continue Building Courses with Batter
Continue Building Courses with Batter
Build successive courses, making each course slightly narrower than the one below. This inward taper — called the batter — typically reduces the wall width by about 2 to 3 cm per side per course. A wall that starts at 60 cm wide at the base might be 35 to 40 cm wide at the top. Use a batter frame (two sloped stakes connected by a string) as a guide to keep the taper consistent on both faces.
Vật liệu cho bước này:
Đá lớn có mặt phẳng30 cáiĐá nhỏ không đều40 cáiCông cụ cần thiết:
Cây gỗ cứng non7
7
Ensure Every Stone Bears on Two Below
Ensure Every Stone Bears on Two Below
The most important rule of dry stone walling is 'one over two, two over one' — every stone must bridge the joint between two stones in the course below. This interlocking pattern distributes weight and prevents vertical fracture lines from forming. If a stone only rests on one stone below it, reposition or choose a different stone.
8
8
Place the First Row of Through-Stones
Place the First Row of Through-Stones
After every two to three courses (roughly 30 to 40 cm of height), lay through-stones that span the entire width of the wall from one face to the other. These long stones tie the two faces together and prevent them from bulging outward under the weight of the hearting. Space through-stones approximately 1 metre apart along the wall length. Each through-stone should be at least as long as the wall is wide at that height.
Vật liệu cho bước này:
Đá xuyên tường6 cái9
9
Continue Courses to Working Height
Continue Courses to Working Height
Keep building courses with face stones, hearting, and through-stones every two to three courses. A typical field boundary wall reaches 1 to 1.2 metres in height. Check the batter angle periodically by stepping back and sighting along the wall. Both faces should taper inward at the same angle. Correct any outward lean immediately — it only gets worse with more weight above.
Vật liệu cho bước này:
Đá lớn có mặt phẳng15 cáiĐá nhỏ không đều35 cáiĐá xuyên tường6 cái10
10
Level the Top Course for Capstones
Level the Top Course for Capstones
The final course before capping must be as level as possible. Use flat stone shims to level any high or low spots. The top surface should form a reasonably flat platform across the full width of the wall. This is critical — capstones must sit flat and stable.
Công cụ cần thiết:
Đá đập (hòn ghè)11
11
Place Capstones Along the Top
Place Capstones Along the Top
Set heavy, flat capstones along the top of the wall, spanning its full width. Capstones should be placed upright on edge (vertically) or flat, depending on regional tradition. Vertical capstones shed rain better and add visual weight. Each capstone should press down firmly on both outer faces, locking them together. Capstones are the heaviest stones per unit in the wall — their weight compresses and stabilises everything below.
Vật liệu cho bước này:
 Đá đậy tường10 cái
12
12
Pack Final Hearting Under Capstones
Pack Final Hearting Under Capstones
Push small wedge-shaped stones into any gaps beneath and between the capstones. These pinning stones lock the capstones in place and prevent them from rocking. Tap them in firmly with a hammerstone. No capstone should wobble when pressed from any direction.
Vật liệu cho bước này:
Đá nhỏ không đều10 cáiCông cụ cần thiết:
Đá đập (hòn ghè)13
13
Inspect and Tighten the Entire Wall
Inspect and Tighten the Entire Wall
Walk along both sides of the completed wall. Push against it at several points — a properly built wall should not flex or shift. Look for any stones protruding excessively or any gaps where hearting has settled. Tap loose stones back into position with the hammerstone. A well-built dry stone wall should feel monolithic.
Công cụ cần thiết:
Đá đập (hòn ghè)14
14
Build Wall Ends with Quoin Stones
Build Wall Ends with Quoin Stones
Wall ends (and gate openings) require the strongest construction. Use large, squared-off quoin stones at the ends, alternating their orientation on each course — one course with the long axis running along the wall, the next with it running into the wall. This alternating pattern creates an interlocked end that resists being pulled apart. Wall ends should be battered more steeply than the main wall.
Vật liệu cho bước này:
Đá lớn có mặt phẳng8 cái15
15
Maintenance and Repair Over Time
Maintenance and Repair Over Time
Dry stone walls require periodic inspection. Frost heave can dislodge stones over winter, and animal pressure can push sections out of alignment. Repair promptly by rebuilding the affected section from the ground up — never just push a fallen stone back on top. Remove all stones from the damaged area, re-sort them, and rebuild course by course following the same principles. A maintained dry stone wall can last centuries.
Vật liệu
4- 168 cáiTạm thời
- 210 cáiTạm thời
- 24 cáiTạm thời
- 10 cáiTạm thời
Vật liệu bản thiết kế liên kết

Blueprint liên quan
Các blueprint này chia sẻ kiến thức — kỹ thuật, vật liệu hoặc nguyên tắc


CC0 Phạm vi công cộng
Bản thiết kế này được phát hành theo CC0. Bạn tự do sao chép, sửa đổi, phân phối và sử dụng cho bất kỳ mục đích nào mà không cần xin phép.
Hỗ trợ nhà sáng tạo bằng cách mua sản phẩm qua bản thiết kế, nơi họ nhận Hoa hồng nhà sáng tạo do nhà bán hàng đặt, hoặc tạo phiên bản mới và kết nối trong bản thiết kế riêng để chia sẻ doanh thu.