NGHỆ THUẬT
LÀM ĐẸP VÀ SỨC KHỎE
THỦ CÔNG
VĂN HÓA VÀ LỊCH SỬ
GIẢI TRÍ
MÔI TRƯỜNG
THỰC PHẨM VÀ ĐỒ UỐNG
KỸ THUẬT NGƯỢC
KHOA HỌC
THỂ THAO
CÔNG NGHỆ
THIẾT BỊ ĐEO
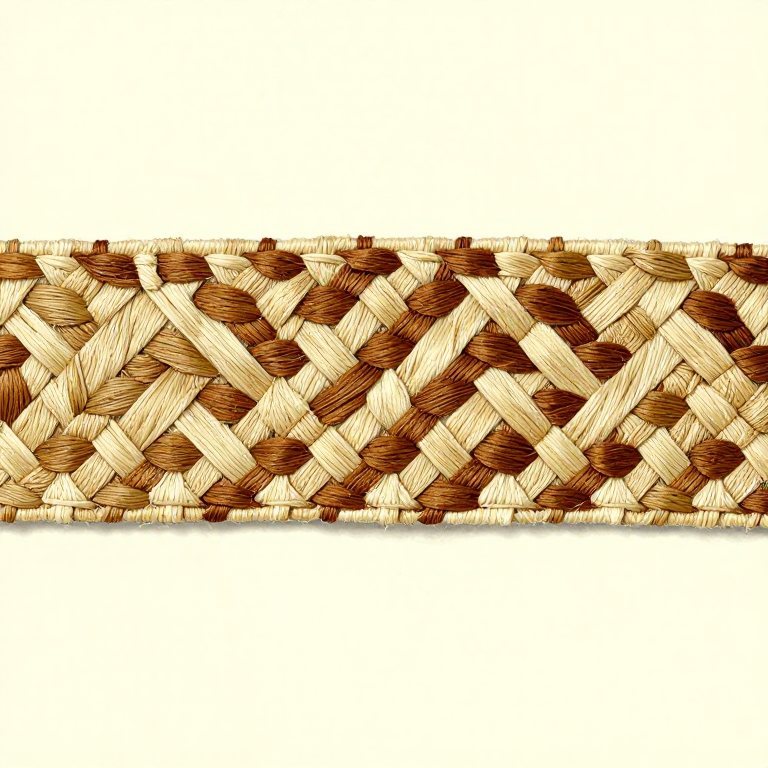


Finger Weaving a Braided Band — Textile Without a Loom
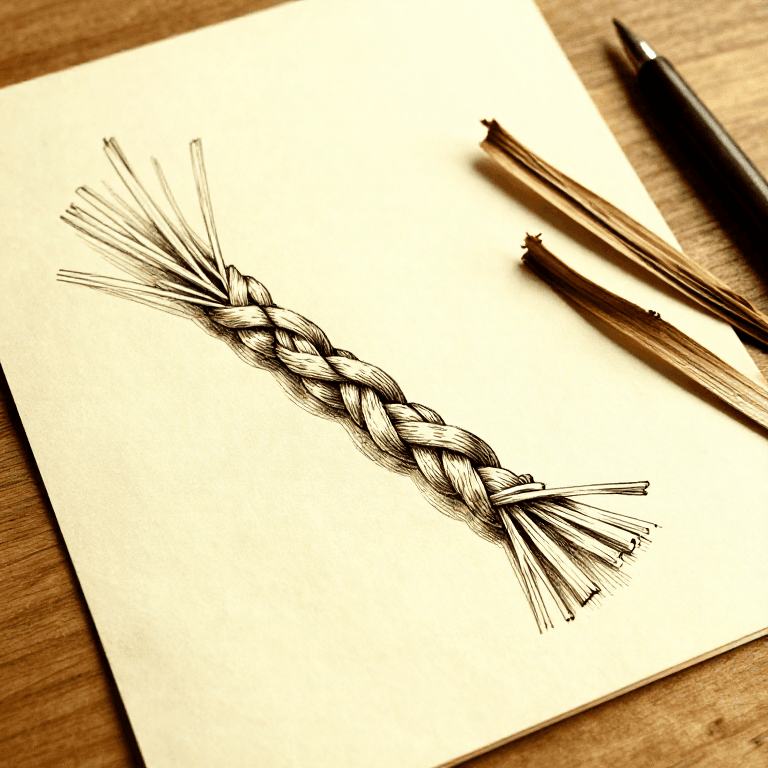
Finger weaving is the simplest method of producing a flat textile band — no loom, no shuttle, no heddles. The weaver uses only their fingers to interlace a set of hanging threads (warp) by passing them over and under each other in a diagonal pattern. The resulting fabric is a strong, flexible band suitable for belts, straps, tumplines, sashes, and decorative trim. The technique predates all frame-loom weaving and was practised by cultures worldwide — from the Sash of the Metis to ancient Peruvian braids. Finger weaving naturally creates a chevron or diagonal pattern because the weft thread is actually a warp thread that travels diagonally across the band. Materials can range from plant fibres and animal sinew to wool yarn.
Trung cấp
2-3 hours
Hướng dẫn
1
1
Cut the Warp Strands
Cut the Warp Strands
Cut 12 to 16 lengths of strong cord or yarn, each measuring 2 to 3 times the desired finished band length. The extra length accounts for the take-up caused by the over-under weaving pattern — the finished band will be roughly half the length of the starting strands.
Vật liệu cho bước này:
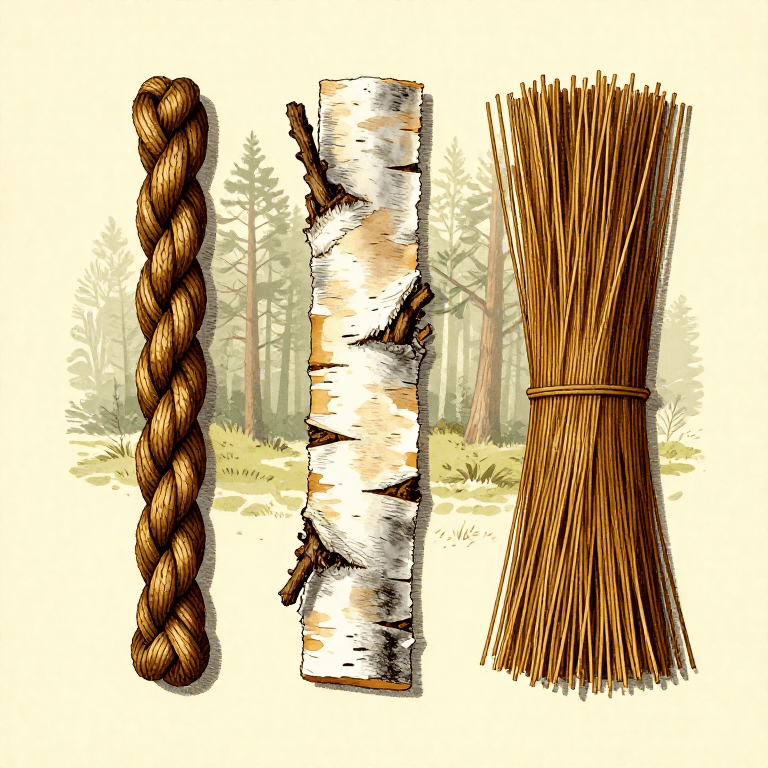
 Dây thừng, dây bện15 cái
2
2
Tie All Strands Together at One End
Tie All Strands Together at One End
Gather all strands together and tie them at one end with a single overhand knot. Leave about 5 cm of free ends above the knot for a fringe. Ensure all strands are the same length below the knot so the warp hangs evenly.
3
3
Secure the Knotted End to a Fixed Point
Secure the Knotted End to a Fixed Point
Attach the knotted end to a fixed point at approximately chest height — a tree branch, doorframe, tent pole, or a stake driven into the ground will all work. The strands must hang freely under light tension. Working at chest height reduces hand and arm fatigue.
4
4
Separate Strands into Two Groups
Separate Strands into Two Groups
Divide the hanging strands into two equal groups: a left set and a right set. Spread them apart slightly so you can see and access each individual strand. The strands should hang parallel, not twisted around each other.
5
5
Begin with the Outermost Left Strand
Begin with the Outermost Left Strand
Take the outermost strand from the left group. This strand becomes the active weft for this row. Hold it between your thumb and forefinger and prepare to weave it across the full width of the hanging strands to the right side.
6
6
Weave Over and Under to the Right
Weave Over and Under to the Right
Pass the active strand over the first strand it encounters, under the second, over the third, and continue this over-under pattern through all remaining strands until you reach the right edge. Pull the strand through and let it hang on the right side — it has now become part of the right group.
7
7
Push the Row Tight
Push the Row Tight
Slide the completed row of weaving upward, pushing it snug against the previous row or the starting knot. Use your fingers to press each crossing tight. Consistent tension is critical — loose rows produce a wavy, uneven band while overly tight rows will narrow the band and distort it.
8
8
Take the Outermost Right Strand
Take the Outermost Right Strand
Now take the outermost strand from the right group. This becomes the active weft for the next row. By alternating which side you start from, the weft threads travel diagonally across the band, creating the characteristic chevron pattern.
9
9
Weave Over and Under to the Left
Weave Over and Under to the Left
Pass this strand over the first, under the second, over the third, continuing through all strands to the left edge. Pull it through and let it join the left group. Push this row up tight against the previous one.
10
10
Continue Alternating Sides
Continue Alternating Sides
Repeat the pattern: always take the outermost strand from one side, weave it across to the other, then switch sides. Alternate left-to-right and right-to-left rows consistently. After 5 to 10 rows, the diagonal weave pattern becomes clearly visible.
11
11
Maintain Even Tension for Consistent Width
Maintain Even Tension for Consistent Width
As the band grows, check that the width remains consistent from the starting knot to the working edge. If the band is narrowing, you are pulling the weft strand too tight — ease the tension. If it is widening, the weft is too loose. The finished band should be firm but flexible, with a uniform width and a clean diagonal pattern throughout.
Vật liệu
1- 15 cáiTạm thời
Vật liệu bản thiết kế liên kết
Bản thiết kế này làm ra

Blueprint liên quan
Các blueprint này chia sẻ kiến thức — kỹ thuật, vật liệu hoặc nguyên tắc

CC0 Phạm vi công cộng
Bản thiết kế này được phát hành theo CC0. Bạn tự do sao chép, sửa đổi, phân phối và sử dụng cho bất kỳ mục đích nào mà không cần xin phép.
Hỗ trợ nhà sáng tạo bằng cách mua sản phẩm qua bản thiết kế, nơi họ nhận Hoa hồng nhà sáng tạo do nhà bán hàng đặt, hoặc tạo phiên bản mới và kết nối trong bản thiết kế riêng để chia sẻ doanh thu.