NGHỆ THUẬT
LÀM ĐẸP VÀ SỨC KHỎE
THỦ CÔNG
VĂN HÓA VÀ LỊCH SỬ
GIẢI TRÍ
MÔI TRƯỜNG
THỰC PHẨM VÀ ĐỒ UỐNG
KỸ THUẬT NGƯỢC
KHOA HỌC
THỂ THAO
CÔNG NGHỆ
THIẾT BỊ ĐEO
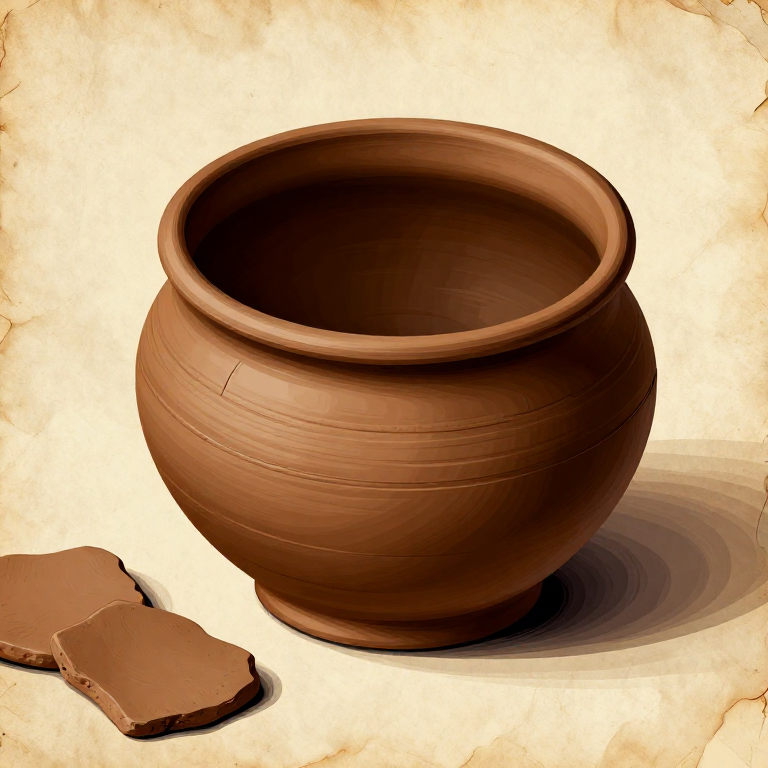
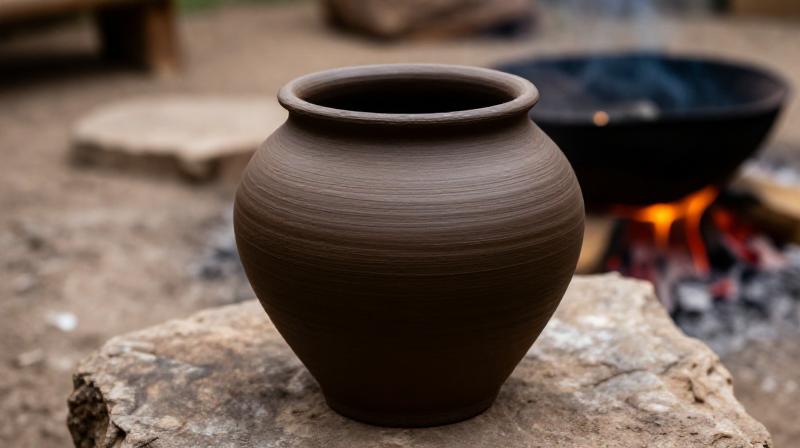
Building a Slab Pottery Vessel — Flat Clay Panel Construction
Slab building is one of the three fundamental hand-building pottery techniques practiced since the Neolithic period, alongside pinch pots and coil construction. The method involves rolling clay into flat panels of uniform thickness, then cutting and joining these panels with slip (liquid clay) to form angular or curved vessels. Archaeological evidence from Jomon-period Japan (circa 10,000 BCE) and early Neolithic Europe shows slab-built storage vessels alongside coiled wares, indicating both techniques developed in parallel. Slab construction excels at creating flat-sided forms — rectangular boxes, troughs, and angular containers — that are difficult to achieve with coiling. The critical skill is controlling clay moisture: panels must be leather-hard (firm enough to stand but soft enough to bond) when assembled. Too wet and the walls slump; too dry and the joints crack during firing. This blueprint teaches the complete process from preparing wild clay through to a finished vessel ready for pit firing.
Trung cấp
4-6 hours
Hướng dẫn
1
1
Prepare the Clay Body
Prepare the Clay Body
Take approximately 2 kg of processed clay that has been cleaned of stones and organic debris. If using wild clay, ensure it has been dried, crushed, slaked in water, and sieved through a coarse mesh to remove grit larger than 2 mm. The clay should be the consistency of stiff bread dough — moist enough to hold together when squeezed but not sticky.
Vật liệu cho bước này:
 Clay Body2 kg
2
2
Wedge the Clay to Remove Air Bubbles
Wedge the Clay to Remove Air Bubbles
Knead the clay vigorously on a flat stone surface for 5 to 10 minutes using the heel of your palm. Push the clay forward, fold it back, rotate a quarter turn, and repeat. This process — called wedging — aligns the clay particles and forces out trapped air pockets. Air bubbles left in the clay will expand during firing and cause the vessel to crack or explode.
Công cụ cần thiết:
 Flat Stone Slab
3
3
Roll Out the First Clay Slab
Roll Out the First Clay Slab
Place a fist-sized ball of wedged clay on a flat surface lightly dusted with dry clay powder to prevent sticking. Using a smooth, straight wooden rod approximately 30 cm long, roll the clay into a flat slab 8 to 10 mm thick. Roll from the centre outward, rotating the slab a quarter turn after every few passes to maintain even thickness. Place two sticks of equal thickness (8 to 10 mm) on either side as thickness guides.
Công cụ cần thiết:
 Hardwood Sapling
4
4
Cut the Base Panel
Cut the Base Panel
Using a sharp flint flake, cut a rectangular base panel from the rolled slab measuring approximately 15 cm by 10 cm. Use a straight stick as a cutting guide to ensure clean edges. Set the cut panel aside on a flat bark sheet and cover loosely with damp leaves to control drying speed.
Công cụ cần thiết:
 Flint Nodule
5
5
Roll and Cut the Four Wall Panels
Roll and Cut the Four Wall Panels
Roll out four more slabs to the same 8 to 10 mm thickness. Cut two long wall panels (15 cm by 12 cm) and two short wall panels (10 cm by 12 cm). The 12 cm dimension is the vessel height. All panels must be the same thickness — uneven walls create stress points that crack during drying and firing.
Công cụ cần thiết:
Flint Nodule6
6
Let Panels Stiffen to Leather-Hard
Let Panels Stiffen to Leather-Hard
Allow all five panels to dry in shade until they reach the leather-hard stage — firm enough to hold their shape when lifted but soft enough to accept a thumbnail impression. This typically takes 1 to 3 hours depending on humidity and temperature. Check every 30 minutes. If panels dry unevenly, mist the dry areas lightly with water.
7
7
Prepare Clay Slip for Joining
Prepare Clay Slip for Joining
Mix a small handful of dry clay powder with water to create a thick creamy paste — this is slip, which acts as the adhesive between slab joints. The consistency should be like thick yoghurt. Slip that is too thin will not bond; slip that is too thick will not fill the joint completely. Keep it in a bark cup or hollow stone to prevent drying.
Vật liệu cho bước này:
Clay Body100 g8
8
Score the Joint Edges
Score the Joint Edges
Using the tip of a bone awl or sharp stick, scratch a cross-hatch pattern of shallow grooves into every edge that will be joined. Score the bottom edges of all four wall panels and all four edges of the base panel. Scoring creates texture for the slip to grip — smooth clay surfaces bonded with slip alone will separate during drying.
Công cụ cần thiết:
 Bone Awl
9
9
Attach the First Long Wall to the Base
Attach the First Long Wall to the Base
Brush a generous layer of slip onto the scored bottom edge of one long wall panel and the corresponding long edge of the base. Press the wall panel firmly onto the base edge, holding it perfectly vertical. Support it from behind with a small lump of clay if needed. Smooth a thin coil of soft clay along the inside joint to reinforce the connection.
10
10
Attach the Remaining Walls
Attach the Remaining Walls
Apply slip to all scored edges and attach the two short walls, then the second long wall. Each wall bonds to the base at its bottom edge and to the adjacent walls at its vertical corners. Press each corner joint firmly and smooth a reinforcing coil of soft clay along every interior corner. The vessel should now form a complete rectangular box.
11
11
Reinforce All Interior Joints
Reinforce All Interior Joints
Roll thin coils of soft clay approximately 5 mm in diameter. Press these coils firmly into every interior corner and along the base-to-wall joints. Smooth them into the surrounding surface using a wet fingertip or smooth pebble. These reinforcing coils dramatically increase joint strength — without them, slab vessels commonly crack at the corners during firing.
Vật liệu cho bước này:
Clay Body50 g12
12
Smooth the Exterior Surface
Smooth the Exterior Surface
Using a smooth river pebble or piece of damp leather, smooth and compress the entire exterior surface of the vessel. This process — called burnishing when done firmly — compresses the clay particles, seals micro-cracks, and creates a surface that is more water-resistant even before firing. Pay special attention to the corner joints where cracks are most likely to appear.
Công cụ cần thiết:
 Hammerstone
13
13
Dry the Vessel Slowly and Evenly
Dry the Vessel Slowly and Evenly
Place the completed vessel in a shaded area with good air circulation. Cover it loosely with damp cloth or leaves for the first 24 hours to slow initial drying — rapid drying causes uneven shrinkage that cracks joints. After 24 hours, remove the covering and allow the vessel to dry fully over 3 to 5 days. The vessel is ready for firing when it feels warm to the touch and has lightened significantly in colour.
14
14
Fire in a Pit Kiln
Fire in a Pit Kiln
Fire the dried vessel in a pit kiln following standard prehistoric firing techniques. Pre-heat the vessel near the fire for 1 hour to drive off remaining moisture, then place it in the fuel bed. Bring the temperature up gradually over 2 hours to approximately 600 to 800 degrees Celsius. Hold peak temperature for 30 minutes, then let the fire die naturally. The finished vessel will be hard, lightly porous, and suitable for storing dry goods or liquids when sealed with pine resin.
Vật liệu cho bước này:
 Charcoal5 kg
Vật liệu
3- Tạm thời
- 150 gTạm thời
Vật liệu bản thiết kế liên kết
Blueprint liên quan
Các blueprint này chia sẻ kiến thức — kỹ thuật, vật liệu hoặc nguyên tắc
Related blueprints
Other builds that share materials, tools, or techniques with this one.
Building a Coil Pot by Hand — Ancient Pottery Without a Wheelceramics
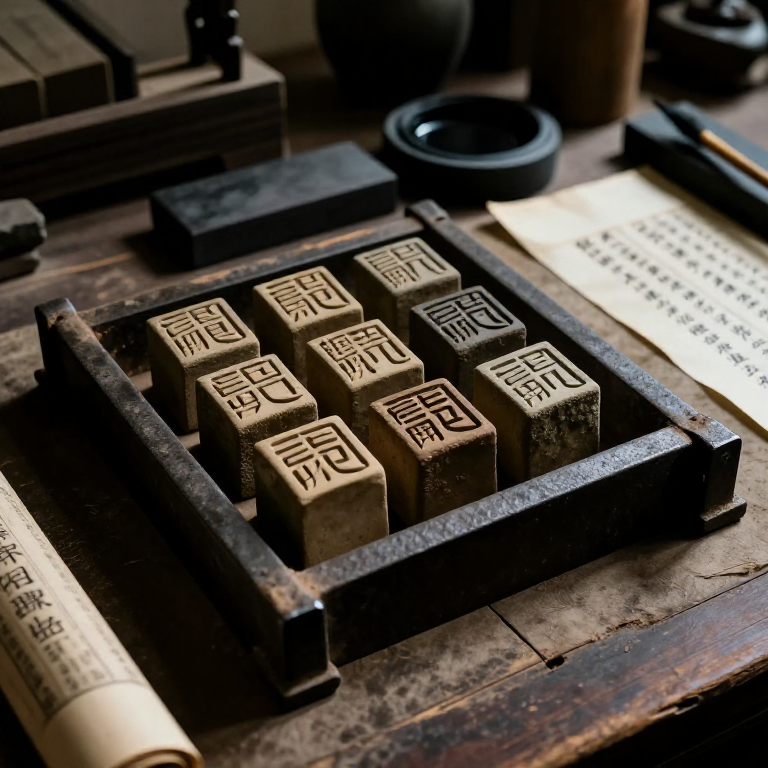
Setting Clay Movable Type — Bi Sheng's Printing Revolutionceramics
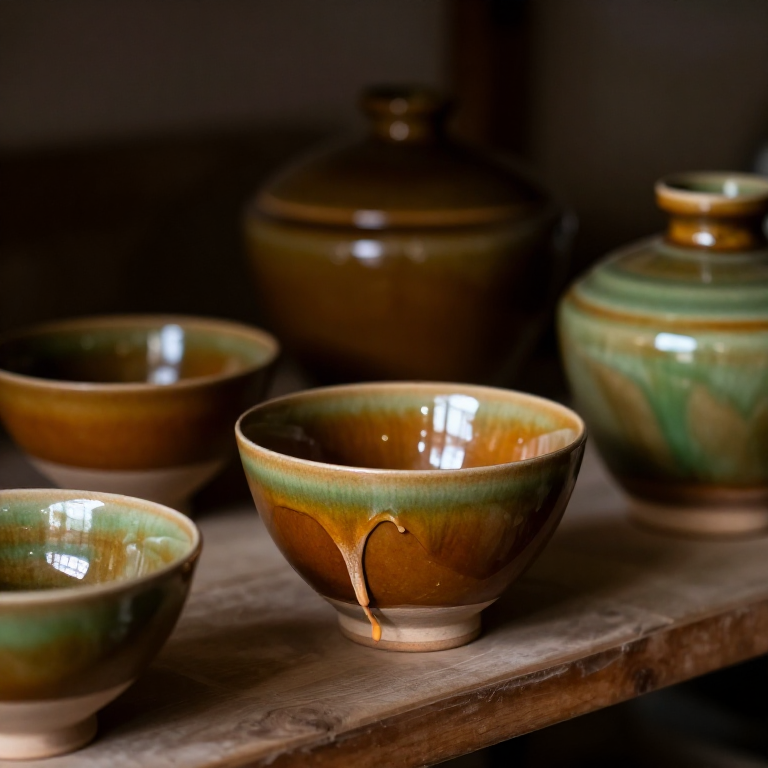
Ash Glazing Pottery — The Accidental Discovery That Made Ceramics Waterproofceramics
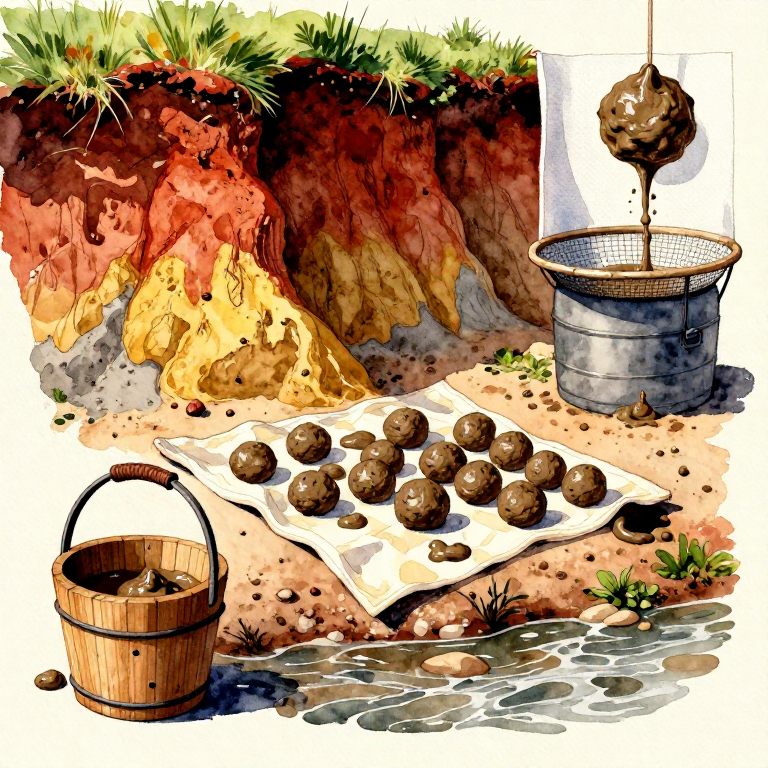
Harvesting and Preparing Wild Clay from Riverbanksceramics
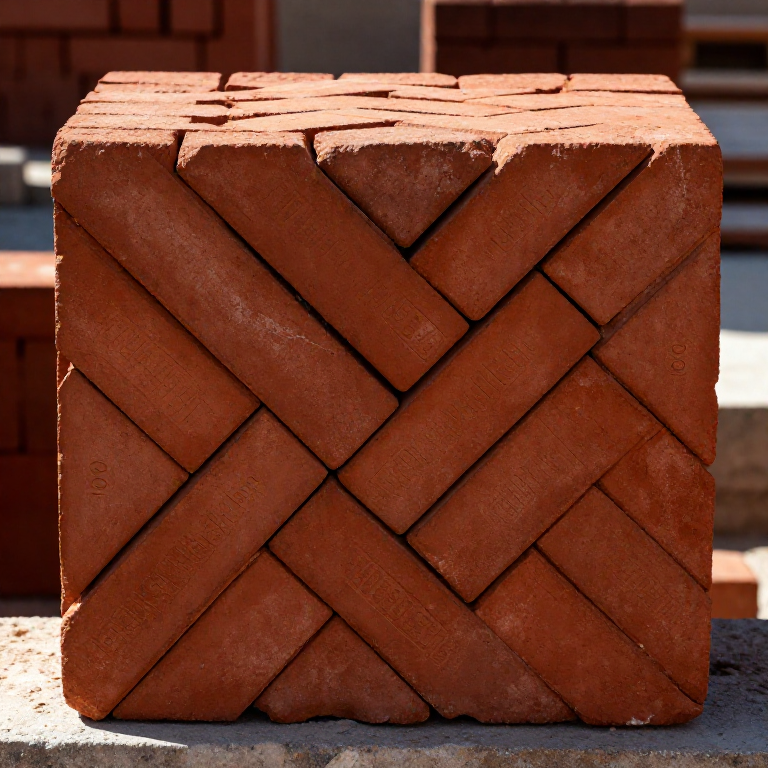
Making Standardised Roman Bricks (Lateres) — The Building Block of Imperial Architectureceramics
Firing Clay Bricks in a Clamp Kiln — The Building Block of Civilizationceramics
CC0 Phạm vi công cộng
Bản thiết kế này được phát hành theo CC0. Bạn tự do sao chép, sửa đổi, phân phối và sử dụng cho bất kỳ mục đích nào mà không cần xin phép.
Hỗ trợ nhà sáng tạo bằng cách mua sản phẩm qua bản thiết kế, nơi họ nhận Hoa hồng nhà sáng tạo do nhà bán hàng đặt, hoặc tạo phiên bản mới và kết nối trong bản thiết kế riêng để chia sẻ doanh thu.