NGHỆ THUẬT
LÀM ĐẸP VÀ SỨC KHỎE
THỦ CÔNG
VĂN HÓA VÀ LỊCH SỬ
GIẢI TRÍ
MÔI TRƯỜNG
THỰC PHẨM VÀ ĐỒ UỐNG
KỸ THUẬT NGƯỢC
KHOA HỌC
THỂ THAO
CÔNG NGHỆ
THIẾT BỊ ĐEO
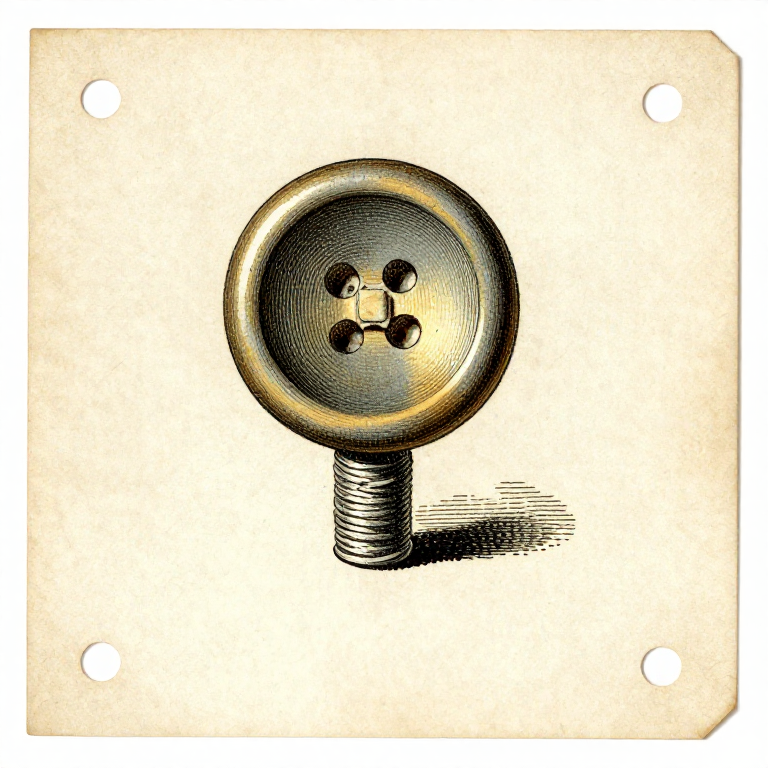


Sewing On a Button So It Stays On: The Shank Is the Whole Trick
A button sewn flat against the cloth has nowhere to sit when the buttonhole layer comes under it. It pulls, the fabric distorts, the threads take all the strain at one point, and it comes off again.
The fix is a SHANK: a short stem of thread between the button and the fabric, long enough for the other layer to fit underneath. It takes an extra fifteen seconds and it is the difference between a button that lasts years and one that falls off in a month.
This is the most-performed repair in the world and it is almost always done without the shank.
Cơ bản
2 hours
Hướng dẫn
1
1
Position it from the buttonhole, not from the old marks
Position it from the buttonhole, not from the old marks
Do up the other buttons, lay the two edges as they should sit, and push a pin through the buttonhole to mark where the button's centre belongs.
The old thread marks are where the button WAS, and if it pulled off because it was in the wrong place, putting it back there repeats the problem. The buttonhole is the authority.
For a row of new buttons, mark them all from a story stick or a gauge rather than measuring each — same reasoning as the woodworking layout rungs, and the same failure if you chain-measure them: the last one ends up visibly out.
Vật liệu cho bước này:
 Vải lanh1 cái
Công cụ cần thiết:
 Kim ghim khâu
 Phấn thợ may
 Thước đo lai
2
2
Double the thread, anchor it, and lay a spacer
Double the thread, anchor it, and lay a spacer
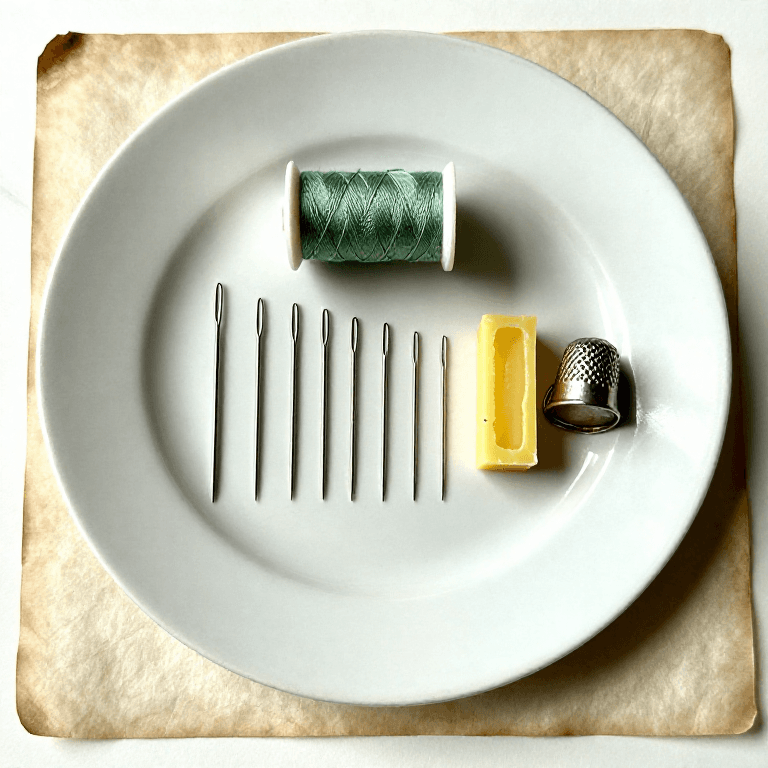
Use a doubled waxed thread for strength. Anchor it with two tiny stitches on the spot where the button goes rather than a knot, so there is no lump under the button.
Lay a pin, a matchstick or a second needle across the top of the button and sew over it. That spacer holds the stitches loose by exactly its own thickness, which is what creates the shank.
Six passes through each pair of holes is plenty. More thread is not stronger — the holes fill, the button sits crooked, and the bulk is what starts abrading the buttonhole opposite.
Vật liệu cho bước này:
 Chỉ khâu1 cái
 Sáp ong1 cái
Công cụ cần thiết:
 Kim khâu tayKim ghim khâu
 Đê khâu (kim loại)
3
3
Make the shank and whip it
Make the shank and whip it
Pull the spacer out. The stitches are now loose, and the button lifts away from the cloth on a small bundle of threads.
Bring the needle up under the button but above the fabric and wind the thread tightly around that bundle five or six times, then take the needle through to the back and fasten off. The winding binds the loose threads into one firm stem.
Check the length against the fabric it must accommodate. A shirt needs barely any shank; a coat needs several millimetres, because the layer coming under it is thick. A shank-back button — one with a metal loop built in — already has this and is sewn down flat.
Vật liệu cho bước này:
Chỉ khâu1 cáiCông cụ cần thiết:
Kim khâu tay Kéo cắt vải
 Kính lúp thợ kim hoàn
4
4
Reinforce the back on anything that pulls
Reinforce the back on anything that pulls
On a coat, a waistband or any button that takes real load, sew a small flat button on the INSIDE directly behind the main one, passing the same stitches through both.
That spreads the load across the backing button instead of concentrating it in four small holes in the cloth. Without it, the usual failure is not the thread breaking at all — it is the button tearing a hole clean out of the fabric, taking the threads with it.
A patch of interfacing or a scrap of firm fabric behind the button does the same job where a backing button would show. Either way, the principle is the one from the fastener rung: spread the load rather than trusting the material at a point.
Vật liệu cho bước này:
Vải lanh1 cáiChỉ khâu1 cáiCông cụ cần thiết:
Kim khâu tayĐê khâu (kim loại)Công cụ yêu cầu
7- Tạm thời
- Tạm thời
- Tạm thời
- Tạm thời
- Tạm thời
- Tạm thời
- Tạm thời
Blueprint liên quan
Các blueprint này chia sẻ kiến thức — kỹ thuật, vật liệu hoặc nguyên tắc
CC0 Phạm vi công cộng
Bản thiết kế này được phát hành theo CC0. Bạn tự do sao chép, sửa đổi, phân phối và sử dụng cho bất kỳ mục đích nào mà không cần xin phép.
Hỗ trợ nhà sáng tạo bằng cách mua sản phẩm qua bản thiết kế, nơi họ nhận Hoa hồng nhà sáng tạo do nhà bán hàng đặt, hoặc tạo phiên bản mới và kết nối trong bản thiết kế riêng để chia sẻ doanh thu.