
Driving a Motor — SIK Circuit 12
Hướng dẫn
Parts & Introduction
Parts & Introduction
DC motors draw too much current for an Arduino pin to drive directly. A transistor acts as an electronic switch — a small signal from the Arduino controls a larger current flowing through the motor. The flyback diode protects against voltage spikes when the motor turns off.
Parts Needed
- 1x Arduino Uno + USB cable
- 1x Breadboard
- 1x DC Motor
- 1x NPN Transistor (P2N2222A)
- 1x Diode (1N4148)
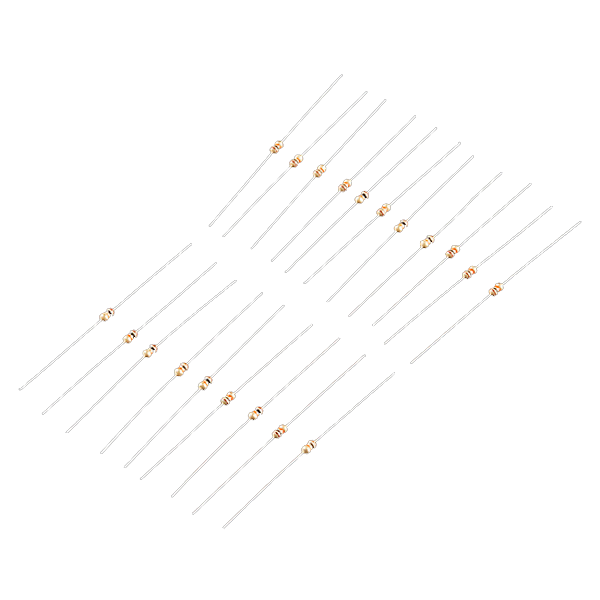
- 1x 330Ω Resistor
- 6x Jumper Wires
Vật liệu cho bước này:
 SparkFun Inventors Kit - V3.21 bộ
 Arduino Uno R31 cái
 Breadboard1 cái
 DC Motor1 cái
 NPN Transistor (P2N2222A)1 cái
 Diode (1N4148)1 cái
 330 Ohm Resistor1 cái
 Jumper Wires6 cái
Công cụ cần thiết:
Hardware Hookup
Hardware Hookup
Wiring Instructions
Transistor pinout (flat side facing you, pins down): Collector, Base, Emitter (left to right).
- Place the transistor in the breadboard.
- Connect Base (middle pin) through a 330Ω resistor to Arduino Digital Pin 9.
- Connect Emitter (right pin) to GND.
- Connect Collector (left pin) to the motor's black wire.
- Connect the motor's red wire to 5V.
- Flyback Diode: Connect the banded end (cathode) to 5V, the other end (anode) to the motor's black wire.
Vật liệu cho bước này:
DC Motor1 cáiNPN Transistor (P2N2222A)1 cáiDiode (1N4148)1 cái330 Ohm Resistor1 cáiBreadboard1 cáiJumper Wires6 cáiArduino Code
Arduino Code
Open the Arduino IDE and upload the following sketch to your Arduino board.
Vật liệu cho bước này:
Arduino Uno R31 cáiCông cụ cần thiết:
Test & Experiment
Test & Experiment
What You Should See
The default serialSpeed() function lets you type speed values (0-255) into the Serial Monitor to control motor speed in real time.
Troubleshooting
- Motor not spinning: If you sourced your own transistor, double-check the pinout — many NPN transistors have reversed pin orders compared to the P2N2222A.
- Motor won't start at low values: Below ~50, the motor doesn't have enough torque to overcome friction. This is normal.
- Connection issues: Try unplugging and re-plugging the USB cable.
Experiments to Try
- Uncomment
motorAcceleration()to see smooth speed ramping. - Add a potentiometer to control speed with a knob instead of serial input.
- Add a button for on/off control.
Vật liệu
8- $105.00
- 1 cáiTạm thời
- 1 cáiTạm thời
- Tạm thời
- $3.00
You can swap these in
Can't get one of the materials? Swap it for an equivalent — these work just as well.
- Instead of Arduino Uno R3, try:
 Prototyping Shield for Arduino Uno (3-Pack)
 Arduino Uno R3 BoardArduino Uno
 - Instead of DC Motor, try:
 Vibration Motor Assortment
 Servo Motor
 SG90 Micro Servo Motor (5-Pack)
 Marine Brushless Motor
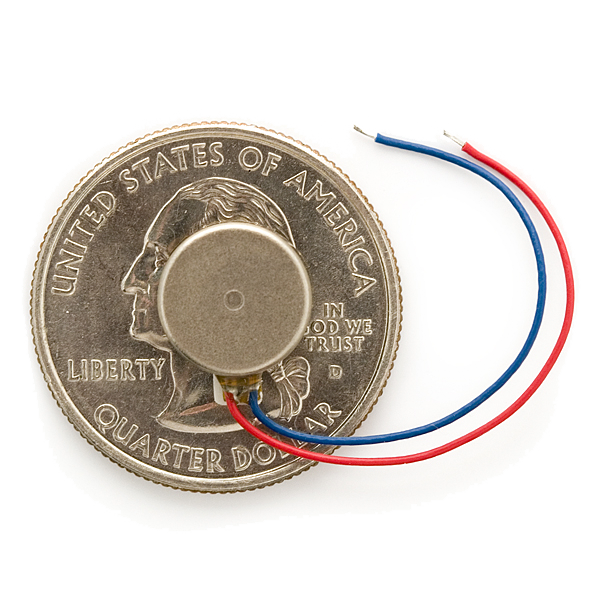 Vibration Motor
 - Instead of Diode Kit, try:
 Bridge Rectifier Diode Kit (20pcs)
 1N5819 Schottky Diode (20-Pack)
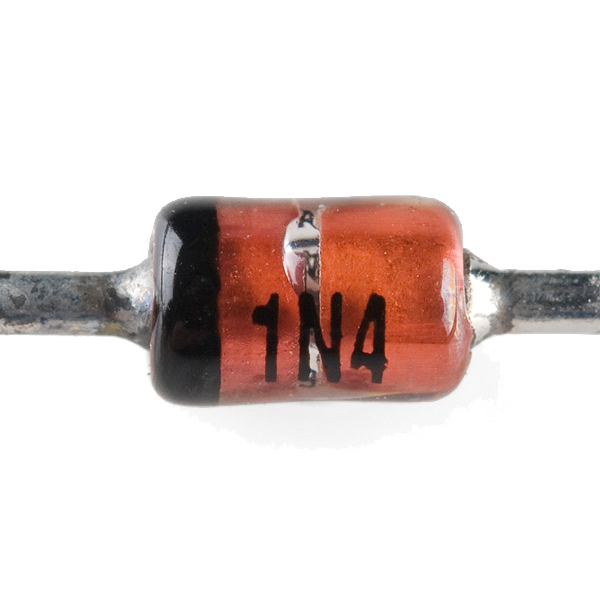 Zener Diode - 5.1V 1W
 - Instead of Resistor 330 Ohm 1/6 Watt PTH - 20 pack, try:
 Resistor 10K Ohm 1/6th Watt PTH - 20 pack
Recommended for this build
Products makers often use with builds like this one.
 5mm LED Assortment Kit (300pcs, 5 Colors)Used together and in similar buildsServo MotorUsed together and in similar builds
 Relay ModuleUsed in similar builds
 Temperature SensorUsed in similar builds
 Flex Sensor 2.2 InchUsed together and in similar buildsResistor 10K Ohm 1/6th Watt PTH - 20 packUsed together and in similar builds
 LED - RGB Diffused Common Cathode - 5mmFrequently used with this build's materials
 Push Button - 33mmFrequently used with this build's materials
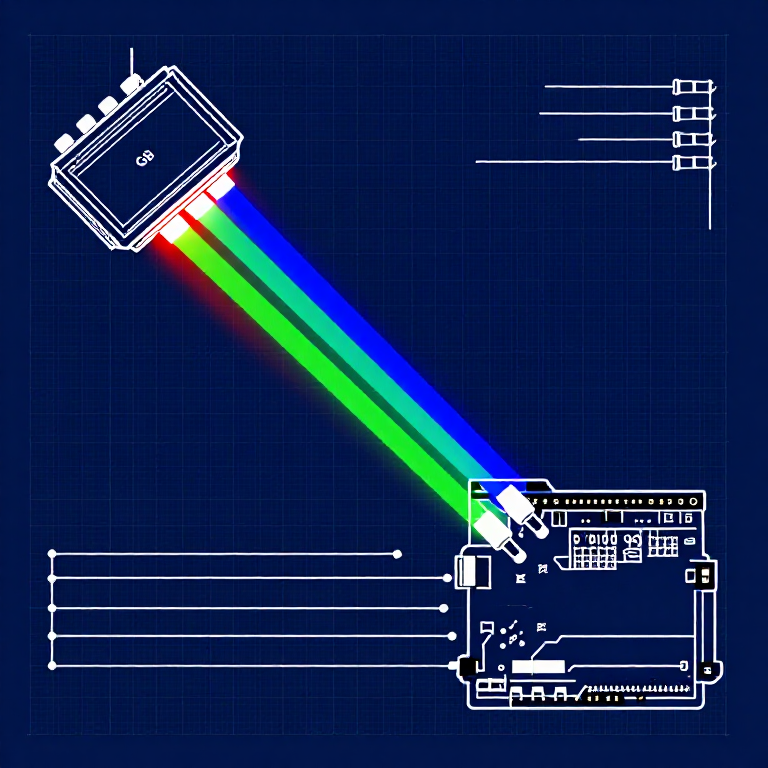
Related blueprints
Other builds that share materials, tools, or techniques with this one.


CC0 Phạm vi công cộng
Bản thiết kế này được phát hành theo CC0. Bạn tự do sao chép, sửa đổi, phân phối và sử dụng cho bất kỳ mục đích nào mà không cần xin phép.
Hỗ trợ nhà sáng tạo bằng cách mua sản phẩm qua bản thiết kế, nơi họ nhận Hoa hồng nhà sáng tạo do nhà bán hàng đặt, hoặc tạo phiên bản mới và kết nối trong bản thiết kế riêng để chia sẻ doanh thu.