NGHỆ THUẬT
LÀM ĐẸP VÀ SỨC KHỎE
THỦ CÔNG
VĂN HÓA VÀ LỊCH SỬ
GIẢI TRÍ
MÔI TRƯỜNG
THỰC PHẨM VÀ ĐỒ UỐNG
KỸ THUẬT NGƯỢC
KHOA HỌC
THỂ THAO
CÔNG NGHỆ
THIẾT BỊ ĐEO
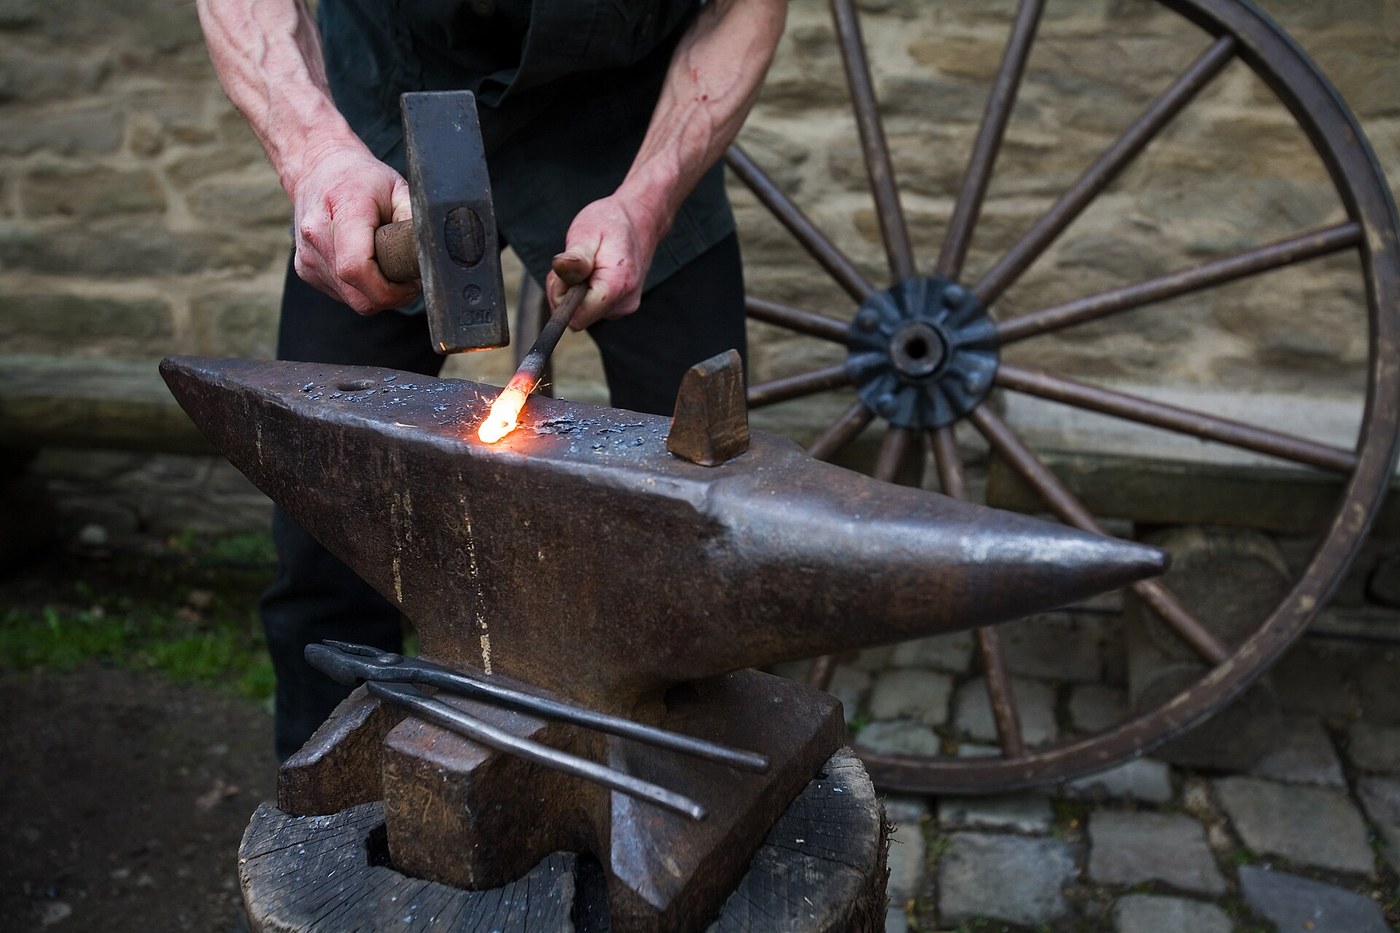


Smith's Top and Bottom Tools: Punch, Drift, Hardy, Fullers, Chisel and Swage
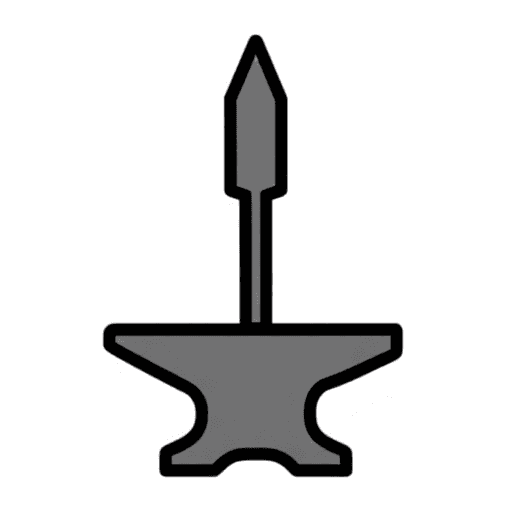
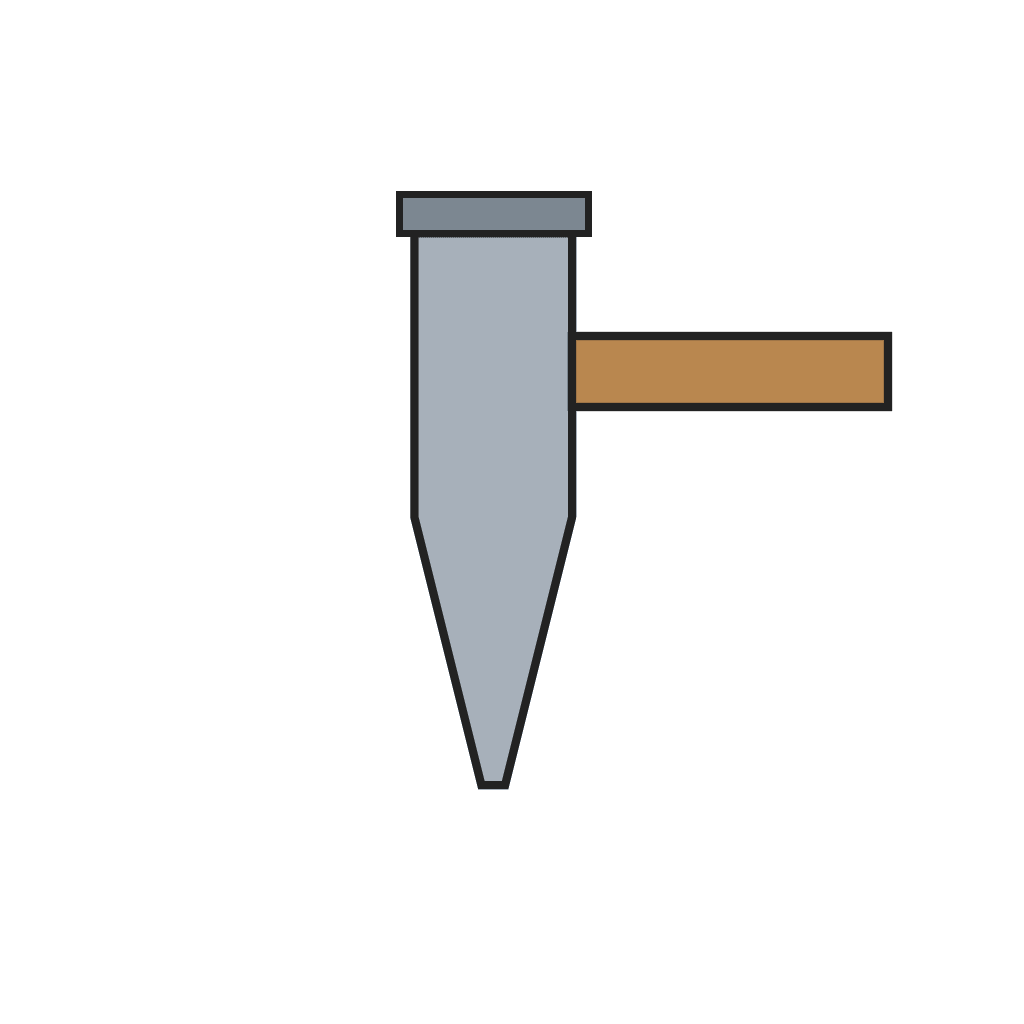
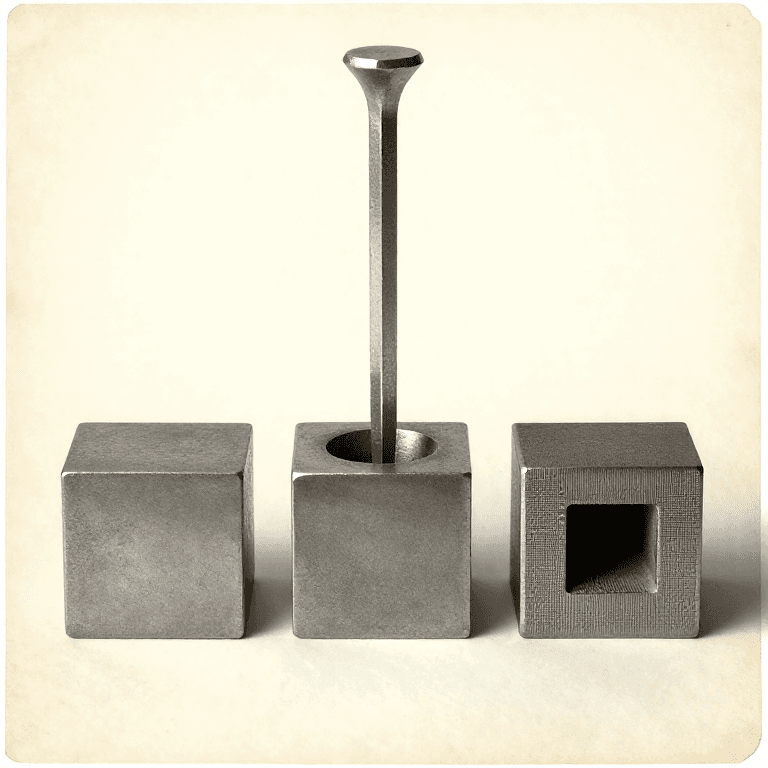
Bottom tools have a square shank that drops into the anvil's hardy hole; top tools have a handle and are held on the work and struck. The hardy cuts hot stock laid over it, the fuller's rounded nose spreads metal, the punch makes a hole and the drift opens it to size, the hot chisel cuts from above, and the bottom swage rounds bar in its groove. Forge them all from tool steel.
The picture: a smith at the anvil, a hardy standing in the hardy hole.
Nâng cao
Two days
Hướng dẫn
1
1
Shanks for the hardy hole
Shanks for the hardy hole
For each bottom tool, forge a square shank that slips into the hardy hole without rocking, with a shoulder above it that sits on the anvil face.
Vật liệu cho bước này:
 Thanh thép dụng cụ bát giác4 kg
 Than củi6 as required
Công cụ cần thiết:
 Lò rèn của thợ rèn
 Đe
Đe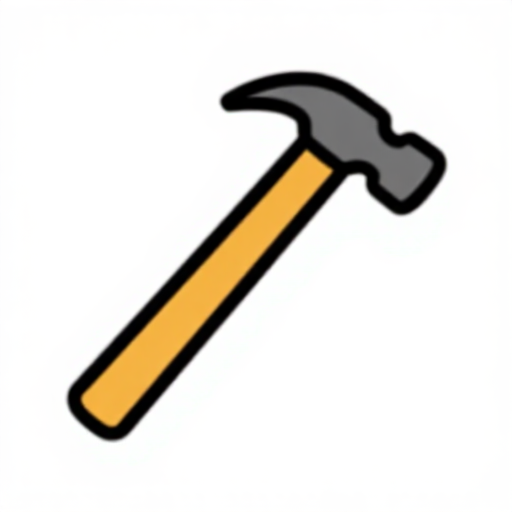 Búa đầu nêm ngang
 Búa tạ
 Kìm rèn
 Găng tay hàn
 Kính bảo hộ
2
2
Hardy and bottom fuller
Hardy and bottom fuller
On one shanked blank forge a wedge with its edge upward: the hot cut hardy. On another, forge a rounded nose: the bottom fuller.
Công cụ cần thiết:
Lò rèn của thợ rènĐeBúa đầu nêm ngangBúa tạKìm rènGăng tay hànKính bảo hộ3
3
Bottom swage
Bottom swage
On a third shanked blank, form a half-round groove by forging a hot bar of the size you want into it with the top swage, then file it clean.
Công cụ cần thiết:
Lò rèn của thợ rènĐeBúa đầu nêm ngangBúa tạKìm rènGăng tay hànKính bảo hộ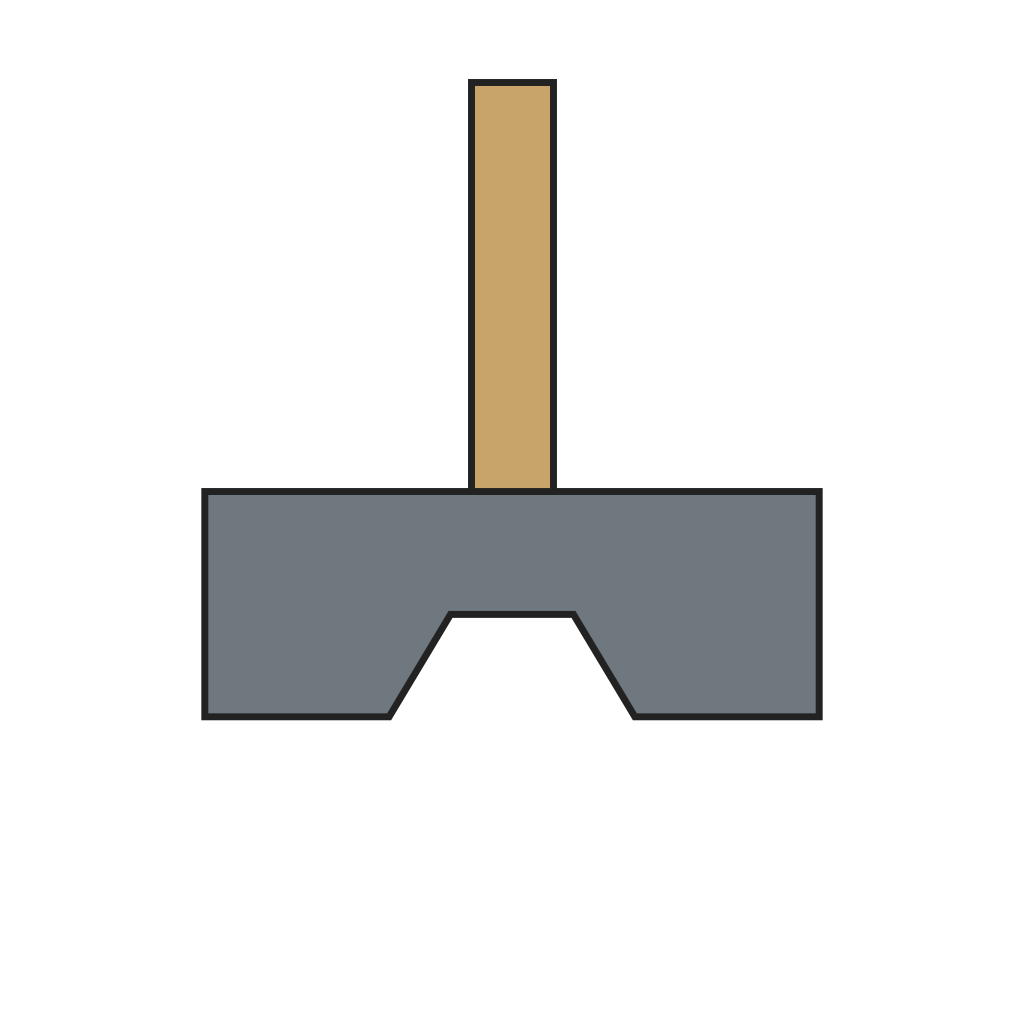 Khuôn dập trên (swage trên)
 Giũa kim loại
4
4
Top tools
Top tools
Forge the top tools from bar: a hot punch tapering to a small flat end, a drift tapering evenly to the size of the finished hole, a top fuller with a rounded nose, and a hot chisel with a thin edge. Leave a flat face on top of each to be struck.
Công cụ cần thiết:
Lò rèn của thợ rènĐeBúa đầu nêm ngangBúa tạKìm rènGăng tay hànKính bảo hộ5
5
Harden the edges and fit handles
Harden the edges and fit handles
Harden the hardy and hot chisel edges in water and temper them to blue; leave the punch, drift and fullers as forged, since they work hot (our practice). Fit ash handles to the hot chisel and top fuller.
Vật liệu cho bước này:
 Phôi gỗ tần bì2 cái
 Nước10 lít
Công cụ cần thiết:
Lò rèn của thợ rèn Thùng tôi nước
 Bánh đá màiKìm rènGăng tay hànKính bảo hộ
6
6
Steel for the set
Steel for the set
Đang tải sổ tay Jupyter…
Vật liệu
4- Tạm thời
- 6 as requiredTạm thời
- 2 cáiTạm thời
- 10 lítTạm thời
Công cụ yêu cầu
11- Tạm thời
- Tạm thời
- Tạm thời
- Tạm thời
- Tạm thời
- Tạm thời
- Tạm thời
- Tạm thời
- Tạm thời
- Tạm thời
- Tạm thời
Bản thiết kế này làm ra





Blueprint liên quan
Các blueprint này chia sẻ kiến thức — kỹ thuật, vật liệu hoặc nguyên tắc
CC0 Phạm vi công cộng
Bản thiết kế này được phát hành theo CC0. Bạn tự do sao chép, sửa đổi, phân phối và sử dụng cho bất kỳ mục đích nào mà không cần xin phép.
Hỗ trợ nhà sáng tạo bằng cách mua sản phẩm qua bản thiết kế, nơi họ nhận Hoa hồng nhà sáng tạo do nhà bán hàng đặt, hoặc tạo phiên bản mới và kết nối trong bản thiết kế riêng để chia sẻ doanh thu.