NGHỆ THUẬT
LÀM ĐẸP VÀ SỨC KHỎE
THỦ CÔNG
VĂN HÓA VÀ LỊCH SỬ
GIẢI TRÍ
MÔI TRƯỜNG
THỰC PHẨM VÀ ĐỒ UỐNG
KỸ THUẬT NGƯỢC
KHOA HỌC
THỂ THAO
CÔNG NGHỆ
THIẾT BỊ ĐEO
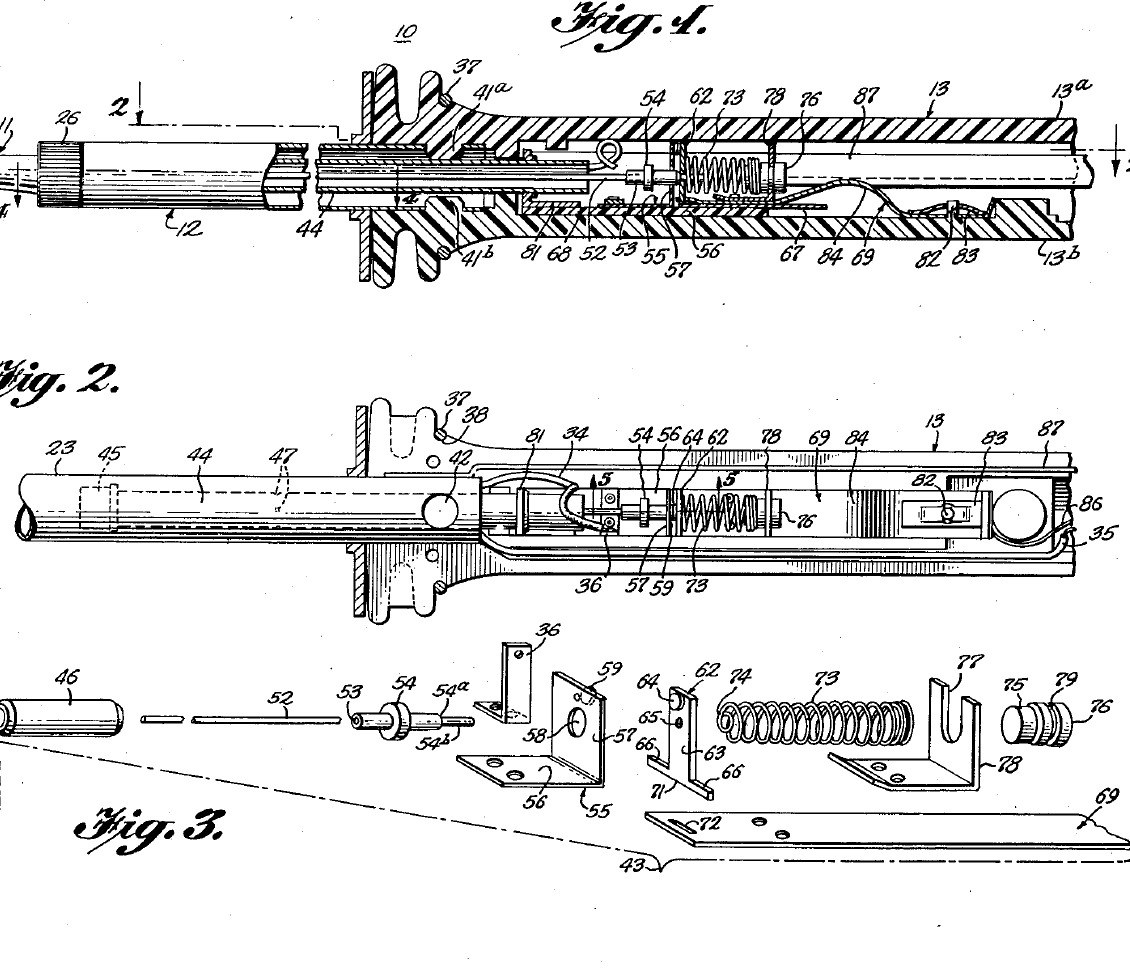


Soldering Iron: Temperature Controlled by a Curie-Point Tip and a Magnet Switch (Weller, US 3,188,448, 1965)
A soldering iron that holds its own tip temperature. At the back of the copper tip sits a slug of nickel-iron alloy that stops being magnetic above a set temperature (its Curie point). A small Alnico magnet behind it is pulled forward while the slug is cool, closing a switch that feeds the heater; once the tip is hot the slug lets go, a steel bushing pulls the magnet back and the switch opens. Swap tips to choose 600, 700 or 800 °F.
Result: a 55-watt temperature-controlled iron idling near 700 °F instead of running ever hotter.
Source: C. E. Weller, US 3,188,448 (1965). Unknown: the plating baths, the heater wire and insulation, most sizes. Picture: the patent drawing.
Nâng cao
Unknown
Hướng dẫn
1
1
Make the tip and control slug
Make the tip and control slug
Turn the tip from tellurium copper: a cylindrical body, a taper and a chisel end (any shape suits the work). Plate it first with iron, which keeps the copper out of the molten solder, then with nickel, which shuts out the air. Bore its rear end and fit tightly into it the shank of a slug of thermomagnetic nickel-iron alloy, such as 48 % nickel, 3 % molybdenum and the rest iron, or about 43 % nickel and the rest iron. The alloy sets the control point: make tips for 600, 700 and 800 °F. Not given: the plating baths, sizes.
Vật liệu cho bước này:
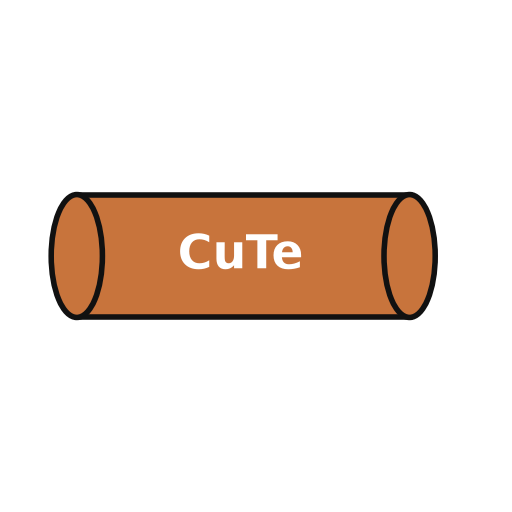 Thanh đồng tellua1 tip
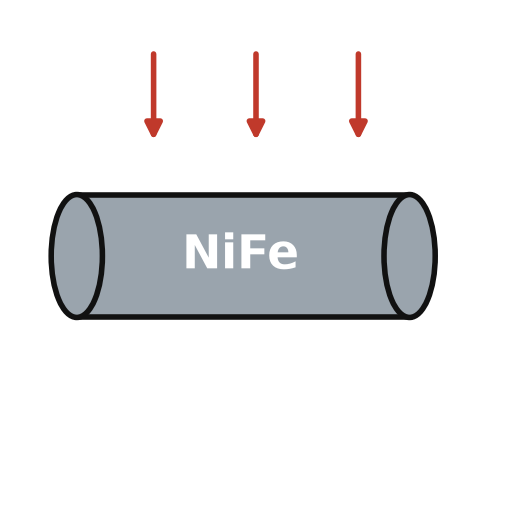 Hợp kim niken-sắt nhiệt từ1 control slug
Công cụ cần thiết:
 Máy tiện kim loại
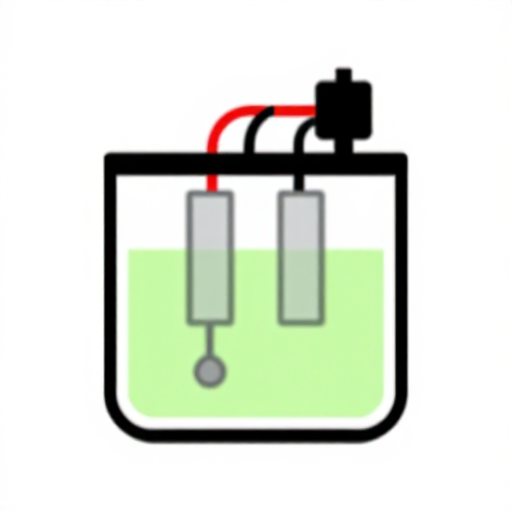 Bộ mạ điện
 Kích thước chưa rõ
2
2
Wind the heater barrel
Wind the heater barrel
Make the barrel of two stainless steel tubes: an inner spool the tip slides into snugly, and an outer cover tube joined to it at the front, with a thread and screw cap to hold the tip. In the space between them wind the heater from one length of resistance wire: an inner layer, then an outer layer wound the opposite way so their fields cancel, with insulating sheet inside, between and outside the layers. Silver-solder heat-resistant leads to its ends. Ours: nichrome wire. Not given: the insulating sheet, the turns.
Vật liệu cho bước này:
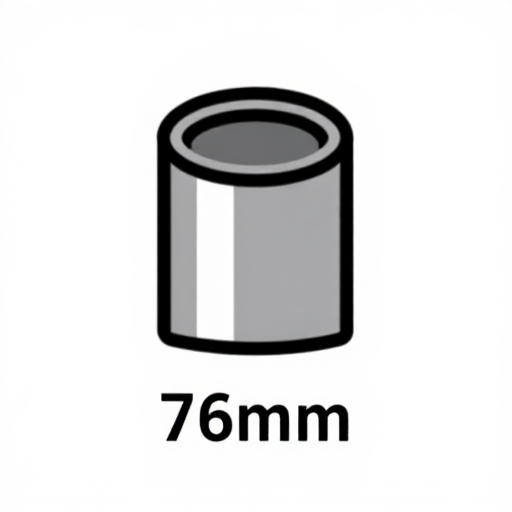 Ống thép không gỉ2 spool and cover tube
 Dây nicrom1 heater
 Vật liệu cách điện chưa rõ1 three sheet layers
 Kim loại chưa rõ1 leads
 Hợp kim hàn bạc1 as needed
Công cụ cần thiết:
 Đèn khò propanMáy tiện kim loại
3
3
Build the magnet switch
Build the magnet switch
In a stainless steel sleeve about 2.4 in long, close the front with a non-magnetic thermal bushing. Behind it slides a cylindrical Alnico V magnet, then a non-magnetic spacer about 0.032 in thick, then a cold-drawn steel bushing about 0.50 in long held by dents in the sleeve; the magnet's stroke is about 0.015 in. A push rod runs from the magnet through the bushing to an insulator. On a melamine plate, hinge a moving contact between a thin conducting strip and a holding strip, facing a flexible contact; a spring of fourteen coils of 0.010 in music wire, 0.210 in across, presses the moving contact toward the flexible one. Rivet the spring bracket to the holding strip. Not given: the contact metals.
Vật liệu cho bước này:
Ống thép không gỉ1 sleeve Nam châm Alnico1 cái
 Thanh thép mềm1 magnetic bushing, push rodKim loại chưa rõ1 thermal bushing, spacer, contacts, strips, brackets
 Vật liệu không rõ1 insulator
 Tấm melamin1 base plate
 Dây thép lò xo1 0.010 in music wire spring
Công cụ cần thiết:
Máy tiện kim loại Bộ tán rivê
 Kìm mỏ tròn
4
4
Assemble the handle and use
Assemble the handle and use
Mould the handle in two plastic halves with a socket at the front whose bosses lock the cover tube. Lay in the switch unit, held only by the bowed tail of its holding strip on an anchor pin with a speed nut, so it floats and its thermal bushing presses on the tip's slug. Wire the heater, the switch and a ground lead from the cover tube to the cord. Rivet the halves near the butt and fit a split ring near the front. In use, below the control point the slug pulls the magnet forward and the spring closes the contacts; above it the steel bushing pulls the magnet back and the push rod opens them. At idle the heater runs only about 30 to 40 % of the time. Not given: the plastic.
Vật liệu cho bước này:
Vật liệu không rõ1 handle halvesKim loại chưa rõ1 rivet, split ring, speed nut Dây mềm có phích cắm1 cái
Công cụ cần thiết:
 Máy ép phunBộ tán rivê
Vật liệu
13- 1 tipTạm thời
- 1 control slugTạm thời
- 1 sleeveTạm thời
- 1 heaterTạm thời
- 1 three sheet layersTạm thời
- 1 rivet, split ring, speed nutTạm thời
- 1 as neededTạm thời
- 1 cáiTạm thời
- 1 magnetic bushing, push rodTạm thời
- 1 handle halvesTạm thời
- 1 base plateTạm thời
- 1 0.010 in music wire springTạm thời
- 1 cáiTạm thời
Công cụ yêu cầu
7- Tạm thời
- Tạm thời
- Tạm thời
- Tạm thời
- Tạm thời
- Tạm thời
- Tạm thời
Vật liệu bản thiết kế liên kết

Bản thiết kế này làm ra

CC0 Phạm vi công cộng
Bản thiết kế này được phát hành theo CC0. Bạn tự do sao chép, sửa đổi, phân phối và sử dụng cho bất kỳ mục đích nào mà không cần xin phép.
Hỗ trợ nhà sáng tạo bằng cách mua sản phẩm qua bản thiết kế, nơi họ nhận Hoa hồng nhà sáng tạo do nhà bán hàng đặt, hoặc tạo phiên bản mới và kết nối trong bản thiết kế riêng để chia sẻ doanh thu.