
Carving and Printing a Woodblock — Relief Printing on Paper
Woodblock printing is the oldest method of printing text and images onto paper or cloth. Invented in China during the Tang dynasty (7th century CE) and spreading to Europe by the 14th century, it works by carving an image in relief on a flat block of wood — the raised surface holds ink and transfers it to paper when pressed. European broadsheets, playing cards, and early book illustrations were all printed this way before movable type. This blueprint covers selecting and preparing the wood, transferring a design, carving with gouges and knives, inking, and pulling prints by hand.
Hướng dẫn
Select the wood block
Select the wood block
Vật liệu cho bước này:
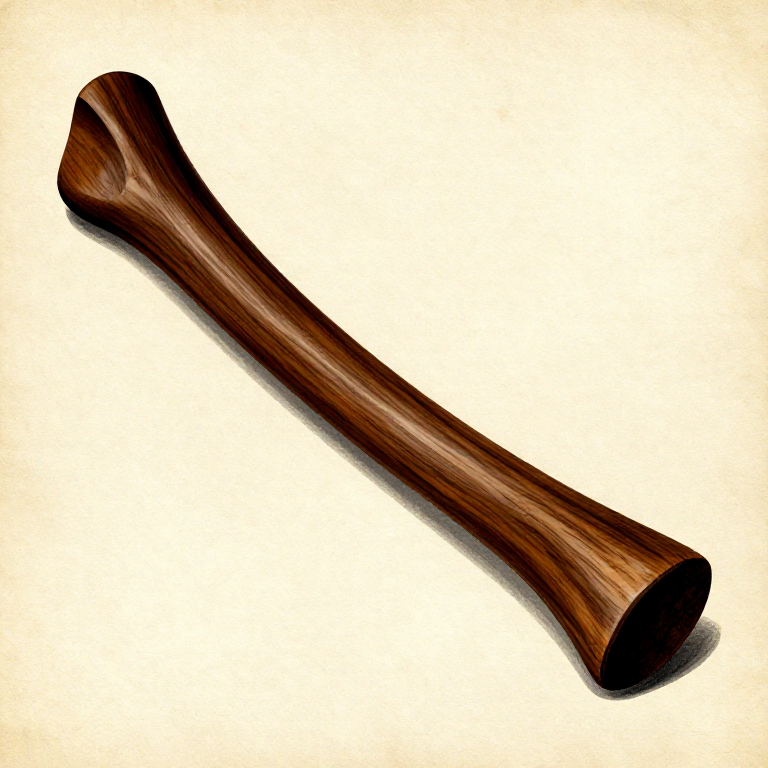
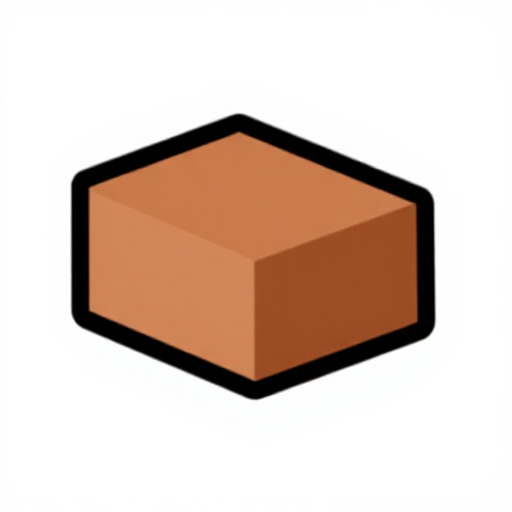 Hardwood Block (cherry/pear)1 cái
Prepare the block surface
Prepare the block surface
Draw or transfer the design
Draw or transfer the design
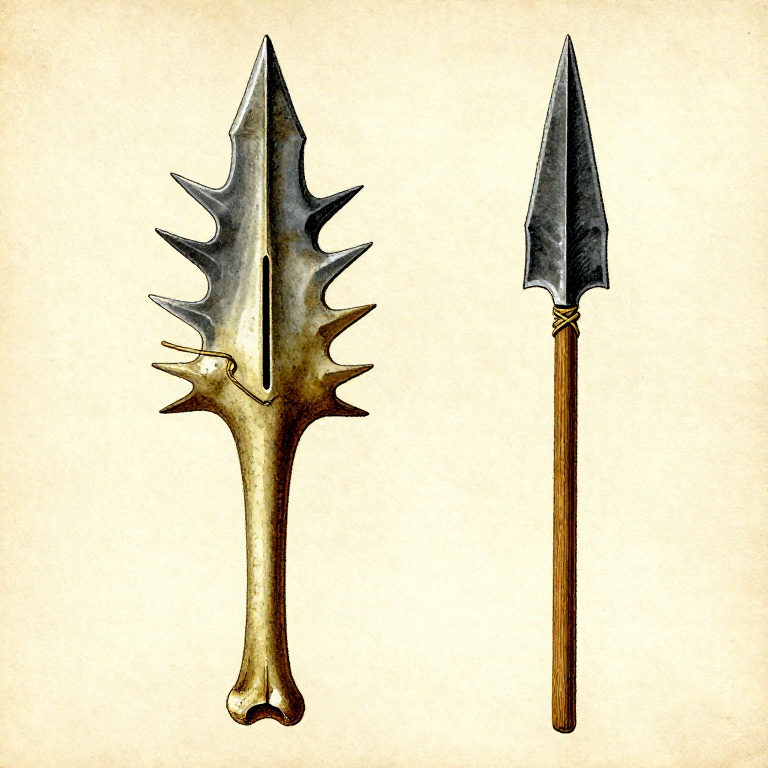
Outline the design with a knife
Outline the design with a knife
Công cụ cần thiết:
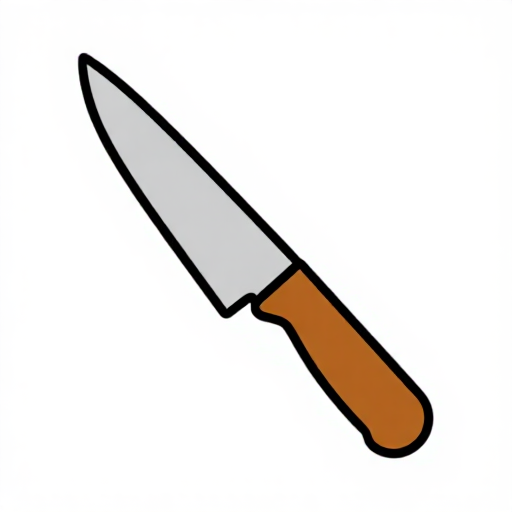 Carving Knife
Clear the waste wood
Clear the waste wood
Công cụ cần thiết:
 Wood Gouge
Refine the carving
Refine the carving
Ink the block
Ink the block
Vật liệu cho bước này:
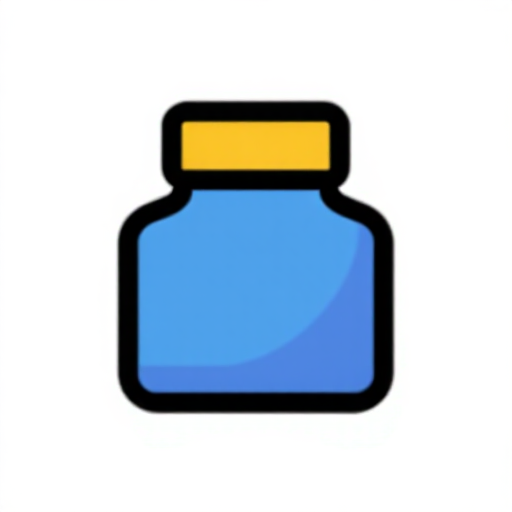 Block Printing Ink1 tube
Công cụ cần thiết:
 Rubber Brayer
Position the paper
Position the paper
Burnish the print
Burnish the print
Công cụ cần thiết:
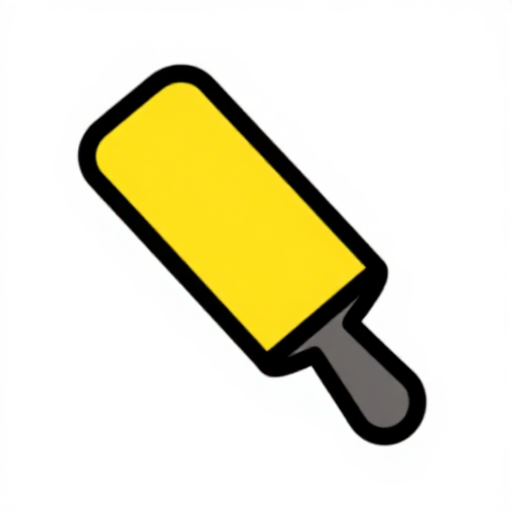
 Baren (burnishing pad)
Pull the print
Pull the print
Print the edition
Print the edition
Clean and store the block
Clean and store the block
Vật liệu
2- 1 cáiTạm thời
- 1 tubeTạm thời
Công cụ yêu cầu
4- Tạm thời
- Tạm thời
- Tạm thời
- Tạm thời
Vật liệu bản thiết kế liên kết
Blueprint liên quan
Các blueprint này chia sẻ kiến thức — kỹ thuật, vật liệu hoặc nguyên tắc
Related blueprints
Other builds that share materials, tools, or techniques with this one.

CC0 Phạm vi công cộng
Bản thiết kế này được phát hành theo CC0. Bạn tự do sao chép, sửa đổi, phân phối và sử dụng cho bất kỳ mục đích nào mà không cần xin phép.
Hỗ trợ nhà sáng tạo bằng cách mua sản phẩm qua bản thiết kế, nơi họ nhận Hoa hồng nhà sáng tạo do nhà bán hàng đặt, hoặc tạo phiên bản mới và kết nối trong bản thiết kế riêng để chia sẻ doanh thu.