ART
BEAUTY & WELLNESS
CRAFT
CULTURE & HISTORY
ENTERTAINMENT
ENVIRONMENT
FOOD & DRINKS
REVERSE ENGINEERING
SCIENCES
SPORTS
TECHNOLOGY
WEARABLES
Translated
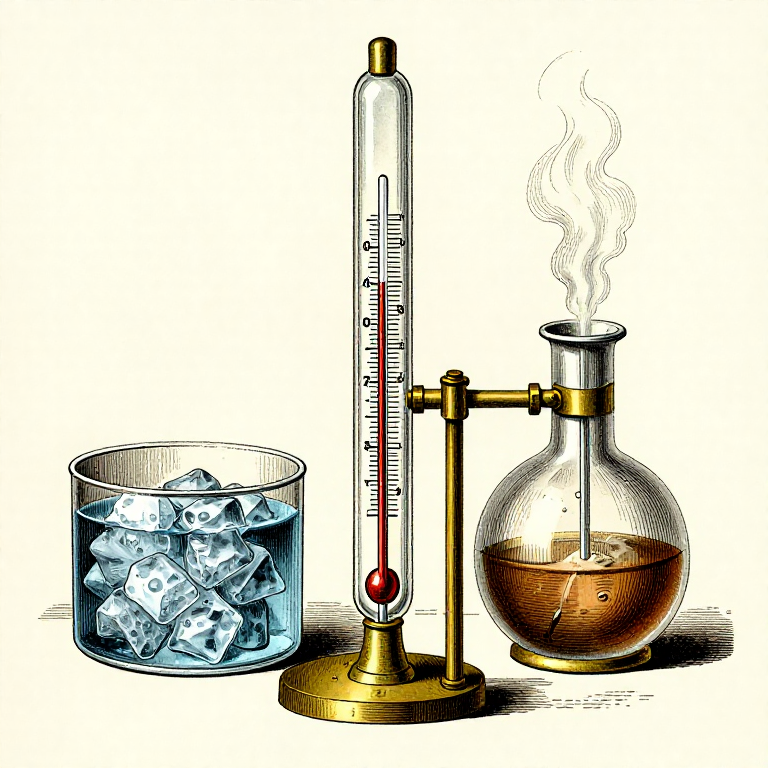
Calibrating a Thermometer Using Celsius's Two Fixed Points
In 1742, Anders Celsius — a Swedish astronomer at Uppsala University — presented a paper to the Royal Swedish Academy of Sciences proposing a temperature scale based on two reproducible reference points: the freezing point and boiling point of water. His key insight was that these phase transitions occur at fixed, universal temperatures under standard atmospheric pressure (760 mmHg / 101.325 kPa), making them ideal calibration anchors.
Celsius's original scale was inverted from what we use today: he assigned 0° to the boiling point and 100° to the freezing point. The scale was reversed after his death (1744), likely by Carl Linnaeus or instrument maker Daniel Ekström. This blueprint recreates Celsius's original experimental method: establishing the two fixed points with a mercury-in-glass thermometer, verifying that boiling point varies with atmospheric pressure, and graduating the interval into 100 equal divisions.
The procedure requires careful technique — the mercury must equilibrate fully at each reference point, and the barometer reading must confirm standard pressure for the boiling point to be valid. Celsius documented that a 27 mmHg pressure change shifts the boiling point by approximately 1°C, an observation still used in precision thermometry today.
Intermediate
90-120 minutes
Instructions
1
1
Gather a capillary glass tube and mercury reservoir
Gather a capillary glass tube and mercury reservoir
Select a narrow-bore (capillary) glass tube approximately 30 cm long, sealed at one end, with a small bulb reservoir blown at the sealed end. Mercury expands linearly with temperature in this range, making it ideal for equal-division scales. Celsius used mercury rather than alcohol because mercury does not wet glass and has a nearly linear expansion coefficient between 0 °C and 100 °C.
Materials for this step:
 Mercury5 ml
Tools needed:
 Capillary Glass Tube
2
2
Fill the bulb with mercury by heating and inverting
Fill the bulb with mercury by heating and inverting
Gently heat the glass bulb to expand the trapped air, then invert the open end into a dish of mercury. As the bulb cools, atmospheric pressure forces mercury up into the tube. Repeat until the bulb and part of the tube are filled with a continuous mercury column with no air bubbles. This is the same technique 18th-century glassblowers used.
Tools needed:
 Alcohol Burner
3
3
Seal the open end of the tube
Seal the open end of the tube
Once filled, seal the open end of the capillary tube by melting the glass closed with a flame. The mercury column is now trapped inside a closed system. Any remaining air above the mercury creates a partial vacuum (Torricellian vacuum) that will not affect readings in the 0–100 °C range.
Tools needed:
Alcohol Burner4
4
Prepare an ice-water equilibrium bath
Prepare an ice-water equilibrium bath
Fill a borosilicate glass beaker with crushed ice and add just enough distilled water to fill the gaps between ice pieces. Stir gently. This creates a stable equilibrium at exactly 0 °C (the ice point) — as long as both solid ice and liquid water coexist, the temperature remains constant regardless of the ambient temperature. Celsius confirmed this constancy through repeated experiments.
Materials for this step:
 Distilled Water500 ml
 Crushed Ice1 kg
Tools needed:
 Borosilicate Glass Beaker
5
5
Immerse the thermometer in the ice bath
Immerse the thermometer in the ice bath
Submerge the mercury bulb completely in the ice-water mixture. Hold it steady for at least 5 minutes to allow the mercury to fully equilibrate. The mercury column will contract and settle at a stable level — this is your freezing-point reference. Do not let the bulb touch the bottom or sides of the beaker.
6
6
Mark the freezing-point level on the tube
Mark the freezing-point level on the tube
With the mercury fully equilibrated, use a diamond-tipped scriber or a fine permanent marker to scratch a reference line on the glass tube at the exact top of the mercury column. In Celsius's original (inverted) scale, he labelled this point 100°. In the modern convention, this is 0 °C. Label it clearly.
Tools needed:
 Diamond Scriber
7
7
Read the barometer to confirm standard atmospheric pressure
Read the barometer to confirm standard atmospheric pressure
Before establishing the boiling point, check a mercury barometer. Standard atmospheric pressure is 760 mmHg (101.325 kPa). Celsius documented that the boiling point of water shifts by approximately 0.037 °C per mmHg of pressure change — so a 27 mmHg deviation shifts the boiling point by about 1 °C. If pressure deviates significantly from 760 mmHg, record the value and apply a correction later.
Tools needed:
 Mercury Barometer
8
8
Set up a boiling apparatus with a Florence flask
Set up a boiling apparatus with a Florence flask
Fill a Florence flask halfway with distilled water and place it on a ring stand over an alcohol burner. Attach a utility clamp to hold the thermometer tube so the mercury bulb is positioned in the steam space just above the water surface — not submerged in the liquid. The steam temperature equals the boiling point more reliably than the liquid itself, which can superheat locally.
Materials for this step:
Distilled Water300 mlTools needed:
 Florence FlaskAlcohol Burner
 Utility Clamp
9
9
Bring the water to a steady rolling boil
Bring the water to a steady rolling boil
Light the alcohol burner and heat the water until it reaches a sustained, vigorous boil. Wait for the boil to stabilise — initial bubbles may be dissolved air escaping, not true boiling. A rolling boil where large bubbles continuously rise from the bottom indicates the water has reached its boiling point at the current atmospheric pressure.
10
10
Allow the mercury to equilibrate in the steam
Allow the mercury to equilibrate in the steam
With the thermometer positioned in the steam column, wait 3–5 minutes for the mercury to stop rising and stabilise. The steam temperature is uniform and equal to the boiling point. Celsius observed that the mercury level becomes perfectly steady once equilibrium is reached — any continued rise indicates the system has not yet stabilised.
11
11
Mark the boiling-point level on the tube
Mark the boiling-point level on the tube
Scratch or mark a second reference line at the top of the mercury column. In Celsius's original inverted scale, he labelled this 0°. In the modern convention, this is 100 °C. If the barometer reading differed from 760 mmHg, note the actual boiling point and apply the correction: add 0.037 °C per mmHg above 760, or subtract for below.
Tools needed:
Diamond Scriber12
12
Measure the distance between the two marks
Measure the distance between the two marks
Using a precision ruler or dividers, measure the exact distance in millimetres between the freezing-point mark and the boiling-point mark. This distance represents the fundamental interval — 100 degrees of temperature change. Celsius's genius was recognising that dividing this interval into 100 equal parts creates a decimal scale tied to a universal physical constant.
Tools needed:
 Steel Ruler
13
13
Divide the interval into 100 equal graduations
Divide the interval into 100 equal graduations
Calculate the length of each degree by dividing the total interval by 100. Using dividers set to this spacing, mark every degree along the tube from the freezing point to the boiling point. For practical readability, make every 10th mark longer (these are the tens: 10°, 20°, 30°… 90°) and every 5th mark medium length. Celsius used this centesimal (hundredths) division, which later gave the scale its early name: the centigrade scale.
Tools needed:
Steel RulerDiamond Scriber14
14
Extend graduations below 0 °C and above 100 °C
Extend graduations below 0 °C and above 100 °C
Continue the same equal spacing below the freezing mark (negative temperatures) and above the boiling mark as far as the tube allows. Mercury thermometers are reliable from approximately −39 °C (mercury's own freezing point) to about 356 °C (mercury's boiling point). Mark these extensions with the same degree spacing.
15
15
Verify accuracy: re-immerse in the ice bath
Verify accuracy: re-immerse in the ice bath
Place the completed thermometer back into the ice-water bath and confirm the mercury aligns exactly with the 0 °C mark. If it does not, the tube may have shifted during handling, or the original mark was imprecise. This verification step is essential — Celsius repeated his measurements multiple times to confirm reproducibility.
16
16
Verify accuracy: re-immerse in steam
Verify accuracy: re-immerse in steam
Return the thermometer to the steam column above boiling water. Confirm the mercury aligns with the 100 °C mark (after any barometric correction). If both reference points check out, the thermometer is correctly calibrated. Celsius's method achieves approximately ±0.1 °C accuracy with careful technique.
17
17
Mount the tube on a backing scale
Mount the tube on a backing scale
Attach the graduated tube to a wooden, brass, or ivory backing strip using wire ties or cement. Engrave or print the numerical scale on the backing with degree numbers clearly readable. 18th-century thermometers typically used brass or boxwood scales. This makes the thermometer a finished, portable instrument.
18
18
Understand why Celsius's original scale was inverted
Understand why Celsius's original scale was inverted
Celsius assigned 0° to boiling and 100° to freezing — the reverse of modern convention. His reasoning is debated: one theory is that he wanted to avoid negative numbers in Swedish winter temperatures (Uppsala regularly reaches −20 to −30 °C). The scale was reversed to its modern form after Celsius's death in 1744, likely by Carl Linnaeus (who ordered thermometers with the reversed scale for his greenhouse) or instrument maker Daniel Ekström. In 1948, the 9th General Conference on Weights and Measures officially renamed 'centigrade' to 'Celsius' to honour the inventor and avoid confusion with the centesimal gradian angle unit.
Materials
3- Placeholder
- 1 kgPlaceholder
Tools Required
8- Placeholder
- Placeholder
- Placeholder
- Placeholder
- Placeholder
- Placeholder
- Placeholder
- Placeholder
Related blueprints
Other builds that share materials, tools, or techniques with this one.
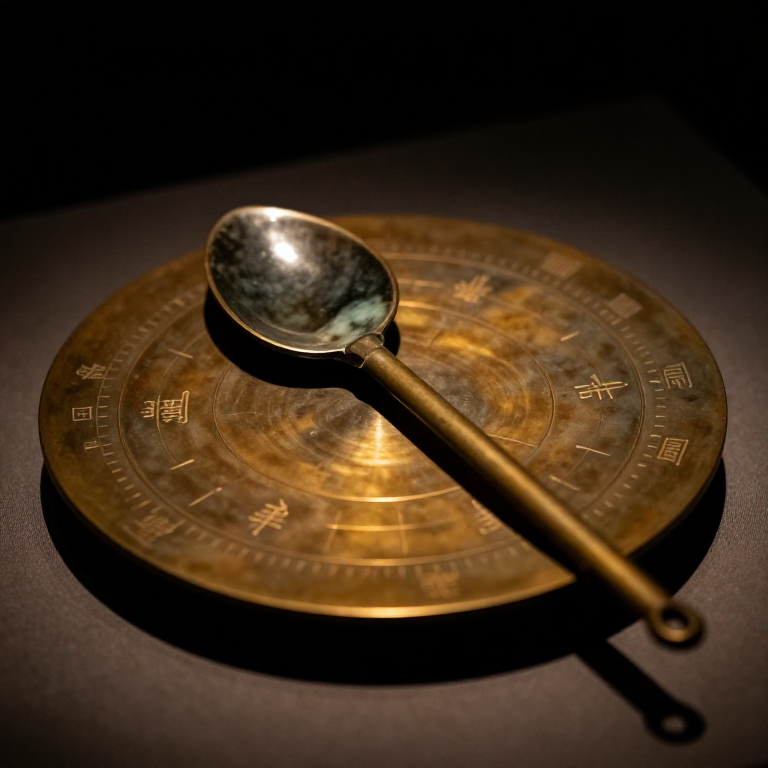
Carving a Lodestone Compass Spoon — China's Magnetic Direction Finderphysics
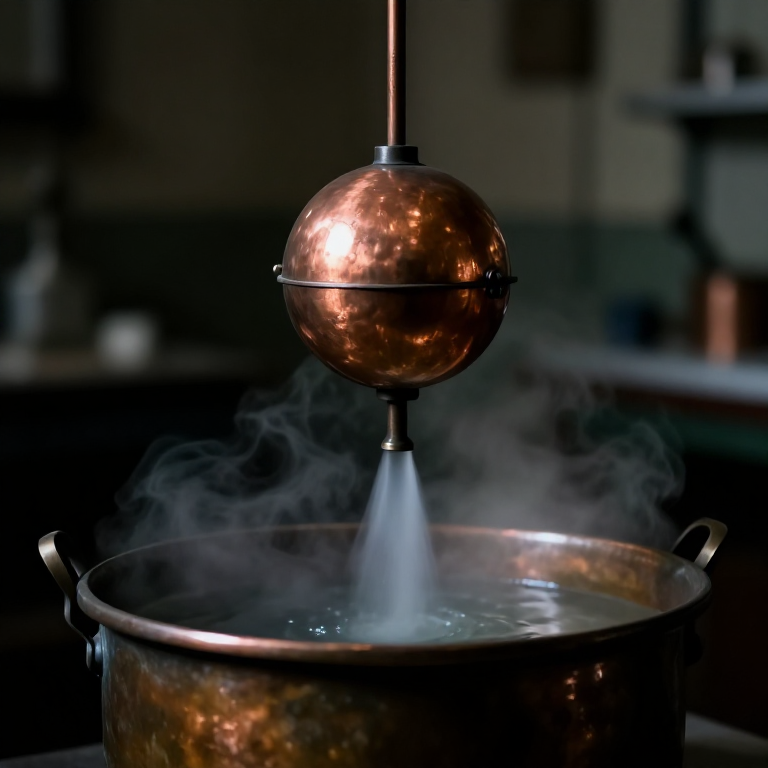
Building an Aeolipile — Hero's Steam-Powered Spinning Spherephysics
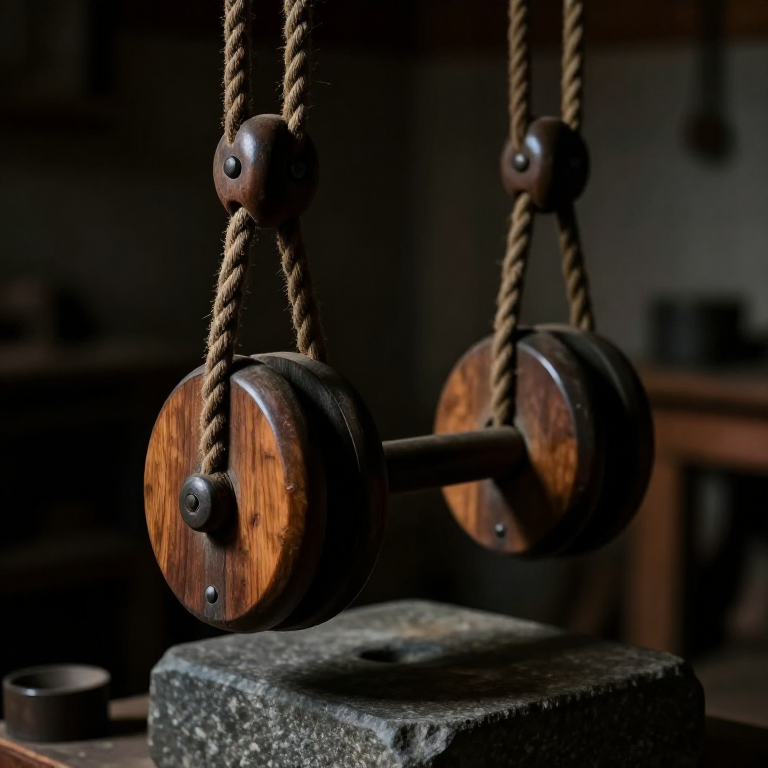
Building a Compound Pulley (Block and Tackle) — Archimedes' Force Multiplierphysics

Driving a Servo Motor — SIK Circuit 8electronics/electromech

Driving a Motor — SIK Circuit 12electronics/electromech
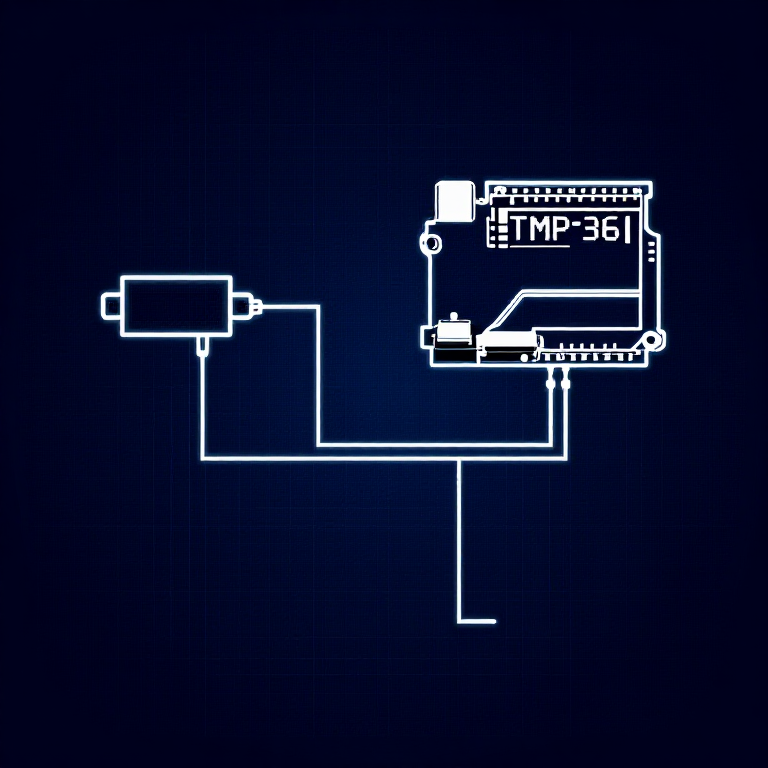
Reading a Temperature Sensor — SIK Circuit 7electronics/electromech
CC0 Public Domain
This blueprint is released under CC0. You are free to copy, modify, distribute, and use this work for any purpose, without asking permission.
Support the Maker by purchasing products through their Blueprint where they earn a Maker Commission set by Vendors, or create a new iteration of this Blueprint and include it as a connection in your own Blueprint to share revenue.