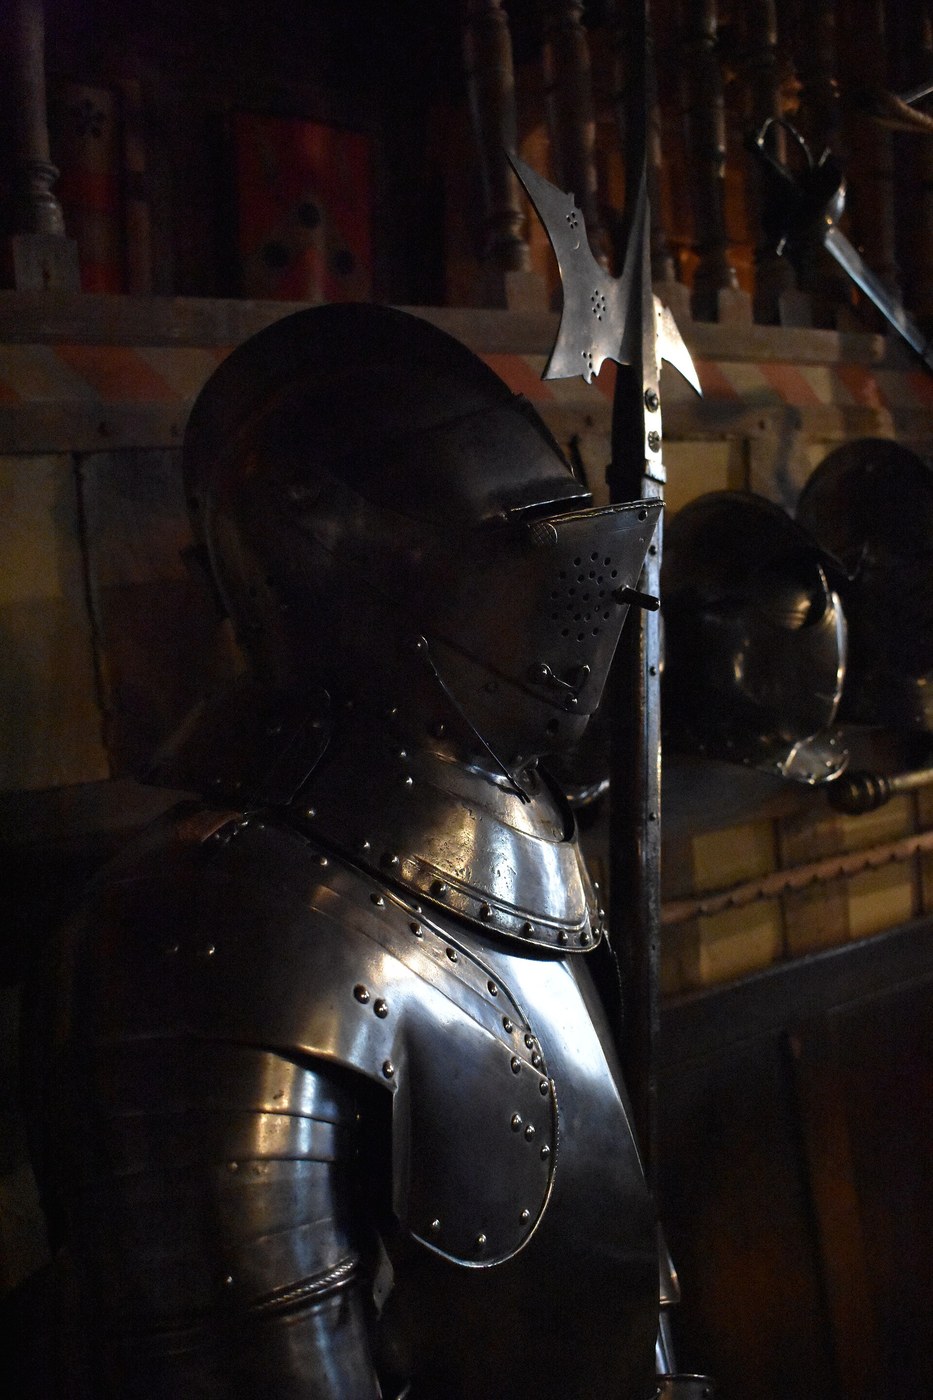


Gorget
The throat is the hardest part of the body to armour. It has to turn, tilt and swallow, it sits directly under the helmet, and it covers the airway and the great vessels — so a gap there is not a wound, it is a death. The gorget is the answer plate armour arrived at: a collar of dished steel that takes the load of the neck defence off the helmet and onto the shoulders, and moves with the head instead of against it.
It is also the best first piece of plate armour to make. The shapes are simple compound curves, the piece is small enough to work cold in stages, and every skill in a full harness is here in miniature — dishing, raising an edge, rolling for stiffness, articulating on rivets, lining and strapping.
Mild steel, a stump, a hammer and patience.
Imiyalelo
Wear eye and ear protection throughout
Wear eye and ear protection throughout
Hammering sheet steel throws scale and is loud enough to damage hearing over a session. Goggles and defenders from the first blow. Gloves for handling cut edges, off for hammering.
Amathuluzi adingekayo:
 Izibuko zokuphepha ezingenanjabhelo
Measure the neck and shoulders
Measure the neck and shoulders
Take the neck circumference, the distance from the collarbone hollow to the point of the shoulder, and the height from shoulder to jaw with the head level. The collar must clear the jaw when the head turns fully.
Amathuluzi adingekayo:
 Irula
IrulaPattern the front and back plates in card
Pattern the front and back plates in card
Cut card mock-ups of a front plate and a back plate that meet at the shoulders. Fit them on the wearer and cut them back until the head moves freely — fit the card until it is right, then commit steel.
Izinto zokwakha zalesi sinyathelo:
 Iphepha Eliqinile1 iphakethe
Transfer the pattern to 1.2 mm mild steel
Transfer the pattern to 1.2 mm mild steel
Scribe the flattened patterns onto 1.2 mm (18 gauge) mild steel sheet. Add 10 mm all round for the edge treatments you will roll later.
Izinto zokwakha zalesi sinyathelo:
 Ishidi Lensimbi Ethambile1 ishidi
Cut out and file every edge smooth
Cut out and file every edge smooth
Cut with snips or a cutoff wheel, then file the edges until nothing catches a cloth drawn along them. A sharp edge on a neck defence is self-inflicted injury.
Amathuluzi adingekayo:
 Izinsimbi zokuhlikihla (ezesandla)
Dish the plates over a hollowed stump
Dish the plates over a hollowed stump
Work each plate over a dished depression in an end-grain stump or a sandbag, striking in overlapping spirals from the centre outward with a ball hammer. Let the curve grow gradually — chasing depth in one pass stretches the metal thin and leaves it lumpy.
Anneal when the steel stops moving
Anneal when the steel stops moving
Mild steel work-hardens as you dish it and will eventually resist and then crack. Heat to a dull red and let it cool in still air to soften it again, then carry on. Expect to anneal two or three times per plate.
Amathuluzi adingekayo:
 Isibani Se-propane
Raise the neck opening
Raise the neck opening
Work the inner edge upward into a standing collar by hammering just outside the line against a stake. This is raising rather than dishing — the metal is being gathered, not stretched.
Planish the surfaces smooth
Planish the surfaces smooth
Go over each plate with a flat polished hammer against a smooth stake, closing up the hammer texture. Planishing also stiffens the plate noticeably.
Roll the outer edges over wire
Roll the outer edges over wire
Turn the outer edges over a length of 3 mm mild steel wire and close them down. A rolled edge is dramatically stiffer than a raw one and removes the cut edge entirely — this is why armour has them.
Fit the plates together on the wearer
Fit the plates together on the wearer
Hold front and back in place and check the overlap at the shoulders and under the arms. Adjust by hammering, not by cutting, wherever you can.
Hinge one shoulder and strap the other
Hinge one shoulder and strap the other
Rivet a hinge on one side and fit a buckle and strap on the other, so the gorget opens like a clamshell to go on. Both sides fixed and it will not pass over the head.
Izinto zokwakha zalesi sinyathelo:
 Izipikili zensimbi12 izicucu
Line the inside with leather
Line the inside with leather
Rivet a leather strip round the whole inner edge, or line the full inside. Bare steel against the collarbone bruises within minutes of wear.
Izinto zokwakha zalesi sinyathelo:
 Isikhumba esishukwe ngezitshalo1 ishidi
Finish and oil the steel
Finish and oil the steel
Abrasive-finish to whatever brightness you want, then wipe with oil. Bare mild steel will show rust spots within days in a damp room, and sweat accelerates it.
History & Context — from throat defence to rank badge
History & Context — from throat defence to rank badge
Solving the helmet's problem. Mail protected the neck first — the coif, then the mail standard worn under or over plate. But mail resists cutting far better than it resists a thrust, and the throat is precisely where a point goes. As full plate harness developed through the fourteenth and fifteenth centuries the gorget took over, and it did something structurally important as well as protective: on many later harnesses the helmet and the upper breastplate were carried on the gorget, transferring weight from the head and neck onto the shoulders and trunk. It is a load path as much as a shield.
Why plate is dished and rolled. A flat sheet is floppy and easy to punch through; the same sheet given compound curvature is far stiffer, and a curved surface also tends to deflect a point rather than catch it. Rolling the edge over a wire adds a stiff beam right where the plate would otherwise be weakest. None of this needs thicker steel — it is all geometry, and it is the reason a good armourer could keep a harness light enough to fight in. The visible fluting on some German harnesses of about 1500 is the same principle taken further.
The long afterlife. As firearms made full harness pointless, most of it was abandoned piece by piece — but the gorget hung on longest, and then survived as pure symbol. Through the seventeenth and eighteenth centuries European officers wore a small crescent-shaped metal gorget on a ribbon at the throat as a badge of commissioned rank, a shrunken vestige of the plate that once carried the helmet. Some armies kept it into the twentieth century.
An honest note on materials. This blueprint uses mild steel, which is what almost all modern reproduction armour is made from and what a beginner should use. Historical plate varied enormously — much of it was low-carbon iron or steel of inconsistent quality, but the best fifteenth- and sixteenth-century Italian and German work was medium-carbon steel, hardened and tempered, and is materially superior to mild steel. A reproduction in mild steel looks right and teaches the forming skills; it is not equivalent armour, and it should not be described as though it were.
Izinto
4- 1 iphaketheIsibambeli
- 1 ishidiIsibambeli
- 12 izicucuIsibambeli
- 1 ishidiIsibambeli
Amathuluzi Adingekayo
4- Isibambeli
- Isibambeli
- Isibambeli
- Isibambeli
Izinto Zokwakha Ze-Blueprint Exhunyiwe
Le blueprint yenza

CC0 Isizinda Somphakathi
Le blueprint ikhishwe ngaphansi kwe-CC0. Ukhululekile ukukopisha, ukuguqula, ukusabalalisa, nokusebenzisa ngaphandle kwemvume.
Sekela uMenzi ngokuthenga imikhiqizo nge-Blueprint yabo IKhomishane Yomenzi kumiswe ngabathengisi, noma dala inguqulo entsha yale Blueprint bese uyifaka njengoxhumaniso ku-Blueprint yakho ukuze wabelane ngemali engenayo.