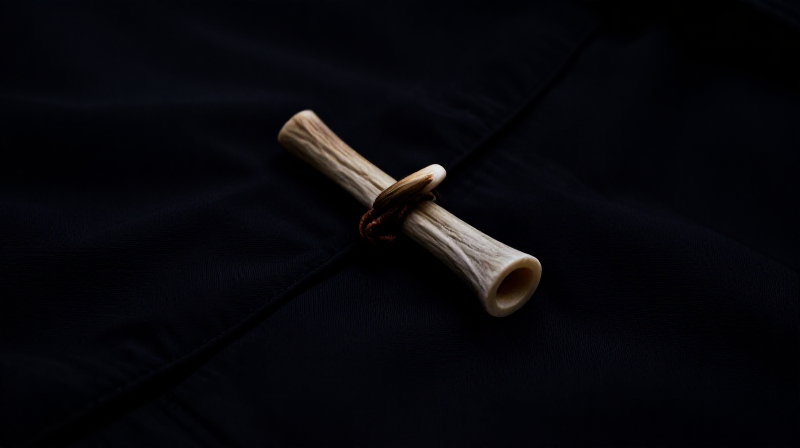


Making Deer Antler Coat Toggles — Tine-Section Fasteners for Duffle Coats
A coat toggle is a short, tapered cylinder with a centre hole for a cord loop — the fastening mechanism of duffle coats, outdoor jackets, and many traditional garments. Deer antler toggles are hard-wearing, waterproof, and each one is unique in colour and shape. They are functionally superior to plastic toggles and last the lifetime of the garment.
This blueprint covers making a matched set of 3-4 toggles from deer antler tine sections: cutting to length, drilling the cord hole, smoothing the ends, and sealing with beeswax.
Imiyalelo
Select matching tine sections
Select matching tine sections
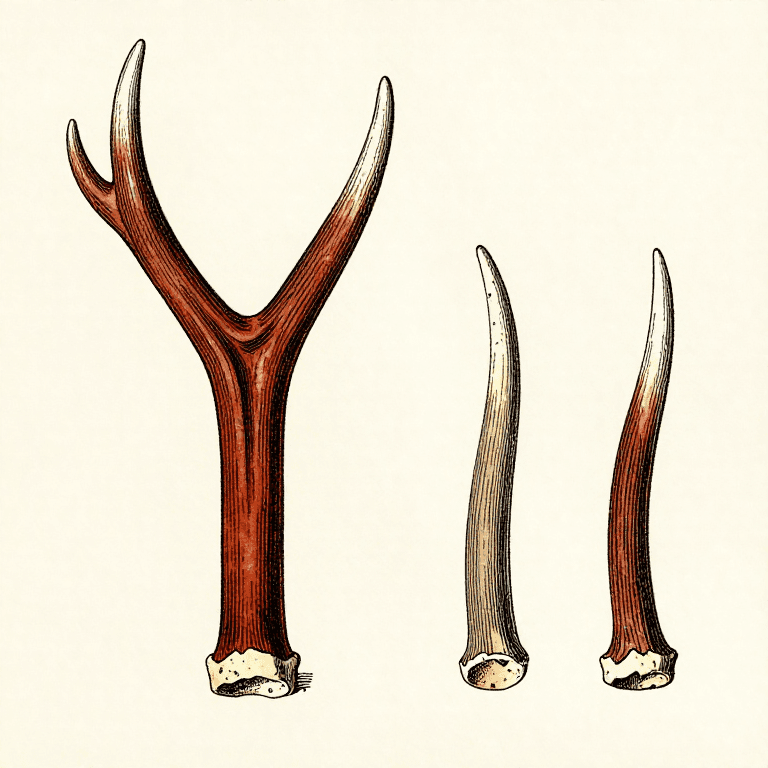
Choose tines of similar diameter for a matched set. A standard duffle coat needs 3-4 toggles. Cut tine sections 5-7 cm long from the same tine so colour and diameter are consistent. The natural taper and slight curve of a deer tine gives an attractive shape that needs minimal work.
Izinto zokwakha zalesi sinyathelo:
 Isigaxa sophondo lwenyamazane1 ucezu
 Inyamazane1 ucezu
Amathuluzi adingekayo:
 Isaha Sensimbi
 Isibambo Sebhentshi
Drill the centre cord hole
Drill the centre cord hole
Drill a 3-4 mm hole through the centre of each toggle, perpendicular to its length. This is where the cord loop passes through. Clamp gently in the vise and drill at low speed. The hole should be centred so the toggle hangs level when threaded onto the coat.
Amathuluzi adingekayo:
 Ibhola Elingenantambo
 Iqoqo Lamakhanda Ebhola
Round the ends and smooth
Round the ends and smooth
Round both cut ends slightly with a wood rasp so they slide easily through the toggle loop without snagging fabric. Sand through 120, 220, and 400 grit for a smooth feel. Ease all sharp edges — a toggle is handled every time the coat is fastened.
Amathuluzi adingekayo:
 Insimbi yokuhlikihla ukhuni
 Iphepha Lokugaya
Seal with beeswax
Seal with beeswax
Rub melted beeswax into each toggle and buff with a soft cloth. The wax waterproofs the surface — important for outerwear fasteners exposed to rain. Body oils from regular handling will maintain the finish over time.
Izinto zokwakha zalesi sinyathelo:
 Amaphilisi Omovu Wezinyosi15 g
Izinto
3- Isibambeli
- 1 ucezuIsibambeli
- Isibambeli
Amathuluzi Adingekayo
6- Isibambeli
- Isibambeli
- 1 vendor sell this, none ship to you yetIsibambeli
- Isibambeli
- Isibambeli
- Isibambeli
Izinto Zokwakha Ze-Blueprint Exhunyiwe


Le blueprint yenza
Ama-blueprint ahlobene
Lama-blueprint abelana ngolwazi — amasu, izinto noma izimiso
CC0 Isizinda Somphakathi
Le blueprint ikhishwe ngaphansi kwe-CC0. Ukhululekile ukukopisha, ukuguqula, ukusabalalisa, nokusebenzisa ngaphandle kwemvume.
Sekela uMenzi ngokuthenga imikhiqizo nge-Blueprint yabo IKhomishane Yomenzi kumiswe ngabathengisi, noma dala inguqulo entsha yale Blueprint bese uyifaka njengoxhumaniso ku-Blueprint yakho ukuze wabelane ngemali engenayo.