ART
BEAUTY & WELLNESS
CRAFT
CULTURE & HISTORY
ENTERTAINMENT
ENVIRONMENT
FOOD & DRINKS
GREEN FUTURE
REVERSE ENGINEERING
SCIENCES
SPORTS
TECHNOLOGY
WEARABLES
Preparing a Raw Animal Hide — Cleaning and Stretching Before Tanning
Before any hide can be tanned, brain-tanned, or used as rawhide, it must be cleaned and prepared. A freshly removed animal skin contains flesh, fat, membrane, and hair that will putrefy if not removed promptly. The preparation process — fleshing, dehairing (optional), and stretching — transforms a raw skin into a clean, workable material ready for tanning or direct use as rawhide. This is the essential first step in all leather and hide working, and the quality of the final product depends entirely on how thoroughly the hide is cleaned at this stage. Archaeological evidence shows hide-working tools (stone scrapers with distinctive use-wear) at sites over 100,000 years old.
Intermediate
4-6 hours (plus drying)
Instructions
1
1
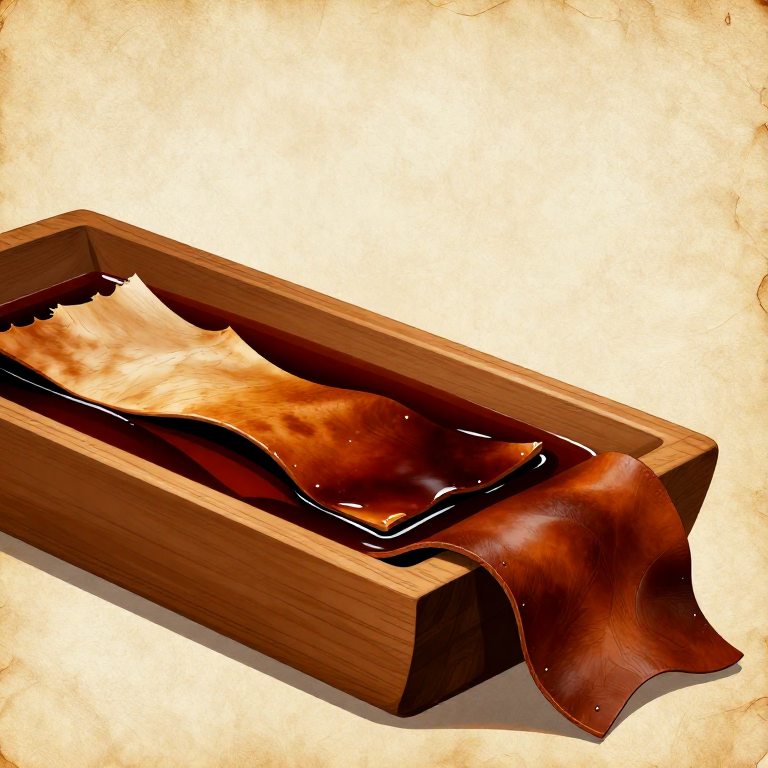
Lay the Hide Flesh-Side Up on a Smooth Log
Lay the Hide Flesh-Side Up on a Smooth Log
Drape the freshly skinned hide over a smooth, debarked log set at a comfortable working angle (about 45 degrees from the ground). The flesh side — the inner surface that was against the animal's body — faces up. The log should be about 15 to 20 cm in diameter with no knots or rough spots that could puncture the hide.
Materials for this step:
 Raw Hide1 piece
2
2
Flesh the Hide with a Stone Scraper
Flesh the Hide with a Stone Scraper
Using a wide, flat stone scraper held at a low angle, push firmly across the flesh side to remove all remaining meat, fat, and the thin white membrane (fascia). Work in overlapping strokes from the centre outward. The scraper should slide between the membrane and the dermis. Apply steady pressure — too light leaves fat behind, too aggressive cuts through the hide.
Tools needed:
 Flat Stone Slab
3
3
Rinse the Fleshed Hide in Cold Water
Rinse the Fleshed Hide in Cold Water
Submerge the fleshed hide in cold running water or a container of clean water and agitate it vigorously. Squeeze and knead the hide to flush out blood, fat, and loose tissue. Change the water if it becomes heavily discoloured. Cold water is essential — warm water will begin to cook the collagen and damage the hide.
4
4
Prepare Wood Ash Water for Dehairing (Optional)
Prepare Wood Ash Water for Dehairing (Optional)
If you want to remove the hair (for rawhide or vegetable tanning), dissolve hardwood ash in water at a ratio of roughly 1 kg of ash per 10 litres of water. Stir thoroughly and let the ash settle. The resulting alkaline lye solution (pH 11 to 13) loosens the hair roots over several days. Softwood ash is less effective — hardwood ash from oak, ash, or maple produces stronger lye.
Materials for this step:
 Hardwood Ash1 kg
5
5
Soak the Hide in Ash Water for 3 to 5 Days
Soak the Hide in Ash Water for 3 to 5 Days
Submerge the fleshed hide completely in the wood ash lye solution. Weigh it down with a clean stone to keep it under the surface. Stir and turn the hide once daily. After 3 to 5 days, test by pulling a pinch of hair — it should slide out easily with no resistance. If hair still holds firm, continue soaking and check daily.
6
6
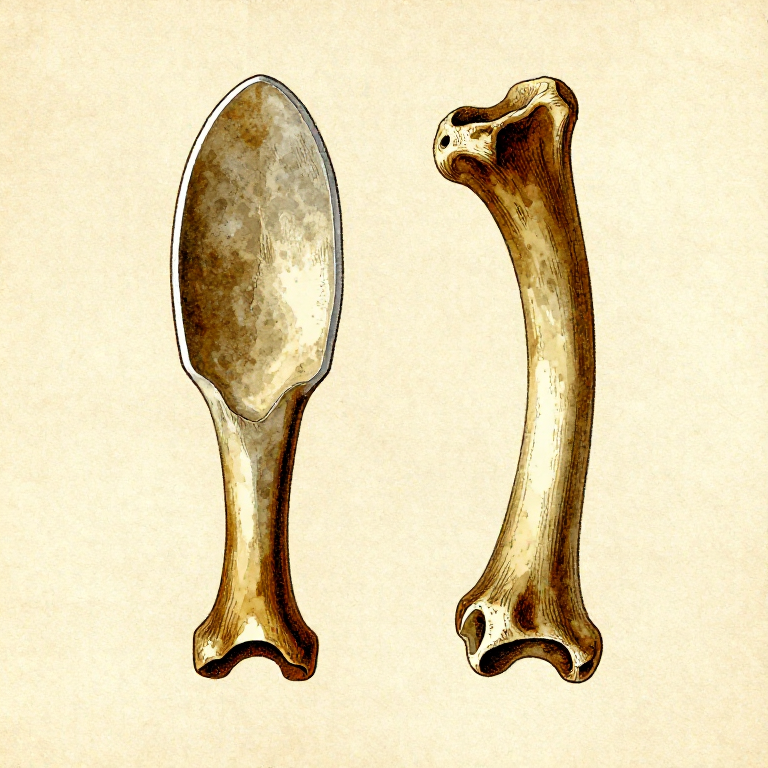
Scrape Off the Loosened Hair and Epidermis
Scrape Off the Loosened Hair and Epidermis
Remove the hide from the ash water and drape it hair-side up over the fleshing log. Scrape the hair side with a blunt stone scraper or the edge of a flat bone, pushing the loosened hair and the thin outer epidermis layer off the hide. The underlying grain surface should be smooth and white. Work methodically to remove every trace of hair.
7
7
Rinse Thoroughly to Remove All Lye
Rinse Thoroughly to Remove All Lye
Rinse the dehaired hide in multiple changes of clean water, kneading and squeezing it each time. Residual lye left in the hide will continue to degrade the collagen and weaken the finished material. Rinse until the water runs clear and the hide no longer feels slippery.
8
8
Wring Out Excess Water
Wring Out Excess Water
Wring the hide by hand or twist it around a sturdy stick to squeeze out as much water as possible. Two people can wring more effectively — each holding one end and twisting in opposite directions. The hide should be damp but not dripping before stretching.
9
9
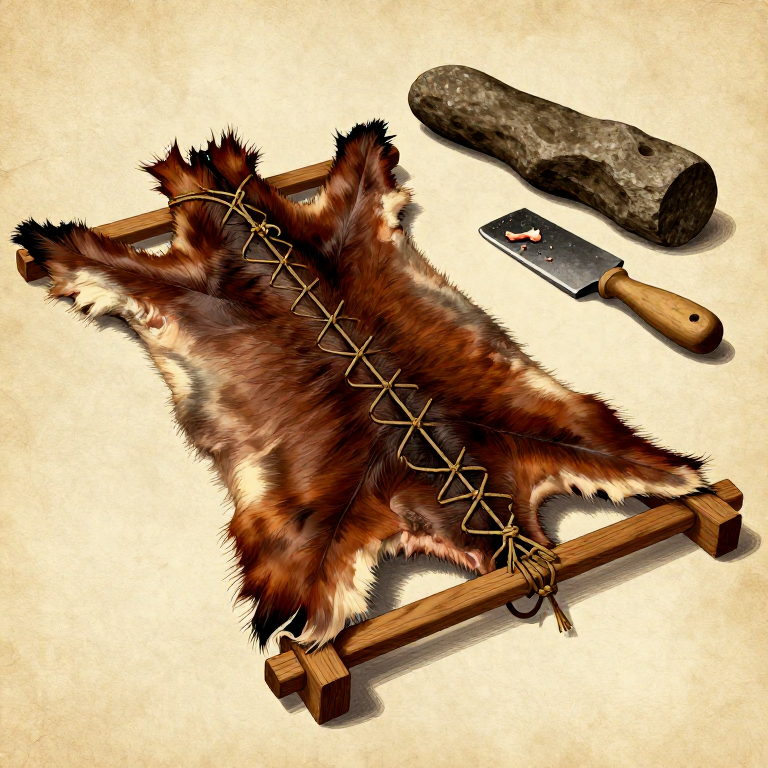
Lace the Hide into a Wooden Frame
Lace the Hide into a Wooden Frame
Punch small holes around the edge of the hide, about 5 cm apart, using a bone awl or sharp stone. Thread cordage through each hole and lace the hide into a rectangular frame made from straight branches. Pull each lacing tight so the hide stretches taut across the frame like a drumhead.
Materials for this step:
 Cordage1 piece
10
10
Scrape Both Sides While Drying
Scrape Both Sides While Drying
As the hide dries on the frame, scrape both sides repeatedly with a blunt stone scraper to thin the hide evenly and break up the fibres. This is the most important step for quality — unscraped areas will dry stiff and thick while well-scraped areas become thin and uniform. Work the hide every few hours as it dries.
11
11
Dry Fully on the Frame
Dry Fully on the Frame
Leave the hide stretched on the frame in a shaded, well-ventilated area for 1 to 3 days depending on weather and humidity. Direct sun dries the surface too fast, causing the hide to case-harden (hard outside, damp inside). The hide is fully dry when it becomes stiff, opaque, and produces a hollow sound when tapped.
12
12
Trim the Edges and Remove from Frame
Trim the Edges and Remove from Frame
Cut the lacing and remove the dried hide from the frame. Trim the ragged edges with a sharp flint blade to create clean, even borders. The finished prepared hide is now ready for brain tanning, smoke tanning, or direct use as rawhide for lashing, containers, drumheads, or any application that requires stiff, durable animal skin.
Materials
3- 1 kgPlaceholder
Tools Required
1- Placeholder
Connected Blueprint Materials
Related Blueprints
These blueprints share knowledge with this one — techniques, materials, or principles that connect them in the learning graph.
Related blueprints
Other builds that share materials, tools, or techniques with this one.
Making a Bone Hide Scraper — Smooth-Edged Fleshing Toolmaterials-science
Bark Tanning Animal Hides — Vegetable Tanned Leather from Oak Barkmaterials-science
Making Pine Pitch — Waterproofing Compoundmaterials-science
Extracting Birch Tar — Stone Age Adhesivematerials-science
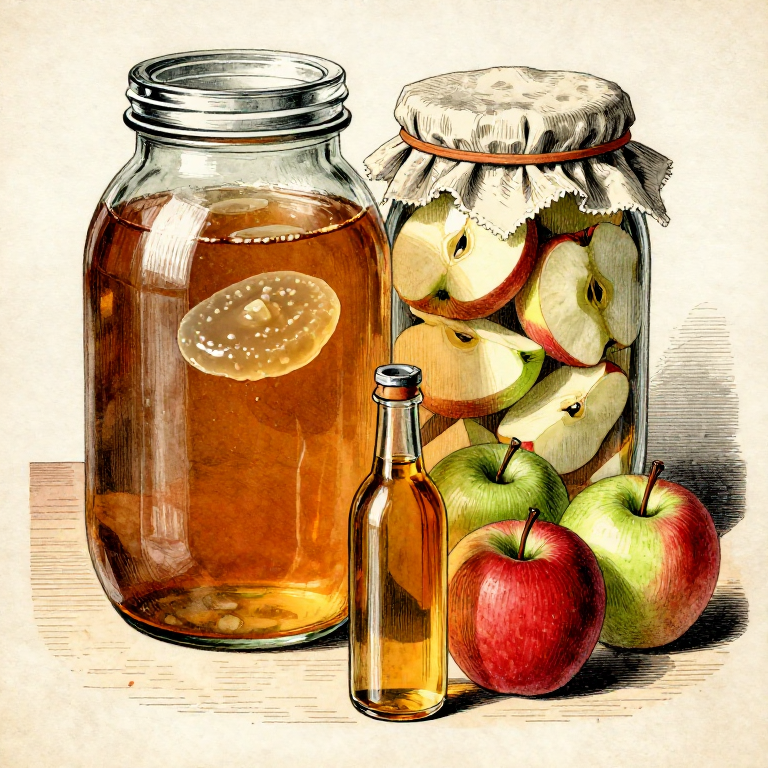
Making Raw Apple Cider Vinegar by Wild Fermentationfermentation
Making Bolas — Weighted Throwing Weapon for Huntingsurvival
CC0 Public Domain
This blueprint is released under CC0. You are free to copy, modify, distribute, and use this work for any purpose, without asking permission.
Support the Maker by purchasing products through their Blueprint where they earn a Maker Commission set by Vendors, or create a new iteration of this Blueprint and include it as a connection in your own Blueprint to share revenue.