ART
BEAUTY & WELLNESS
CRAFT
CULTURE & HISTORY
ENTERTAINMENT
ENVIRONMENT
FOOD & DRINKS
REVERSE ENGINEERING
SCIENCES
SPORTS
TECHNOLOGY
WEARABLES
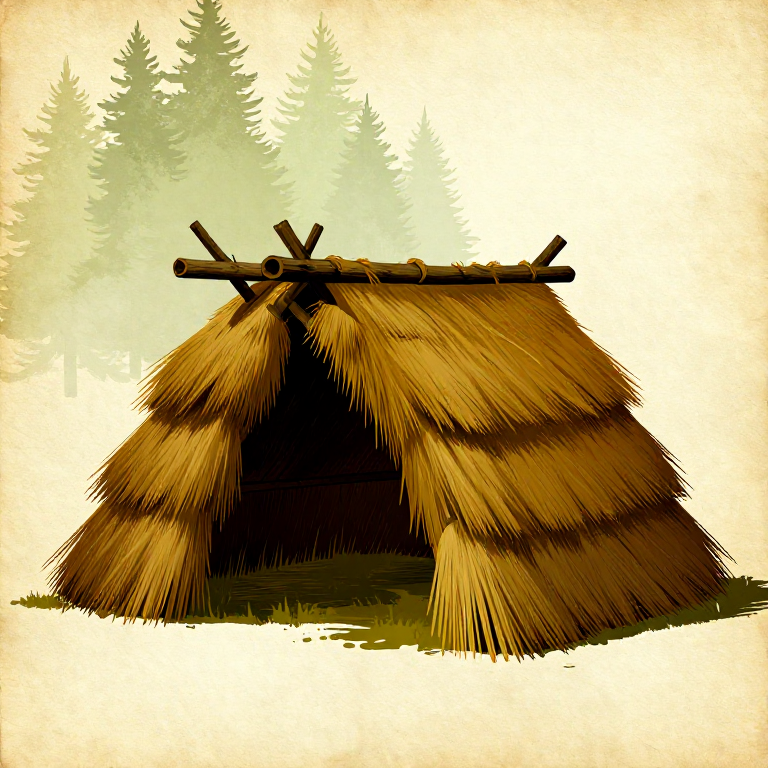
Building a Thatched Lean-To Shelter — Basic Wind and Rain Protection
The lean-to is one of the most basic and universal shelter forms — a single sloped roof supported by a ridge pole between two trees or upright posts, with the low side facing away from the prevailing wind. The design sheds rain, blocks wind from one direction, and reflects the heat of a fire built in front of the open side back toward the sleeping area. Thatching the roof with overlapping layers of grass, ferns, bark, or leaves (working from bottom to top like roof tiles) creates a waterproof layer that keeps the interior dry. A lean-to can be built in 2-3 hours from materials found in any woodland or grassland, making it the default emergency shelter worldwide.
Beginner
2-3 hours
Instructions
1
1
Select Support Trees or Stakes
Select Support Trees or Stakes
Select two trees or drive two forked stakes into the ground 2-3 metres apart.
2
2
Place the Ridge Pole
Place the Ridge Pole
Place a ridge pole (straight, strong branch 3-4m long) in the forks at about chest height (1.2-1.5m).
Materials for this step:
 Hardwood Sapling3 pieces
3
3
Orient Against the Wind
Orient Against the Wind
The ridge pole should run perpendicular to the prevailing wind direction.
4
4
Lean Rafters Against the Ridge Pole
Lean Rafters Against the Ridge Pole
Lean rafters (straight branches 2-3m long) against the ridge pole at 45-60 degrees, spaced 20-30cm apart.
5
5
Secure the Rafters
Secure the Rafters
Lash the rafters to the ridge pole with cordage, or let gravity hold them.
Materials for this step:
 Cordage2 pieces
6
6
Weave the Lattice
Weave the Lattice
Weave thin, flexible branches horizontally through the rafters at 15-20cm intervals to create a lattice.
7
7
Begin Thatching from the Bottom
Begin Thatching from the Bottom
Starting at the bottom, lay thick bundles of grass, fern fronds, or large leaves on the lattice.
8
8
Overlap Each Layer
Overlap Each Layer
Each layer should overlap the one below by at least half — this shingles the water downward.
9
9
Complete the Thatch to the Ridge
Complete the Thatch to the Ridge
Continue layering to the ridge pole — the thatch should be 10-15cm thick for rain protection.
10
10
Build a Reflector Fire
Build a Reflector Fire
Build a long fire parallel to the open side, 1 metre from the sleeping area.
11
11
Insulate the Sleeping Area
Insulate the Sleeping Area
Line the sleeping area with dry leaves, grass, or a rush mat for insulation from the cold ground.
Connected Blueprint Materials
Related Blueprints
These blueprints share knowledge with this one — techniques, materials, or principles that connect them in the learning graph.
Related blueprints
Other builds that share materials, tools, or techniques with this one.
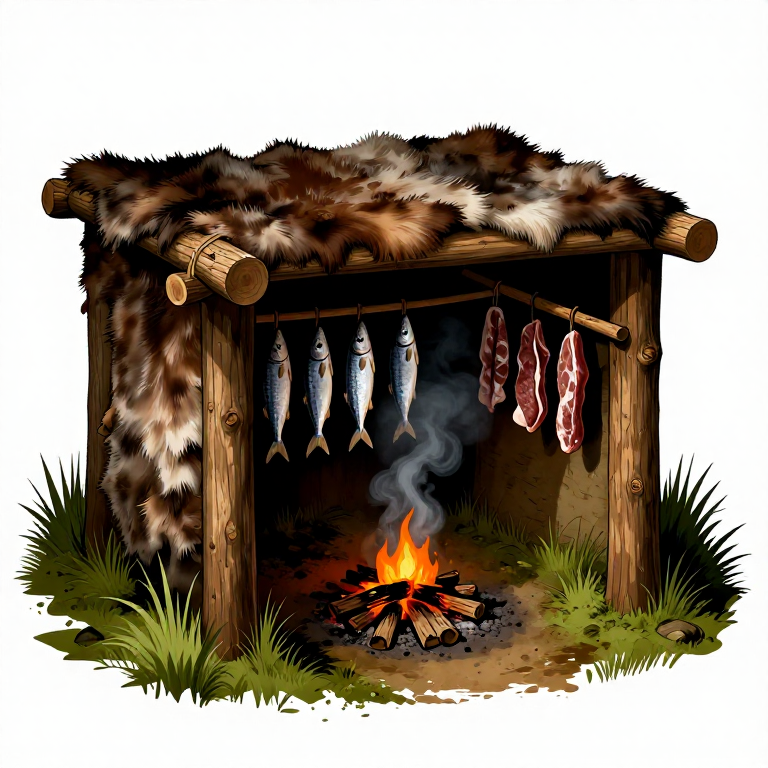
Building a Prehistoric Smokehouse — Semi-Permanent Pole Frame for Meat and Fish Preservationsurvival

Making a Leather Sling — The Shepherd's Projectile Weaponsurvival
Collecting and Preparing Feathers for Arrow Fletching — Stabilising Projectiles in Flightsurvival
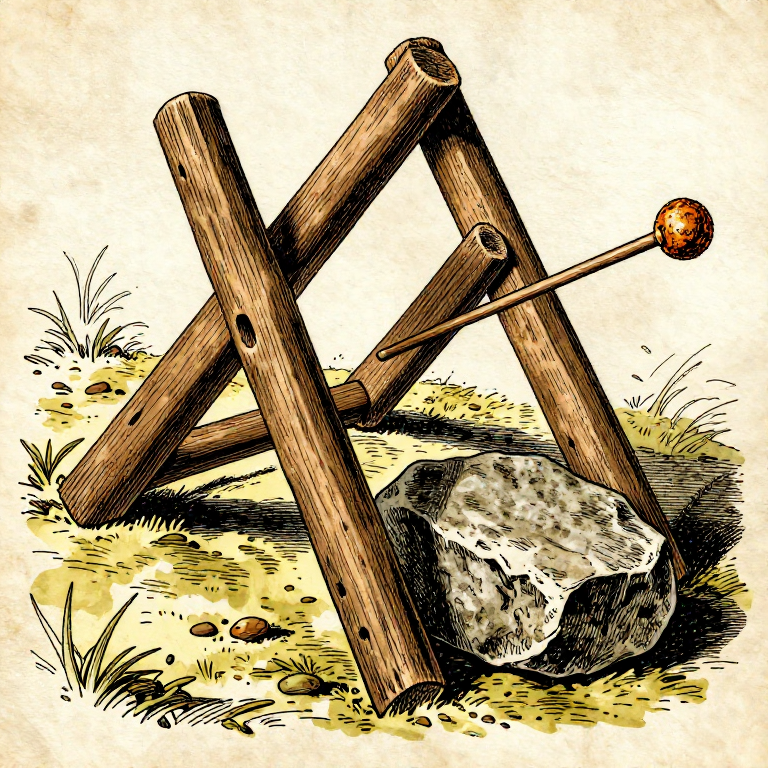
Building a Figure-4 Deadfall Trap — Stone Weight Trigger Mechanismsurvival

Digging a Pitfall Trap for Large Game — Concealed Pit Huntingsurvival

Building a Carrying Frame (Pack Frame) — Wooden Backpack for Heavy Loadssurvival
CC0 Public Domain
This blueprint is released under CC0. You are free to copy, modify, distribute, and use this work for any purpose, without asking permission.
Support the Maker by purchasing products through their Blueprint where they earn a Maker Commission set by Vendors, or create a new iteration of this Blueprint and include it as a connection in your own Blueprint to share revenue.