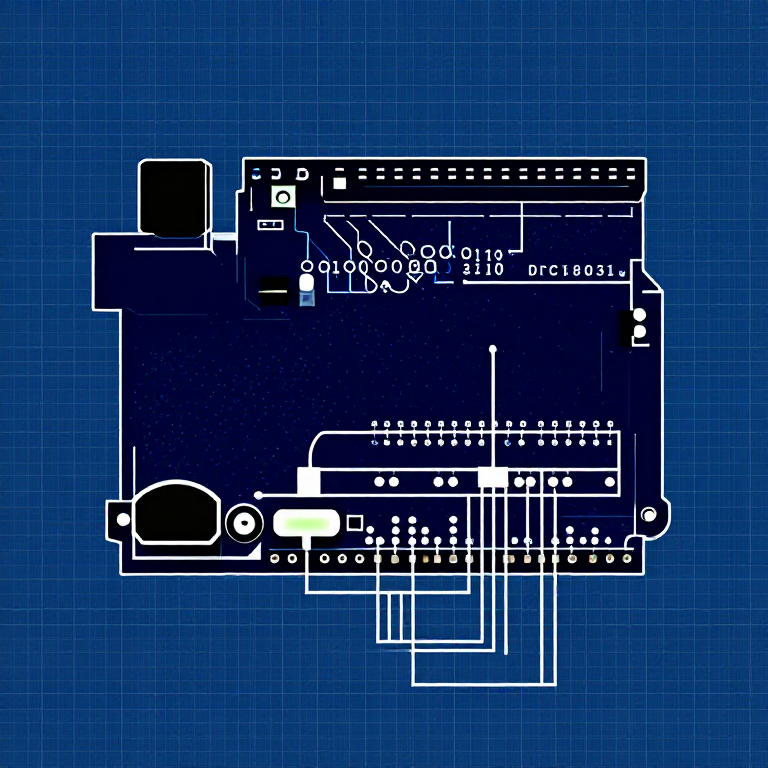


Push Buttons — SIK Circuit 5
Imiyalelo
Parts & Introduction
Parts & Introduction
Push buttons are the simplest digital input. This experiment uses two buttons with an XOR logic gate: the LED turns on if you press either button, but turns off if you press both. You'll learn about digitalRead(), pull-up resistors, and boolean logic.
Parts Needed
- 1x Arduino Uno + USB cable
- 1x Breadboard
- 2x Push Buttons
- 1x LED (any color)
- 1x 330Ω Resistor
- 2x 10KΩ Resistors (pull-ups)
- 7x Jumper Wires
Izinto zokwakha zalesi sinyathelo:
 SparkFun Inventor's Kit - V3.21 ikhithi
Amathuluzi adingekayo:
 Ikhompyutha Ene-Arduino IDE
Hardware Hookup
Hardware Hookup
Wiring Instructions
- Place both push buttons across the center canyon of the breadboard.
- Button 1: Connect one pin to GND. Connect the opposite diagonal pin to Arduino Digital Pin 2. Add a 10K resistor between Pin 2 and 5V (pull-up).
- Button 2: Connect one pin to GND. Connect the opposite diagonal pin to Arduino Digital Pin 3. Add a 10K resistor between Pin 3 and 5V (pull-up).
- Connect LED positive leg to Digital Pin 13, negative leg through 330Ω resistor to GND.
Note: The pull-up resistors hold the input HIGH when the button is not pressed. Pressing the button connects the pin to GND (LOW).
Izinto zokwakha zalesi sinyathelo:
 Inkinobho yokucindezela2 izicucu
 Ibhodi Lokuhlola1 ucezu
 Izintambo Zokuxhuma7 izicucu
Arduino Code
Arduino Code
Open the Arduino IDE and upload the following sketch to your Arduino board.
Izinto zokwakha zalesi sinyathelo:
 Arduino Uno R31 ucezu
Amathuluzi adingekayo:
Ikhompyutha Ene-Arduino IDETest & Experiment
Test & Experiment
What You Should See
The LED turns on when you press either button individually. It turns off when you press both buttons simultaneously (XOR logic).
Troubleshooting
- Not responding: Push buttons are square — it's easy to put them in the wrong orientation. Try rotating 90°.
- LED always on or always off: Check the pull-up resistor connections. Without them, the input pin floats and reads random values.
Experiments to Try
- Change the logic to AND (both buttons required) or simple OR.
- Use the buttons to control an RGB LED — one button for color, one for brightness.
- Try using
INPUT_PULLUPmode to eliminate the external resistors.
Izinto
8- SparkFun Inventor's Kit - V3.2ikhomishini engu-10%1 ikhithi$106.86
- Isibambeli
- Isibambeli
- Isibambeli
- Isibambeli
- Isibambeli
- 1 ucezuIsibambeli
- Isibambeli
Amathuluzi Adingekayo
1- Isibambeli
CC0 Isizinda Somphakathi
Le blueprint ikhishwe ngaphansi kwe-CC0. Ukhululekile ukukopisha, ukuguqula, ukusabalalisa, nokusebenzisa ngaphandle kwemvume.
Sekela uMenzi ngokuthenga imikhiqizo nge-Blueprint yabo IKhomishane Yomenzi kumiswe ngabathengisi, noma dala inguqulo entsha yale Blueprint bese uyifaka njengoxhumaniso ku-Blueprint yakho ukuze wabelane ngemali engenayo.