Neem Seed Oil Extraction — Traditional Cold-Press Method of Andhra Pradesh
Instructions
Learning about the Neem Tree (Azadirachta indica)
Learning about the Neem Tree (Azadirachta indica)
Neem (Azadirachta indica, Meliaceae family) is an evergreen tree native to the Indian subcontinent. This tree grows to a height of 15-20 meters, with broad, dense, umbrella-shaped green branches. The leaves are compound type, 20-40 cm long, with 8-19 small leaflets per leaf. These leaflets have serrated margins. The tree bears white, fragrant flowers between March-May. The fruits ripen between May-August — changing from green to yellow-green. Each fruit is an oval drupe 1-2 cm long, containing a hard seed kernel inside. A mature tree yields 30-50 kg of fruits per year. Neem contains over 300 biologically active compounds, of which azadirachtin is the most important — it is a potent natural insecticidal chemical.
Identify the neem fruit collection season
Identify the neem fruit collection season
In Andhra Pradesh, neem fruits ripen and fall between June and August — the onset of the monsoon season. Ripe fruits change from green to yellow-green and fall naturally. The pulp of fallen fruits is soft and sweet — birds and bats eat the pulp and disperse the seeds. The best time for collection is early morning, picking up fresh fruits that fell overnight. Fruits left on the ground for more than 2-3 days after falling begin to rot — rotted pulp reduces seed quality. Neem trees grow naturally along roadsides, field boundaries, and in villages — every village in rural Andhra Pradesh has ten to hundreds of neem trees.
Fruit collection method
Fruit collection method
Start collection between 6:00-9:00 AM. Gather the yellow-green fruits fallen under the tree. Leave behind green (unripe) fruits — their seeds are not fully developed, and oil percentage is low. Also leave black, decomposed fruits. One person can collect 15-25 kg of fruits per day. Fill collected fruits in burlap sacks — do not tie in plastic sacks, as moisture gets trapped and decomposition starts. Do not fill the sack more than three-quarters, as fruits at the bottom get crushed. Start processing collected fruits on the same day or the next day.
Materials for this step:
 Jute Collection Sack (50 kg)3 pieces
Tools needed:
 Woven Bamboo Basket
Remove the pulp (depulping)
Remove the pulp (depulping)
The outer pulp must be removed from the collected fruits — only the seed is used for oil extraction. Soak the fruits in a large bucket of water — soaking for 12-24 hours softens the pulp for easy removal. Remove the soaked fruits and squeeze by hand to separate the pulp. The seeds are hard, oval-shaped, and grayish-white in color. Do not pour the pulp-soaked water into drains — this water contains saponins, which are harmful to fish. Instead, pour the pulp water into a compost pit — it makes good organic fertilizer. From 10 kg of fruits, approximately 5-6 kg of seeds are obtained.
Materials for this step:
 Plastic Bucket (20L)2 pieces
 Clean Water40 liters
Tools needed:
 Rubber Gloves
Wash and clean the seeds
Wash and clean the seeds
After depulping, wash the remaining pulp fibers adhering to the seeds thoroughly in clean water. Change the water and wash 2-3 times — until the water runs clear. If pulp residue remains on the seeds, mold will develop during drying and oil quality will decrease. Take the washed seeds immediately for drying — do not pile wet seeds together, as they will heat up and rot. Clean seeds have a rough, grayish-brown outer shell.
Materials for this step:
Clean Water30 litersTools needed:
 Plastic Colander (large)Rubber Gloves
Drying Seeds
Drying Seeds
Spread washed seeds in a single layer on a mat (mat) and dry them in the sun. Do not dry directly on the ground — moisture will return. Dry on a mat, bamboo mat, or tarpaulin. Turn 3-4 times a day — it should dry evenly on all sides. Well-dried seeds are ready in 3-5 days. When a dried seed is tapped with a finger, it should crack hard with a 'tuck' sound — if it bends softly, there is still moisture. The moisture percentage should be less than 10%. Cover with tarpaulin at night, protect from rain. Oil from improperly dried seeds contains high free fatty acid (FFA), reducing quality.
Materials for this step:
 Woven Bamboo Drying Mat3 pieces
 Tarpaulin Sheet (3m x 3m)1 piece
Tools needed:
 Wooden Rake
Removing the shell and separating the kernel from the seed
Removing the shell and separating the kernel from the seed
Dried neem seeds have a hard outer shell (shell), inside which there are 1-2 kernels (seed kernels) — these are the parts that yield oil. The kernel contains 40-50% oil content. Gently crack the seeds with a small stone roller or wooden mallet to break the shell — if too much force is applied, the kernel will be damaged. Separate the shell pieces from the kernel. The kernel is white-yellowish in color and slightly oily. Do not discard the shells — they can be used as organic fertilizer. Collect the kernels in a clean container. From 10 kg of seeds, approximately 5-6 kg of kernels are obtained.
Materials for this step:
 Stainless Steel Collection Bowl2 pieces
Tools needed:
 Wooden Mallet
 Stone Mortar (flat)
Preparing Kernels for Oil Pressing
Preparing Kernels for Oil Pressing
Coarsely crush the separated kernels in a stone mortar or grinder — do not grind too finely, they should remain as coarse crush. If ground too finely, they will turn into paste during pressing and the oil will not separate properly. Keep the coarsely crushed kernels at room temperature (25-30°C) before putting them in the pressing machine. Do not heat — heating is prohibited in the cold-pressing method, because heat causes azadirachtin to degrade (azadirachtin degrades above 60°C). Take 3-5 kg of crushed kernels per batch.
Materials for this step:
 Neem Seed Kernels (dried)5 kg
Tools needed:
 Stone Mortar and Pestle (large)
Oil extraction through cold-pressing
Oil extraction through cold-pressing
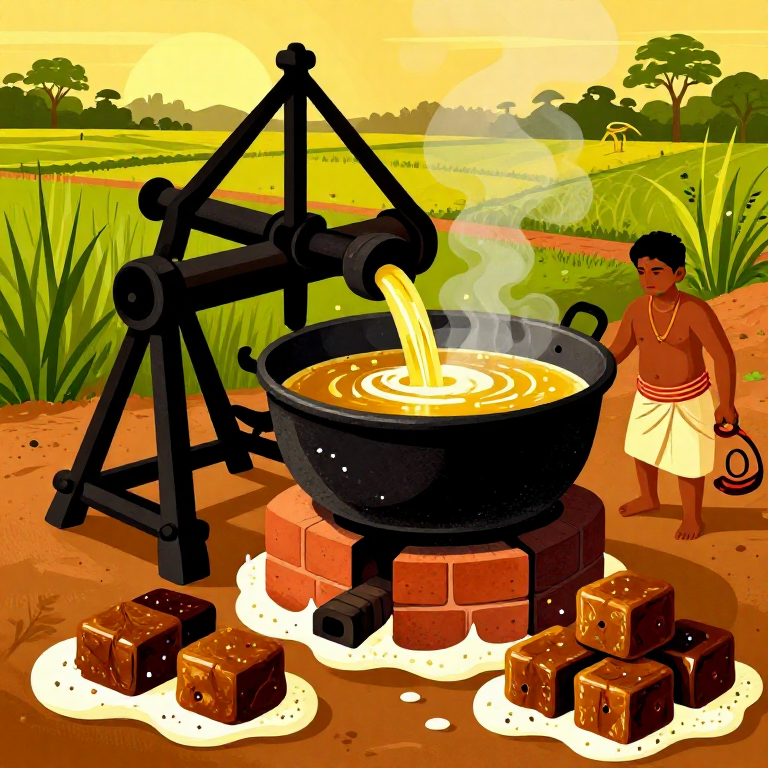
Place the kernels soaked in water into a traditional wooden oil press (ghani) or manually operated screw press and apply pressure. The wooden ghani is a traditional Indian oil pressing method — operated by a machine turned by oxen or by hand. The modern manual screw press is suitable for small-scale production. Ensure that the temperature during pressing remains below 50°C — this is the definition of cold-pressing. The oil flows slowly, drop by drop — do not hurry and press at high speed. From 5 kg of kernels, approximately 1.5-2 liters of neem oil is obtained (30-40% yield). After pressing, remove the remaining press cake and set it aside — it is a valuable organic fertilizer and insecticide.
Tools needed:
 Manual Screw Oil Press
 Oil Collection Vessel (5L)
Filter the oil
Filter the oil
Materials for this step:
 Fine Cotton Filter Cloth2 pieces
 Glass Settling Jar (5L)1 piece
Tools needed:
 Stainless Steel Funnel
Oil quality testing
Oil quality testing
Tools needed:
 Glass Sample Vial (50ml)
 Thermometer (0-100°C)
Store the oil and use neem cake
Store the oil and use neem cake
Materials for this step:
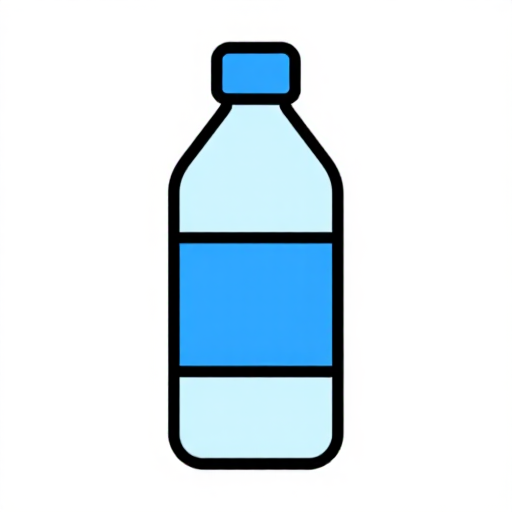
 Amber Glass Bottle (1L)5 pieces
 HDPE Storage Container (5L)1 piece
 Adhesive Labels10 pieces
Tools needed:
 Measuring Cup (500ml)
Materials
13- 3 piecesPlaceholder
- 2 piecesPlaceholder
- 70 litersPlaceholder
- 3 piecesPlaceholder
- 1 piecePlaceholder
- 2 piecesPlaceholder
- Placeholder
- 2 piecesPlaceholder
- 1 piecePlaceholder
- 5 piecesPlaceholder
- 1 piecePlaceholder
- 10 piecesPlaceholder
Tools Required
13- Placeholder
- Placeholder
- Placeholder
- Placeholder
- Placeholder
- Placeholder
- Placeholder
- Placeholder
- Placeholder
- Placeholder
- Placeholder
- Placeholder
- Placeholder
Required Equipment
Equipment this kind of build typically needs — buy from any maker below.
- CriticalNitrile Lab Gloves·
 Boxing Gloves (Training)
 Leather Gauntlet Gloves
 Cotton Gloves
 Welding Gloves
 Heavy-Duty Gloves
 Leather Work Gloves
 - CriticalChemical Splash Goggles·
 Splash-Proof Safety Goggles
 Chemical Splash Goggles
 Safety Goggles
 Welding Goggles
 Laser Safety Goggles Set
 Anti-Fog Safety Goggles
 - RecommendedBeaker·
 Borosilicate Beaker
 Heat-Resistant Glass Beaker (1 liter)
 Glass Beaker (Borosilicate, 500ml)
 Beaker Set
 Volumetric Beaker
 Borosilicate Glass Beaker
 - RecommendedDust Mask / Respirator·
 Full-Face Gas Mask (ABEK multi-gas cartridge)
 Dust Mask
 Venetian Mask Blank (Papier-Mache)
 Full-Face Respirator
 Respirator Fit Test Kit
 Respirator with Acid Gas Cartridge
 - RecommendedGraduated Cylinder·
 Graduated Cylinder (100 ml)
 Cast Iron Cylinder
 Graduated Mixing Cups (50-Pack)
 Measuring Cylinder
 Hydraulic Cylinder
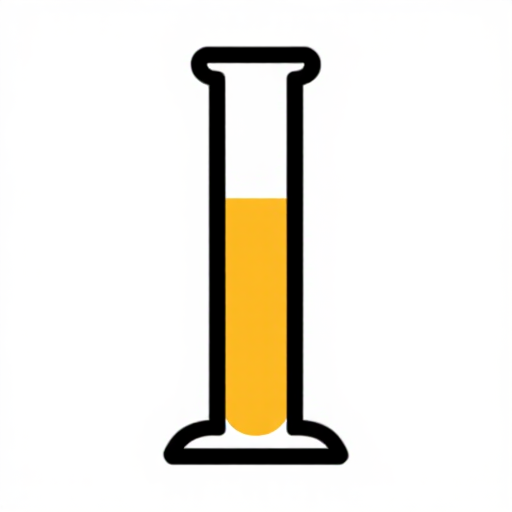 Graduated Cylinder (10ml)
 - RecommendedSafety Glasses·
 Safety Sign (Caution/Warning)Splash-Proof Safety Goggles
 Reflective Safety Vest Kit (DIY)Chemical Splash Goggles
 Safety Netting for Rockfall
 Steel-Toed Safety Boots
 - RecommendedPrecision Scale·
 Iron Scale
 Livestock Scale
 Architectural Model Kit (Scale 1:100)
 Weighing Scale
 Precision Scale
 Platform Weighing Scale
 - RecommendedWork Gloves·Boxing Gloves (Training)Leather Gauntlet GlovesCotton GlovesWelding GlovesHeavy-Duty GlovesLeather Work Gloves
- OptionalFire Extinguisher·
 ABC Fire Extinguisher
 Fire Extinguisher
 - OptionalFirst Aid Kit·
 First Aid Kit
 Mountain First Aid Kit (Altitude)
 Workshop First Aid Kit
 Bow Release Aid
You can swap these in
Can't get one of the materials? Swap it for an equivalent — these work just as well.
- Instead of Fine Cotton Filter Cloth, try:
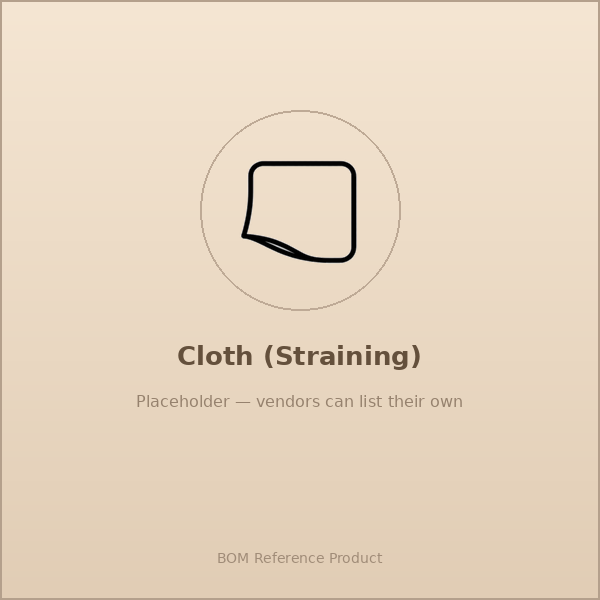 Cloth (Straining)
 Microfiber Cloth
 - Instead of Distilled Water, try:
 Distilled Water (1 Liter)
 - Instead of HDPE Storage Container (5L), try:
 Container
 - Instead of Manual Screw Oil Press, try:
 Cloth Screw Press
 - Instead of Plastic Bucket 20L, try:
 Bucket (5-gallon)
 - Instead of Glass Settling Jar (5L), try:
 Jar (Glass, Amber)
 - Instead of Amber Glass Bottle (1L), try:
 Water Spray Bottle
 - Instead of Woven Bamboo Basket, try:
 Growing Basket (Hydroponic)
 - Instead of Thermometer (0-100°C), try:
 Sugar Thermometer
 - Instead of Rubber Gloves, try: Boxing Gloves (Training)Leather Gauntlet Gloves
Recommended for this build
Products makers often use with builds like this one.
 Oven ThermometerUsed together and in similar builds
 CharcoalFrequently used with this build's materials
 Clean Glass Jars with LidsFrequently used with this build's materialsLeather Gauntlet GlovesFrequently used with this build's materialsSafety GogglesUsed together and in similar buildsDust MaskFrequently used with this build's materials
 Hand Lens (10x)Frequently used with this build's materials
 Jute TwineUsed together and in similar builds
Related blueprints
Other builds that share materials, tools, or techniques with this one.

CC0 Public Domain
This blueprint is released under CC0. You are free to copy, modify, distribute, and use this work for any purpose, without asking permission.
Support the Maker by purchasing products through their Blueprint where they earn a Maker Commission set by Vendors, or create a new iteration of this Blueprint and include it as a connection in your own Blueprint to share revenue.