Burning Limestone for Lime Plaster — Calcination and Slaking
Instruções
Build the Lime Kiln and Load Limestone
Build the Lime Kiln and Load Limestone
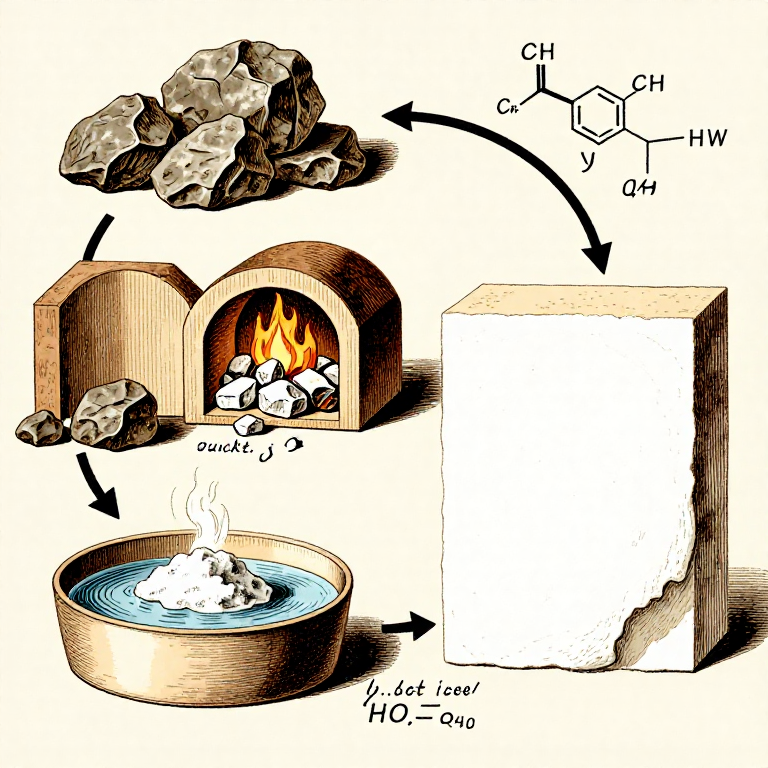
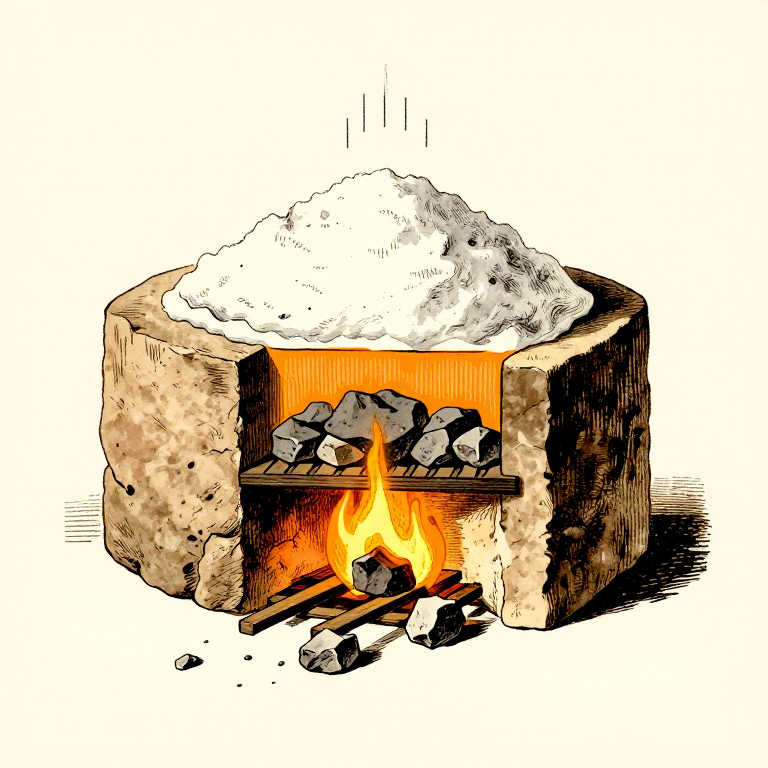
Construct a simple updraft kiln by digging a pit or building a stone-walled cylinder approximately 1 metre in diameter and 1-1.5 metres tall. Line the bottom with a grate of stones to create an air space beneath the limestone charge. Stack broken limestone (pieces 5-15 cm across) above the grate, leaving gaps for air circulation. Build a fire below the grate. The limestone must be heated to approximately 900 degrees C (bright orange-red heat) for several hours to drive off carbon dioxide and convert calcium carbonate to calcium oxide (quicklime). The reaction is: CaCO3 -> CaO + CO2. This requires enormous amounts of fuel — roughly 3-4 kg of wood per kg of limestone.
Materiais para este passo:
 Limestone Slab50-100 kg kg
 Firewoodlarge quantity (3-4x weight of limestone) peça
 Fine Sandequal volume to slaked lime peça
 Waterlarge quantity for slaking peça
Burn the Limestone
Burn the Limestone
Maintain a hot fire for 12-24 hours, feeding fuel continuously. The limestone gradually changes from its natural grey or cream colour to pure white as the carbon dioxide is driven off. When fully calcined, the stones are significantly lighter in weight (they have lost approximately 44 percent of their mass as CO2 gas). Test by tapping a stone — properly burnt quicklime crumbles easily and is chalky white throughout. Under-burnt limestone has a grey core — return it to the kiln. The calcination temperature must be maintained above 900 degrees C but below 1300 degrees C — over-burning produces dead-burnt lime that slakes poorly.
Slake the Quicklime
Slake the Quicklime
WARNING: Quicklime (CaO) reacts violently with water and generates intense heat — handle with extreme care. Place the cooled quicklime chunks in a pit or large vessel and add water gradually. The reaction is: CaO + H2O -> Ca(OH)2 + heat. The lime hisses, steams, cracks, and crumbles as it absorbs water and generates temperatures up to 300 degrees C. Keep adding water until all the quicklime has been converted to a thick white paste of calcium hydroxide (slaked lime or lime putty). Allow the lime putty to mature by keeping it submerged under a thin layer of water for at least 2 weeks — longer maturation (months or years) produces finer, more workable plaster. Ancient Roman builders aged their lime putty for 3 years before use.
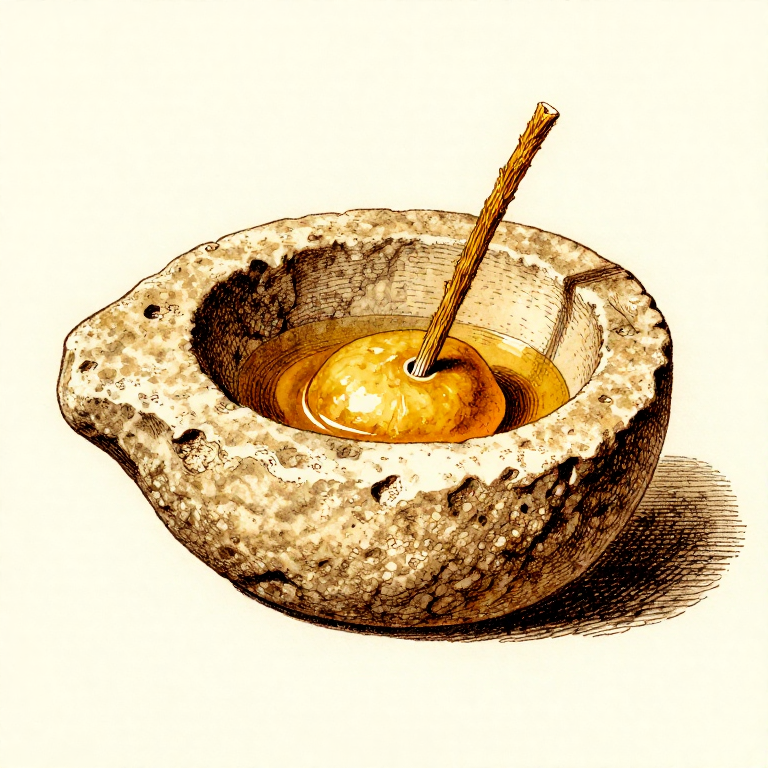
Mix the Plaster
Mix the Plaster
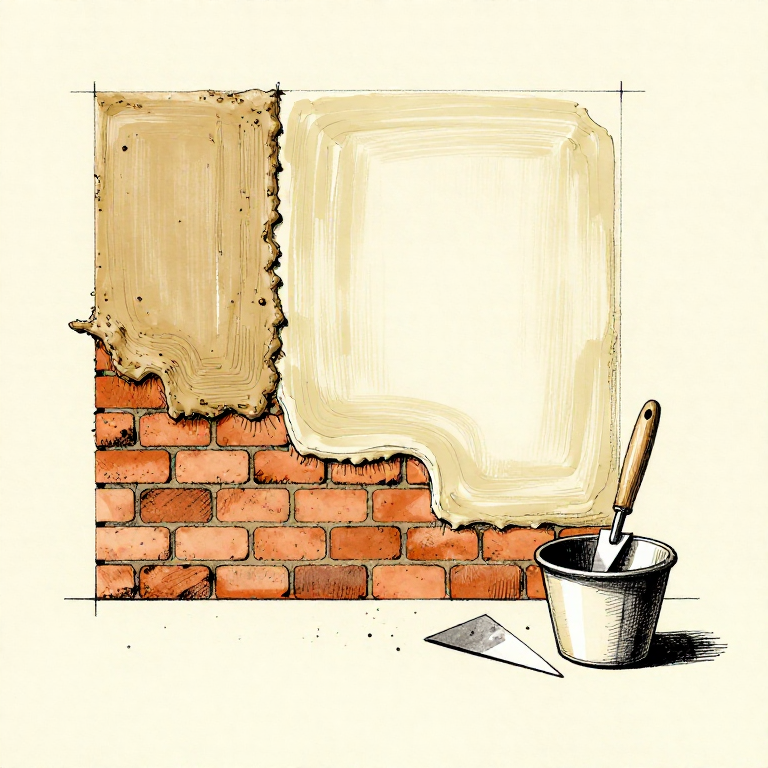
Mix the matured lime putty with clean, sharp sand at a ratio of approximately 1 part lime to 2-3 parts sand by volume. The sand provides bulk, reduces shrinkage cracking, and improves durability. Mix thoroughly using a hoe or paddle until the plaster is uniform in colour and consistency — it should be smooth and cohesive, like thick cream cheese. For waterproof plaster (opus signinum), the Romans added crushed terracotta (pottery fragments) instead of sand — the reactive silica in the fired clay reacts with the lime to form calcium silicate hydrate, creating a hydraulic cement that sets even under water.
Apply and Cure the Plaster
Apply and Cure the Plaster
Apply the plaster to a dampened wall surface using a flat trowel (a smooth stone, wooden blade, or metal tool). Apply in multiple thin coats (5-10 mm each), allowing each coat to partially set before applying the next. The plaster sets and hardens through carbonation — atmospheric carbon dioxide reacts with the calcium hydroxide over weeks to months, converting it back to calcium carbonate: Ca(OH)2 + CO2 -> CaCO3 + H2O. This completes the lime cycle — the plaster has returned to the same chemical composition as the original limestone, but in a smooth, hard, continuous coating. Lime plaster is naturally white, breathable (allowing moisture to pass through), mildly antiseptic (alkaline pH kills bacteria), and remarkably durable — lime-plastered floors at Neolithic sites in the Levant have survived over 9,000 years.
Materiais
4- 50-100 kg peçaReferência
Ferramentas necessárias
3- Referência
- Referência
Materiais de Blueprints conectados
Blueprints relacionados
Estes blueprints compartilham conhecimento — técnicas, materiais ou princípios
Related blueprints
Other builds that share materials, tools, or techniques with this one.

CC0 Domínio Público
Este blueprint é liberado sob CC0. Você é livre para copiar, modificar, distribuir e usar este trabalho para qualquer finalidade, sem pedir permissão.
Apoie o Maker comprando produtos através do Blueprint, onde ele ganha uma Comissão Maker definida pelos vendedores, ou crie uma nova versão deste Blueprint e inclua-o como conexão no seu próprio Blueprint para compartilhar receita.