
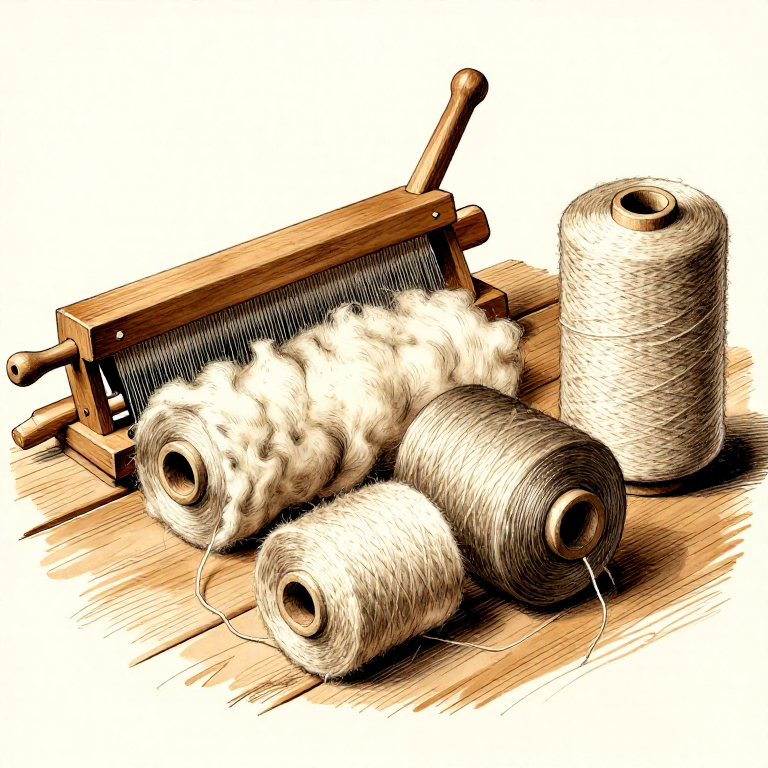
From Wool to Yarn — Washing, Carding and Spinning Raw Fleece
Instruções
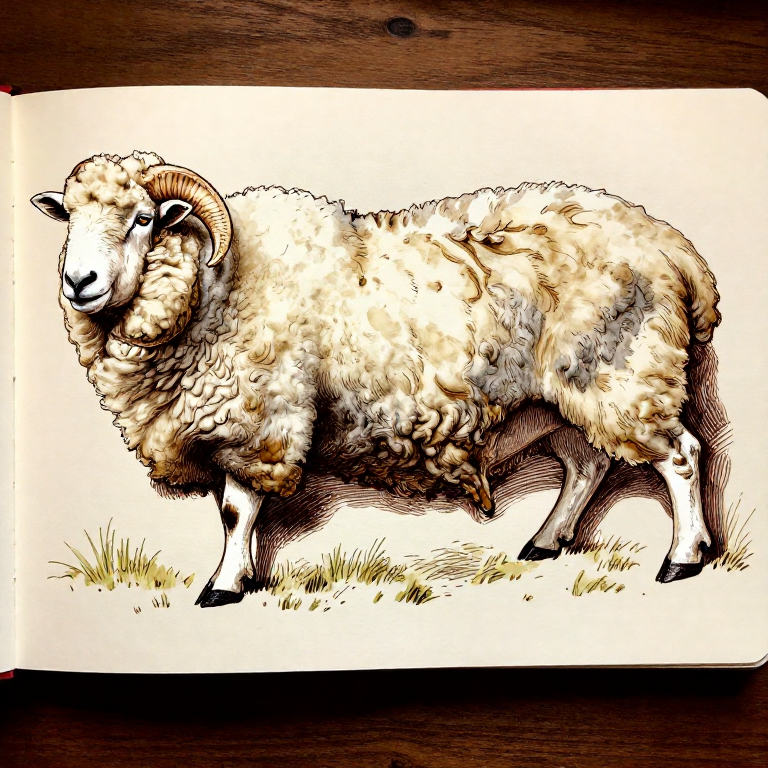
Choose Your Fleece
Choose Your Fleece
Select a raw sheep fleece — wool comes in natural colours from white and cream through grey, brown, and black depending on breed. Each colour can be spun and used without dyeing. A single fleece weighs 2-4 kg and will yield roughly half that in clean fibre.
Materiais para este passo:
 Raw Wool Fleece1 fleece
Skirt the Fleece
Skirt the Fleece
Spread the fleece out on a clean surface, cut side up. Remove the edges — belly wool, leg wool, and any matted or heavily soiled sections. These are lower grade and can be composted or used for felting.
Sort by Grade
Sort by Grade
Separate the remaining fleece into grades. Shoulder and side wool is finest and best for spinning. Back wool is slightly coarser. Keep each grade in a separate pile — they spin differently and suit different projects.
First Soak
First Soak
Place a batch of sorted wool loosely into cool water and soak for 30 minutes. This loosens dirt, seeds, and debris without setting the lanolin grease. Do not agitate — wool felts when rubbed in water.
Materiais para este passo:
 Water20 litros
Scour the Wool
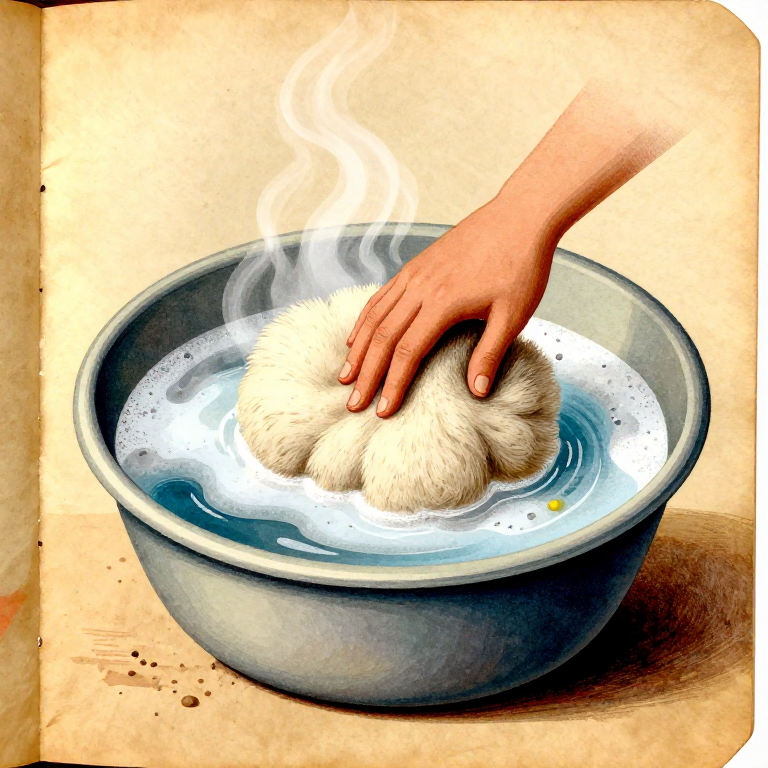
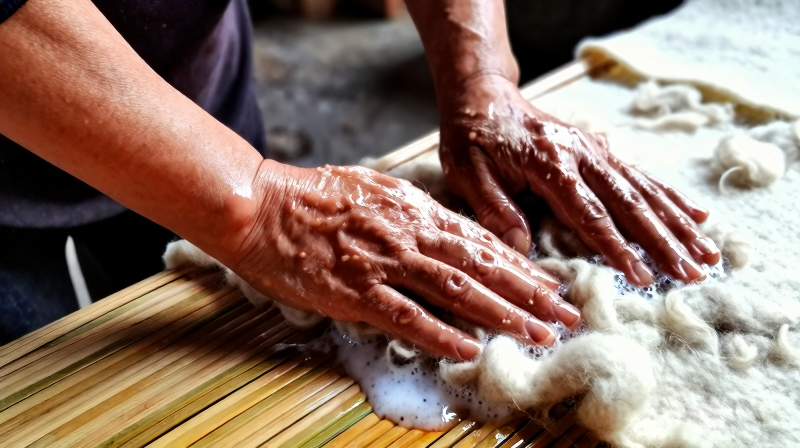
Scour the Wool
Fill a basin with hot water (60°C) and add a small amount of mild soap. Submerge the wool gently — do not stir or agitate. The hot water and soap dissolve the lanolin grease. Soak for 20 minutes.
Materiais para este passo:
 Castile Soap (Liquid)30 ml
Rinse
Rinse
Lift the wool out and place in clean warm water — do not wring. Rinse gently 2-3 times in progressively cooler water until the water runs clear and no grease remains on your fingers.
Dry the Washed Wool
Dry the Washed Wool
Spread the clean wool on a mesh rack or towel in shade with good airflow. Turn it occasionally. Allow to dry completely — this may take 1-2 days depending on weather. The wool should feel light and springy when dry.
Tease Open the Locks
Tease Open the Locks
Take each dried lock of wool and gently pull it apart with your fingers. This opens the fibre structure and removes any remaining debris. Work through the entire batch — this step makes carding much easier.
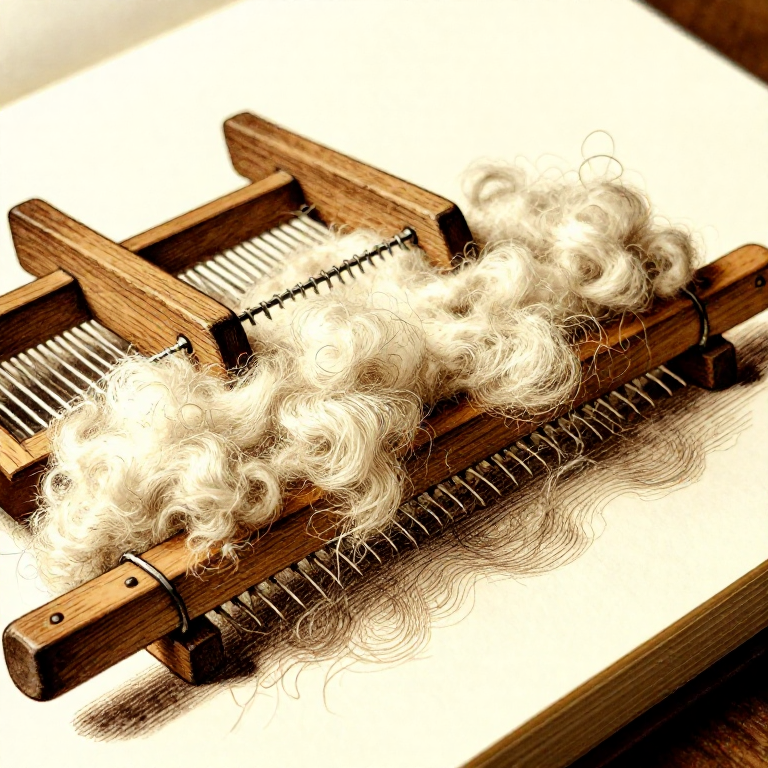
Load the Carder
Load the Carder
Hold one carder on your knee, teeth facing up. Spread a thin layer of teased wool across the teeth, loading from the bottom edge upward. Do not overload — a thin layer cards much better than a thick one.
Ferramentas necessárias:
 Hand Carders (Pair)
Card the Wool
Card the Wool
Brush the second carder across the first in a sweeping motion, transferring fibre between the two. Repeat 5-6 times until all fibres are aligned in the same direction and the wool feels smooth and even.
Form Rolags
Form Rolags
Roll the carded fibre off the carder into a neat cylinder called a rolag. The fibres should be loosely aligned lengthwise. Each rolag is one unit of fibre ready for spinning. Set them aside in a basket.
Prepare the Drop Spindle
Prepare the Drop Spindle
Tie a leader yarn (a 60 cm length of any existing yarn) to the shaft of the drop spindle just below the whorl. Bring it over the edge of the whorl and up to the tip. The leader gives you something to join your new fibre to.
Ferramentas necessárias:
 Drop Spindle
Join Fibre to Leader
Join Fibre to Leader
Draft a thin wisp of fibre from the end of a rolag and overlap it with the end of the leader yarn. Pinch the overlap point between your fingers — when you spin, the twist will lock the two together.
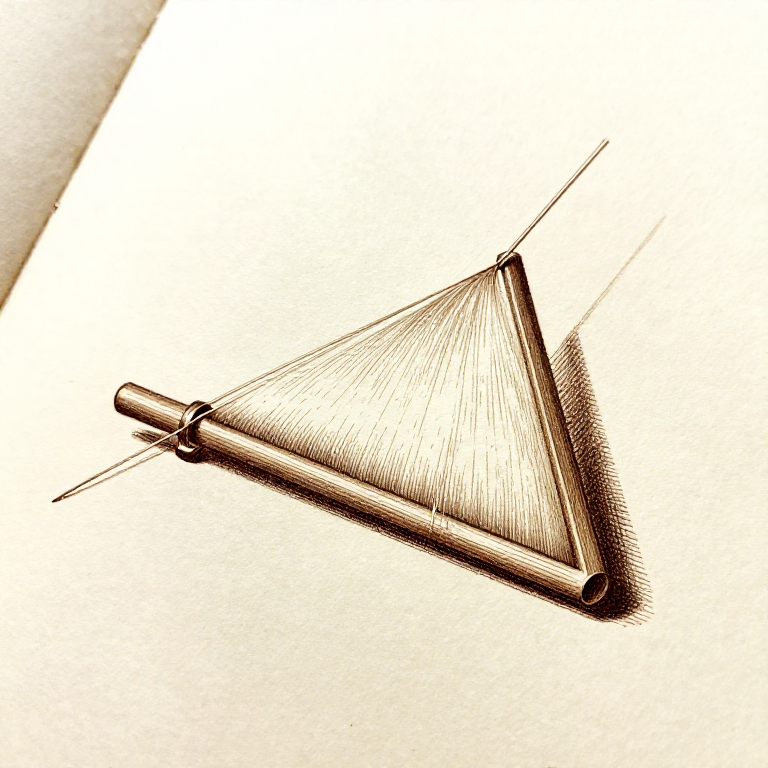
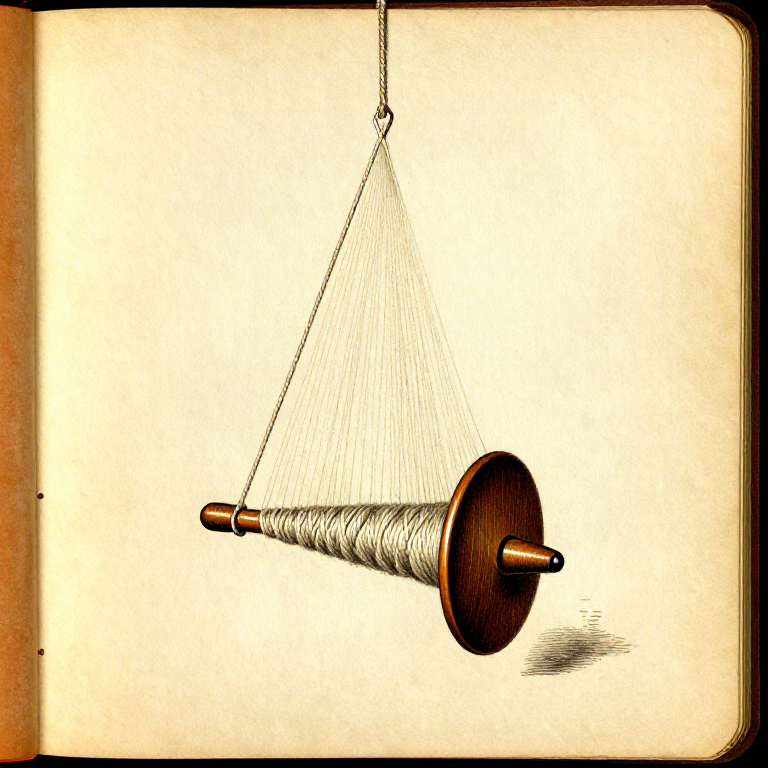
Spin the Spindle
Spin the Spindle
Flick the spindle shaft with your fingers to set it rotating clockwise. Let it hang freely — the weight of the whorl keeps it spinning. As it turns, twist travels up the yarn and into the drafted fibre above your pinch point.
Draft, Twist, Wind On
Draft, Twist, Wind On
When the spindle slows, park it between your knees. Draft more fibre from the rolag, release the pinch to let twist enter, then wind the finished yarn onto the shaft. Repeat — this rhythm becomes natural with practice.
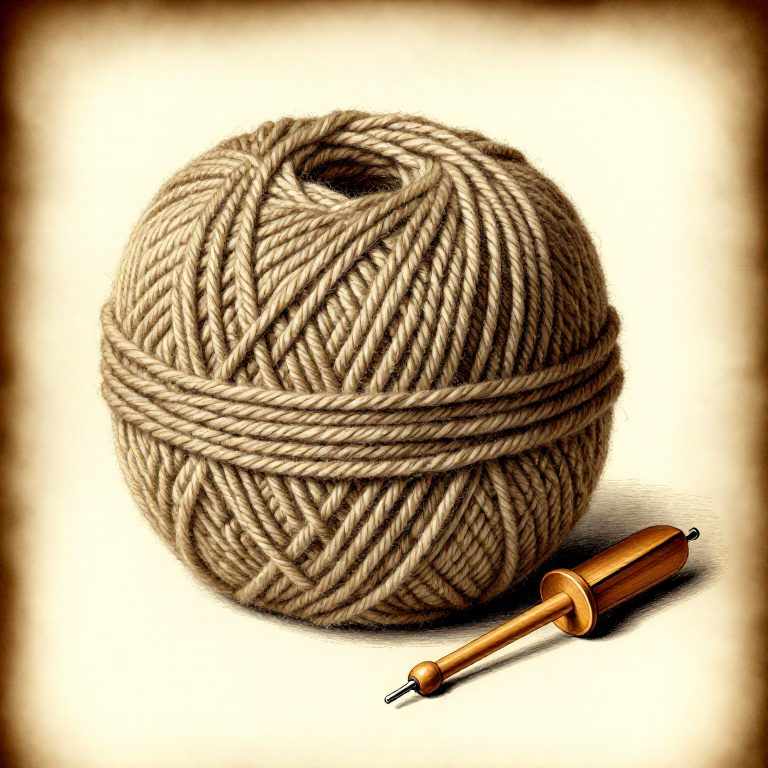
Ply Two Singles
Ply Two Singles
When you have spun two full spindles of singles yarn, wind them into two balls. Hold both strands together and spin the spindle counter-clockwise (opposite to your spinning direction). The two singles twist around each other to form a stronger, balanced 2-ply yarn.
Set the Twist
Set the Twist
Soak the plied yarn in warm water for 20 minutes. Squeeze gently — never wring. Hang with a light weight attached to the bottom to dry under slight tension. This sets the twist permanently so the yarn will not kink or curl.
Materiais para este passo:
Water5 litrosWind into a Skein
Wind into a Skein
When dry, wind the finished yarn around your forearm or a chair back to form a skein. Tie it loosely in two places to prevent tangling. Your yarn is now ready — for weaving, knitting, or taking forward into natural dyeing.
Materiais
3- 1 fleeceReferência
- Referência
Ferramentas necessárias
2- Referência
- Referência
Related blueprints
Other builds that share materials, tools, or techniques with this one.

CC0 Domínio Público
Este blueprint é liberado sob CC0. Você é livre para copiar, modificar, distribuir e usar este trabalho para qualquer finalidade, sem pedir permissão.
Apoie o Maker comprando produtos através do Blueprint, onde ele ganha uma Comissão Maker definida pelos vendedores, ou crie uma nova versão deste Blueprint e inclua-o como conexão no seu próprio Blueprint para compartilhar receita.