Colaboração
ARTE
BELEZA E BEM-ESTAR
ARTESANATO
CULTURA E HISTÓRIA
ENTRETENIMENTO
MEIO AMBIENTE
COMIDA E BEBIDAS
ENGENHARIA REVERSA
CIÊNCIAS
ESPORTES
TECNOLOGIA
TECNOLOGIA VESTÍVEL
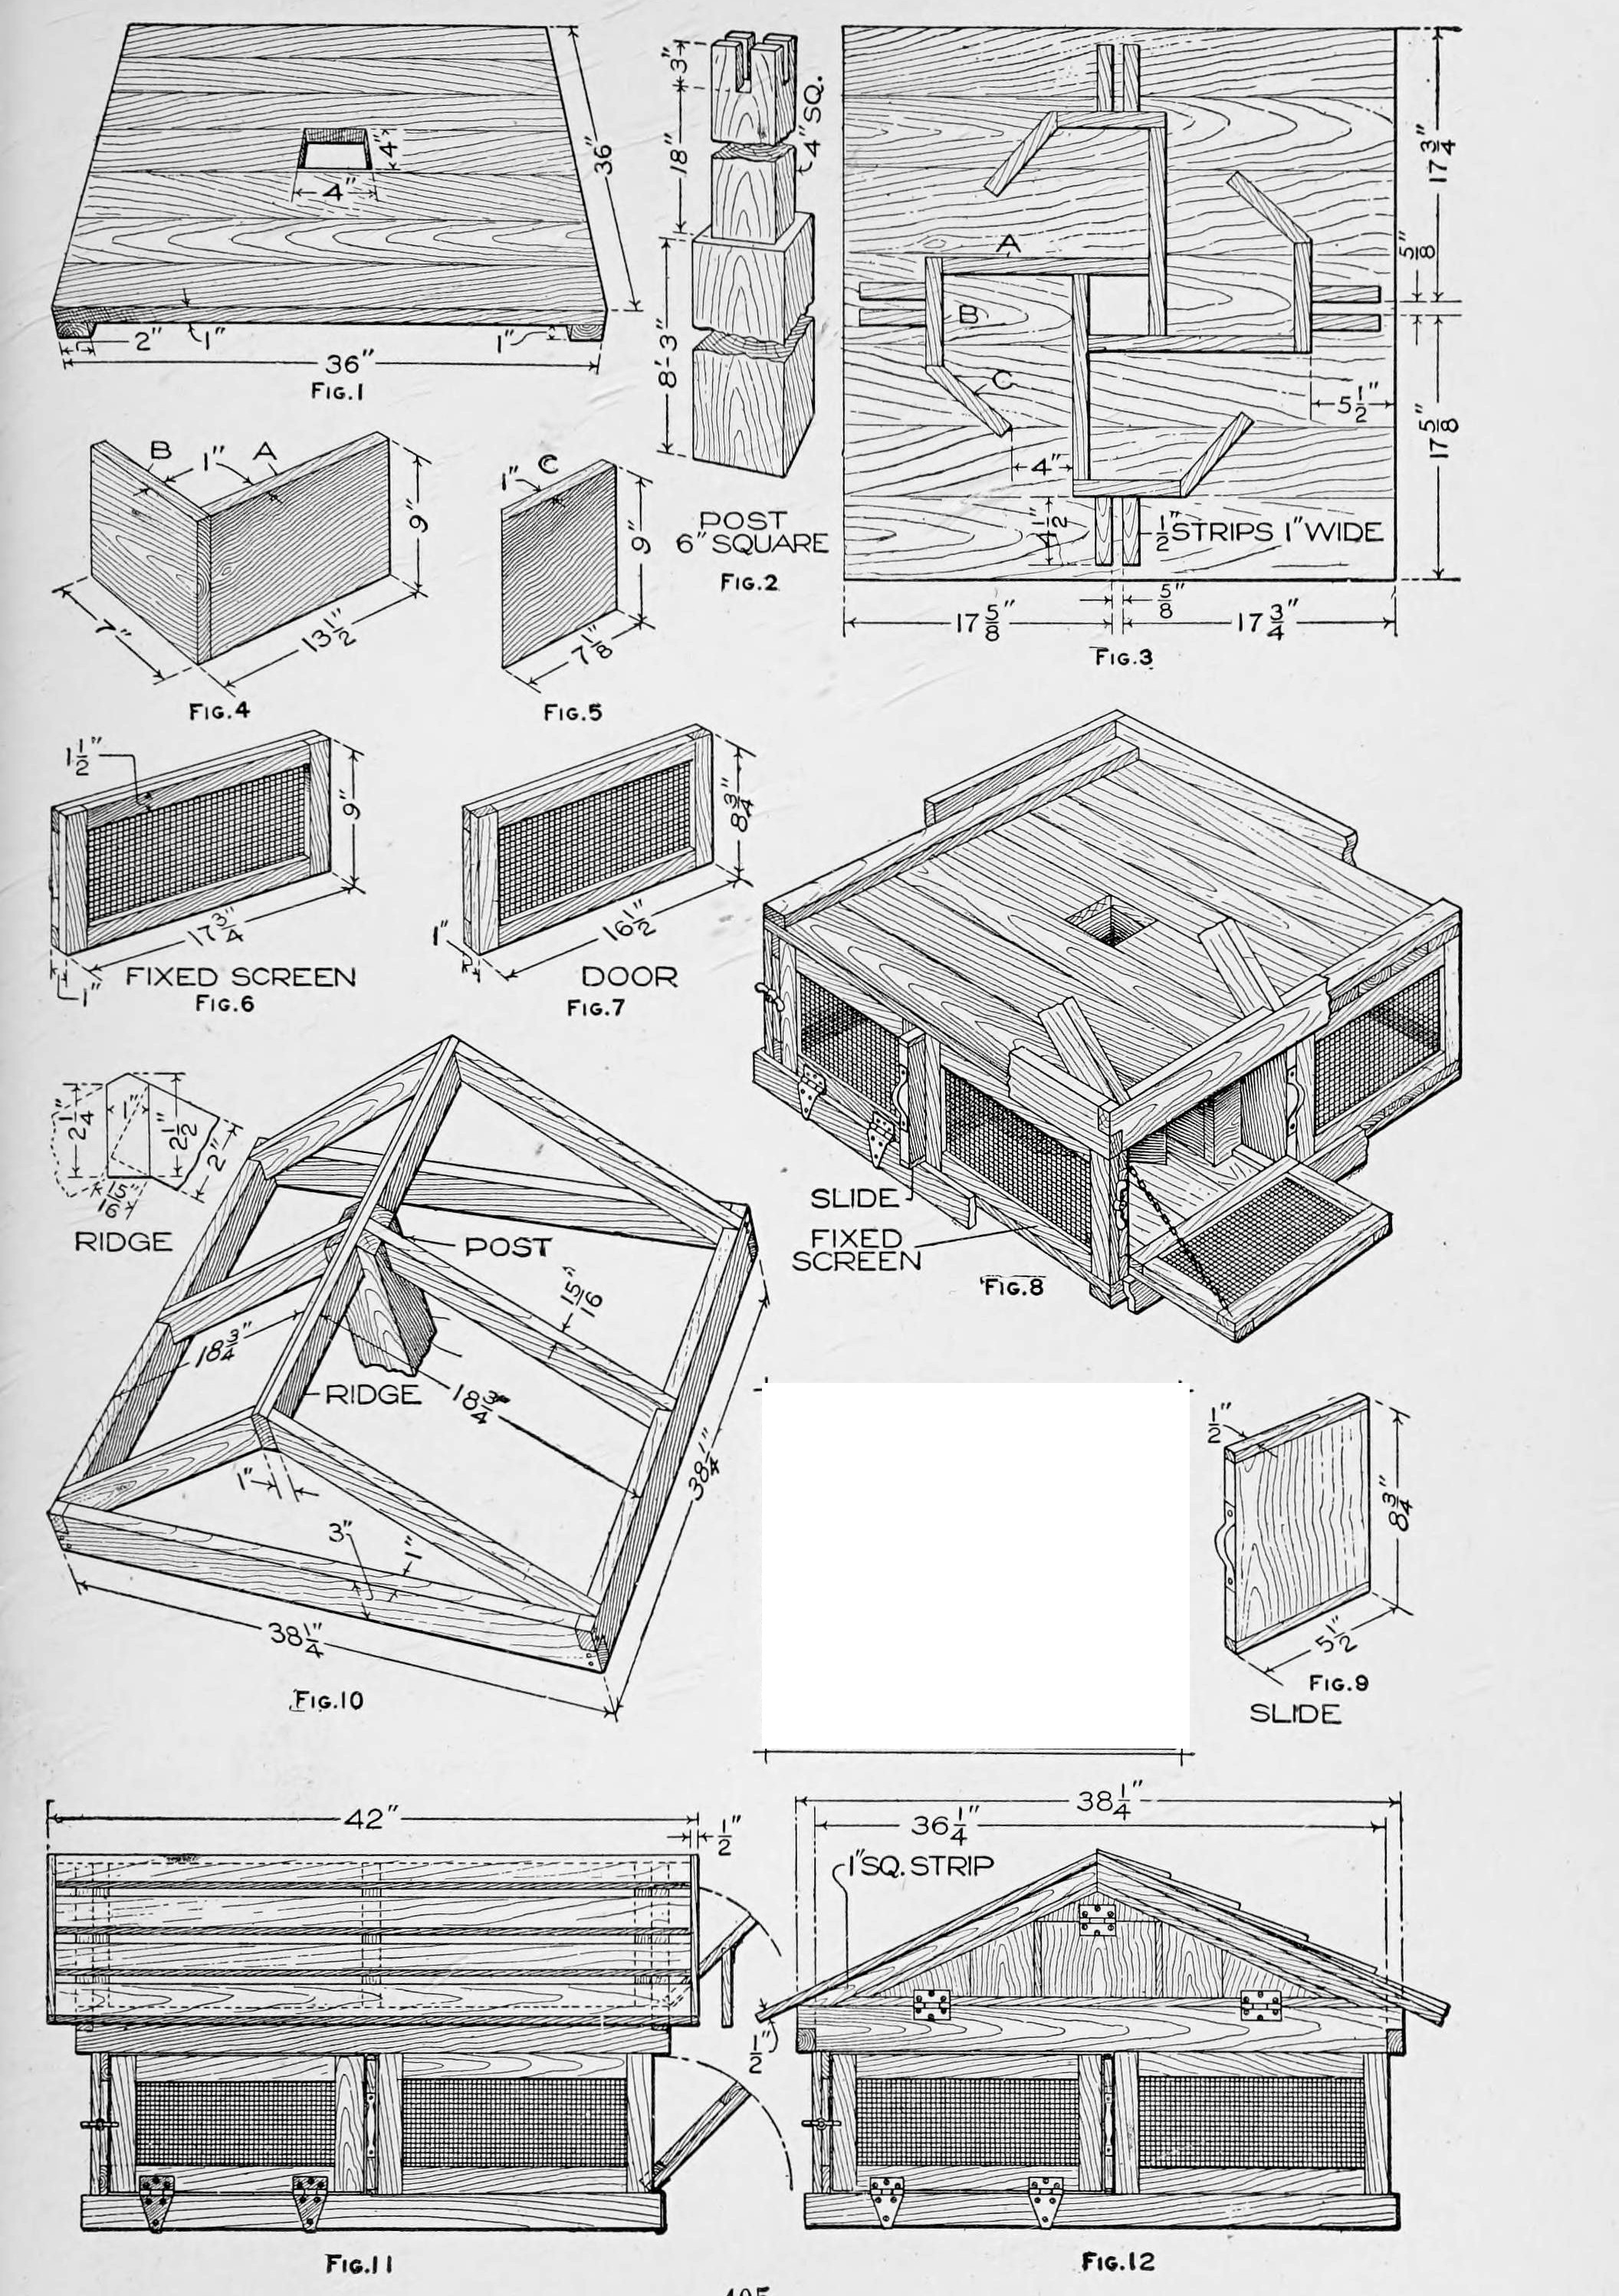


Pigeon House for 20 Birds: Swastika Compartments, Sliding Shutters and a Gable Roof on a Post (Boy Mechanic, 1919)
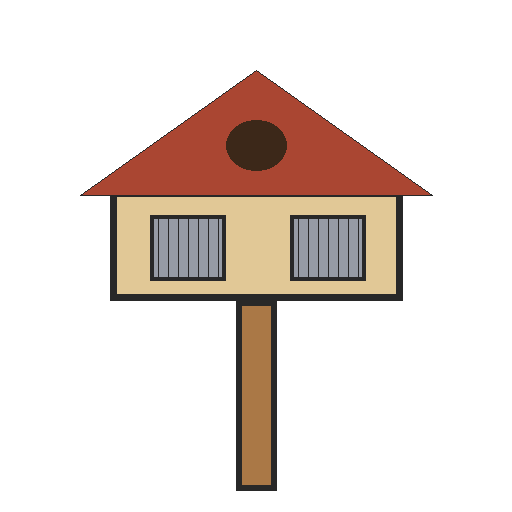
Robert Baker's pigeon house from The Boy Mechanic, Book 3 (1919), mostly from box wood: a 36 in square lower story on a 6 in post, divided into four compartments by pinwheel (swastika-pattern) partitions, with wire-mesh screens, hinged doors and sliding shutters, under a removable framed and shingled gable roof. It houses 20 pigeons.
Intermediário
Several days
Instruções
1
1
Parts in centimetres
Parts in centimetres
A carregar o notebook Jupyter…
2
2
Read The Boy Mechanic, Book 3
Read The Boy Mechanic, Book 3
"The house described will accommodate 20 pigeons, and additional stories of the same type may be added to provide for more."
3
3
Make the floor, ceiling and post
Make the floor, ceiling and post
Make floor and ceiling alike, 36 in square of boards on cleats screwed on (or nails clinched), each with an accurate 4 in square centre hole (Fig. 1). Cut the post 6 in square, about 9 ft long, with a 4 in square shoulder at the top to fit the holes (Fig. 2); cut the notches for the ridge and centre rafters only when the roof boards are ready.
Materiais para este passo:
 Tábua de pinho6 peças
 Madeira de pinho1 peça
 Parafusos para madeira1 peça
Ferramentas necessárias:
 Serrote
 Formões
 Arco de pua e broca
 Serra de recortes
 Esquadro fixo
 Fita métrica
4
4
Build the compartments
Build the compartments
Make four each of the pieces A, B and C, 9 in high of 1 in stuff, exactly to Figs. 4 and 5 (A/B legs 13-1/2 and 7 in, C 7-1/8 in). Mark 4 in from one end of each A, pair the pieces with the line even with the end of the other and nail, then fit the pairs into a 4 in square at the centre. Fit each C to a B at an angle, trim the corners, nail, and nail B-C to the ends of A to complete the pattern (Fig. 3). Fix it over the floor hole with nails or screws through the floor, and nail two strips exactly 4-1/2 in long beside each opening to guide the slides. Fix the ceiling on top, cleats up, with its strips the same way.
Materiais para este passo:
Tábua de pinho3 peças Pregos1 peça
Ferramentas necessárias:
Serrote MarteloEsquadro fixo
 Lápis
5
5
Make screens, doors and slides
Make screens, doors and slides
Build fixed screens (17-3/4 by 9 in) and doors (16-1/2 by 8-3/4 in) of 1/2 in wood with 1/2 in square-mesh wire grating fixed between the pieces; screens stand 1/4 in higher than the doors and are fastened between ceiling and floor as braces. Hang the doors on combination strap hinges bent over the baseboard (or butts covered by it) with catches and chains; nail on 2-1/2 in baseboards. Make each slide of three pieces so it will not warp: a 7-3/4 in main piece with 1/2 in square strips on the ends (8-3/4 by 5-1/2 in), with a band-iron handle drilled for screws.
Materiais para este passo:
Tábua de pinho2 peças Rede de arame galvanizado1 peça
 Dobradiça de tira de ferro4 peças
 Colchete (macho e fêmea)4 peças
 Corrente fina1 peça
 Barra chata de aço macio1 peçaPregos1 peçaParafusos para madeira1 peça
Ferramentas necessárias:
SerroteMartelo Tesoura
 Berbequim de mão
 Torno de bancada
 Chave de fendas
6
6
Frame and cover the roof
Frame and cover the roof
Build the plate of pieces 3 in wide, 1/4 in larger inside than the ceiling so it fits snugly over it, with halved corners nailed both ways (Fig. 10). Lay out the end rafters full size on paper or a board, fit them first, then the others and the ridge. Nail rough boards 1/2 in apart, projecting 2 in past the plate ends, with a 1/2 in strip over their ends, and shingle or cover with tar paper. Nail a 1 in strip under each roof end and fit the gables, one with a door, the other with a screened opening the same size.
Materiais para este passo:
Tábua de pinho4 peças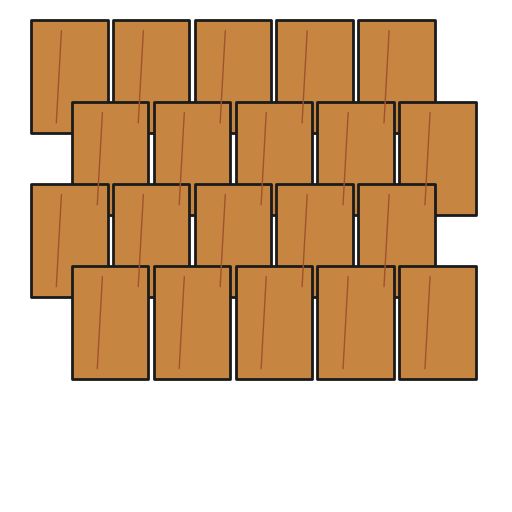 Telhas de madeira1 peçaPregos1 peçaRede de arame galvanizado1 peçaDobradiça de tira de ferro2 peças
Ferramentas necessárias:
SerroteMarteloEsquadro fixoLápis7
7
Set it up
Set it up
Set the post, put the lower story over its shoulder, cut the post-top notches to the ridge and centre rafters and seat the roof story on the lower one. The roof story lifts off for cleaning; for added stories put a post at each corner.
Ferramentas necessárias:
 PáSerroteFormões
8
8
Troubleshooting
Troubleshooting
Pigeon house troubleshooting.
Flow
Loading...
9
9
History and honest limits
History and honest limits
From "A Pigeon House" by Robert Baker, in **The Boy Mechanic, Book 3**, Popular Mechanics, 1919 (Project Gutenberg 71856; checked on the archive.org scan boymechanic0003unse, pp. 403-405). The text calls the post about 9 ft; Fig. 2 marks 8 ft 3 in, 18 in and 3 in. The tools and metric figures are ours.
Materiais
10- 6 peçasReferência
- 1 peçaReferência
- 2 peçasReferência
- 3 peçasReferência
- 2 peçasReferência
- 4 peçasReferência
- 4 peçasReferência
- 1 peçaReferência
- 1 peçaReferência
- 1 peçaReferência
Ferramentas necessárias
13- Referência
- Referência
- Referência
- Referência
- Referência
- 1 vendor sell this, none ship to you yetReferência
- Referência
- 1 vendor sell this, none ship to you yetReferência
- Referência
- Referência
- Referência
- Referência
- Referência
Este projeto faz
Blueprints relacionados
Estes blueprints compartilham conhecimento — técnicas, materiais ou princípios
CC0 Domínio Público
Este blueprint é liberado sob CC0. Você é livre para copiar, modificar, distribuir e usar este trabalho para qualquer finalidade, sem pedir permissão.
Apoie o Maker comprando produtos através do Blueprint, onde ele ganha uma Comissão Maker definida pelos vendedores, ou crie uma nova versão deste Blueprint e inclua-o como conexão no seu próprio Blueprint para compartilhar receita.