
Colaboração
ARTE
BELEZA E BEM-ESTAR
ARTESANATO
CULTURA E HISTÓRIA
ENTRETENIMENTO
MEIO AMBIENTE
COMIDA E BEBIDAS
ENGENHARIA REVERSA
CIÊNCIAS
ESPORTES
TECNOLOGIA
TECNOLOGIA VESTÍVEL
Straight-Sided Guitar: Maple Box, Pine Top, Hatpin Frets and a 24-Inch Scale (Boy Mechanic, 1913)
Woody

Criado por

Woody

13. novembro 2026NO
7
0
0
0
0

Straight-Sided Guitar: Maple Box, Pine Top, Hatpin Frets and a 24-Inch Scale (Boy Mechanic, 1913)

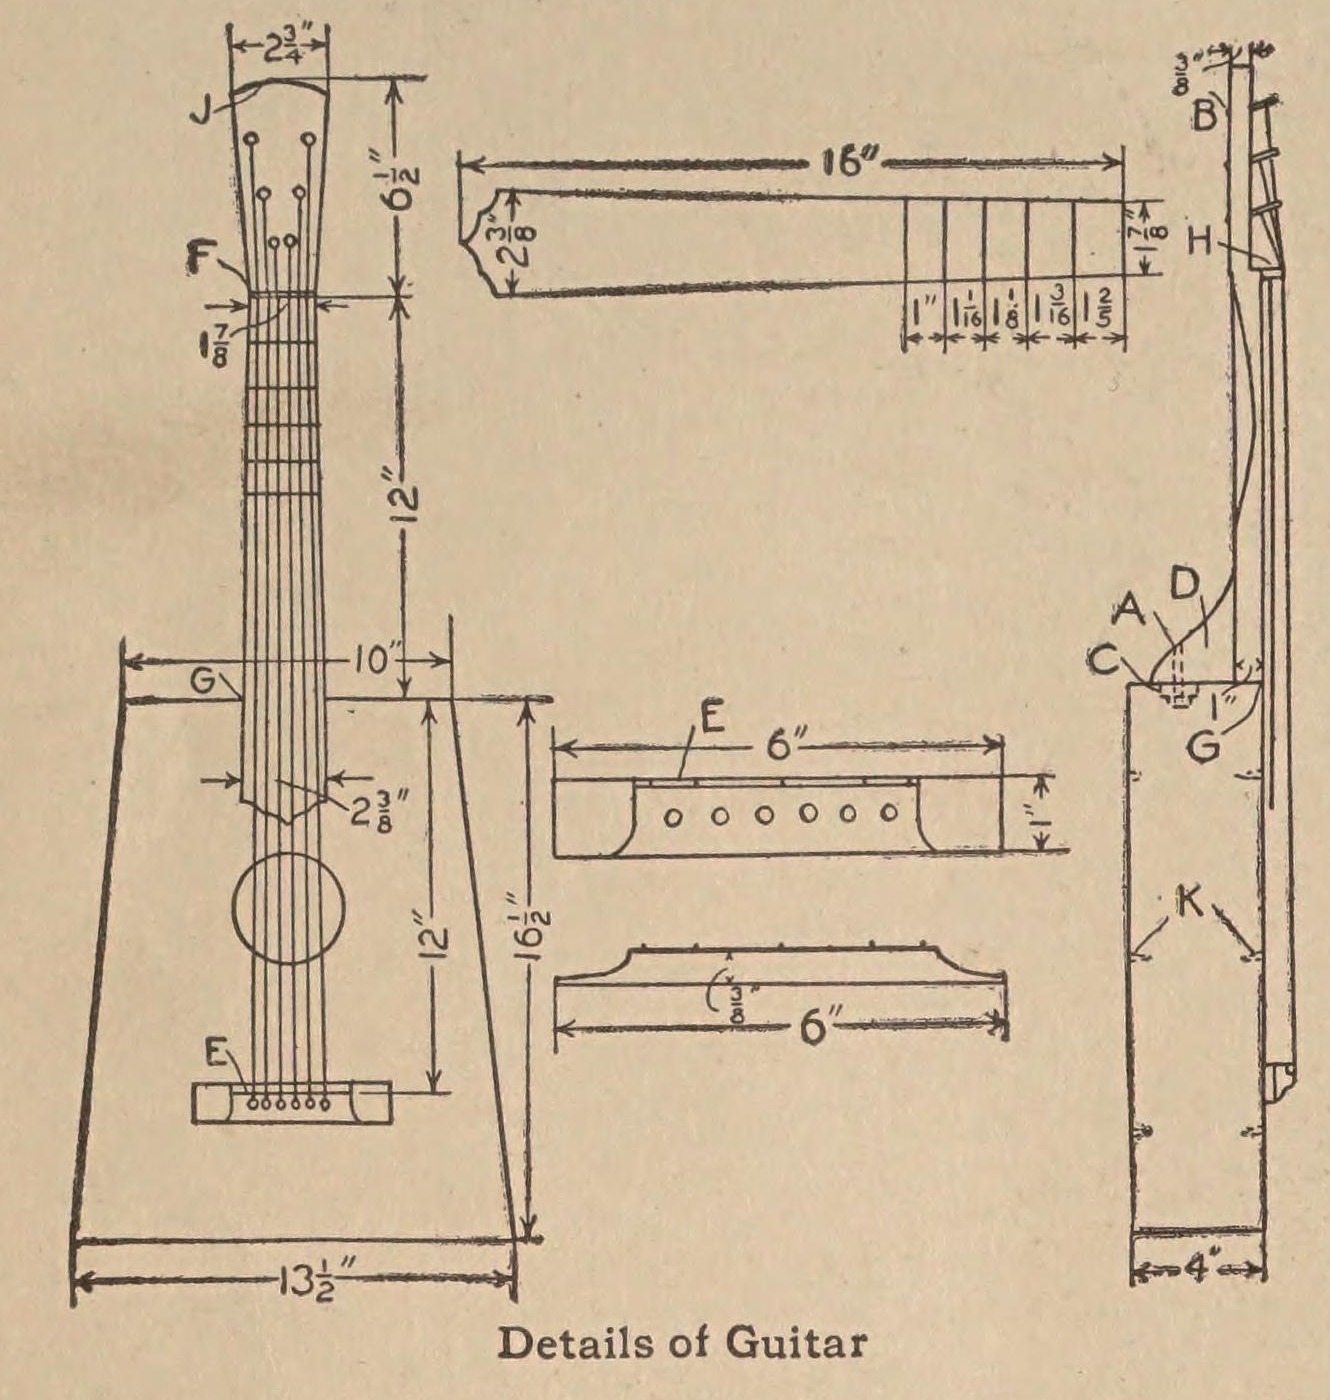
A six-string guitar "having straight lines, giving it an old-fashioned appearance", from The Boy Mechanic (1913): a tapered box of hard maple with a seasoned soft-pine top, a drawknifed neck, frets cut from hatpins and a 24 in scale. Sizes are read on the 1913 scan. "If care is taken in selecting the material, and having it thoroughly seasoned, the finished instrument will have a fine tone."
Avançado
About 1 week, with glue drying

Instruções

1

Cutting list and frets

A carregar o notebook Jupyter…
2

Read The Boy Mechanic

"The sides, ends and bottom are made of hard wood, preferably hard maple, and the top should be made of a thoroughly seasoned piece of soft pine." (J. H. Stoddard, Carbondale, Pa.)
3

Cut the pieces

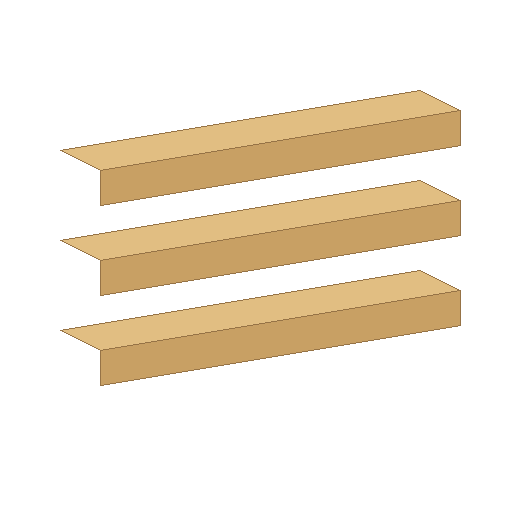
Cut from thoroughly seasoned wood: top 3/16 by 14 by 17 in (soft pine); bottom 3/16 by 14 by 17 in, two sides 3/16 by 3-5/8 by 16-3/4 in, and ends 3/16 by 3-5/8 by 13-1/8 in and 9-5/8 in (hard maple); neck 1 by 2-5/16 by 18-1/2 in; fingerboard 3/16 by 2-5/8 by 16 in.

Materiais para este passo:

Tábua de madeira de leiTábua de madeira de lei1 peça
Tábua de pinhoTábua de pinho1 peça

Ferramentas necessárias:

SerroteSerrote
Fita métricaFita métrica
Esquadro fixoEsquadro fixo
4

Shape the neck and fingerboard

Taper the neck from G to F and from J to F, with the back rounded, using a drawknife: 2-3/8 in at the heel, 1-7/8 in at the nut F, and a head 2-3/4 in wide and 6-1/2 in long. Taper the fingerboard to match. Glue a piece of hard wood 1/4 in square and 1-7/8 in long across the neck at F as the nut. Glue the fingerboard to the neck and clamp it until the glue sets.

Materiais para este passo:

Ripa de madeira duraRipa de madeira dura1 peça
Cola de madeiraCola de madeira1 peça

Ferramentas necessárias:

Faca de dois cabosFaca de dois cabos
SerroteSerrote
Sargento de barraSargento de barra
5

Fret the fingerboard

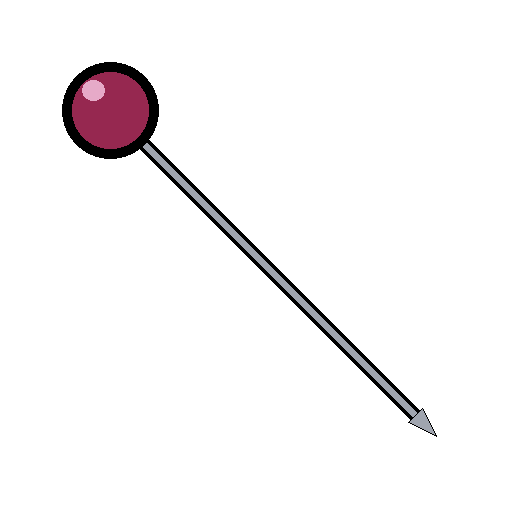
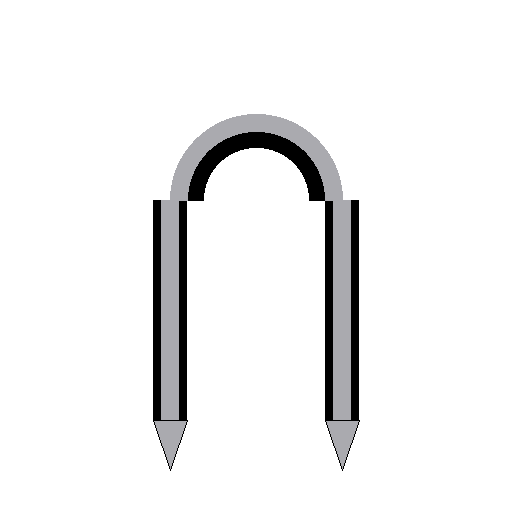
Mark the frets from the nut using the computed positions in step 1 (fret 1 at 1.347 in, fret 12 at 12 in). His drawing gives only five spaces, 1-2/5, 1-3/16, 1-1/8, 1-1/16 and 1 in; added up they put the 5th fret about 0.3 in short of the true place, so they are shown for history only. Cut pieces from hatpins and fasten them across the fingerboard with small wire staples. Mark accurately: the frets decide the pitch.

Materiais para este passo:

Alfinete de chapéuAlfinete de chapéu1 peça
Grampo de arameGrampo de arame1 peça

Ferramentas necessárias:

Alicate de bico chatoAlicate de bico chato
MarteloMartelo
Fita métricaFita métrica
Esquadro fixoEsquadro fixo
6

Build the box

Glue the sides and ends together, so the body is 10 in wide at the neck end, 13-1/2 in at the tail and 16-1/2 in long. Glue the front on, put heavy weights on top and give the glue time to dry. Fasten pieces of soft wood in the corners as braces, glue a small block C inside the neck end to take the bolt, and glue strips of soft wood K across the front and back to strengthen them. Cut the sound hole in the top as drawn.

Materiais para este passo:

Ripa de madeira maciaRipa de madeira macia1 peça
Cola de madeiraCola de madeira1 peça

Ferramentas necessárias:

SerroteSerrote
Sargento de barraSargento de barra
Arco de pua e brocaArco de pua e broca
7

Fit the neck

Make the brace D 1 in thick, to any shape you like. Glue the neck to the box and secure it with a carriage bolt at A through the end and block C. Glue the back on and smooth the outside with sandpaper.

Materiais para este passo:

Ripa de madeira duraRipa de madeira dura1 peça
Parafuso de carroçariaParafuso de carroçaria1 peça
Tábua de madeira de leiTábua de madeira de lei1 peça
Cola de madeiraCola de madeira1 peça
LixaLixa1 peça

Ferramentas necessárias:

Arco de pua e brocaArco de pua e broca
Sargento de barraSargento de barra
8

Make and place the bridge

Make the bridge 6 in long, 1 in wide and 3/8 in high, with an old hatpin or wire of the same size secured on top with pin staples as the saddle E. Drill six 3/16 in holes in it for the pins. Glue it on the top so the distance from the nut F to the saddle E is just 24 in.

Materiais para este passo:

Ripa de madeira duraRipa de madeira dura1 peça
Alfinete de chapéuAlfinete de chapéu1 peça
Grampo de arameGrampo de arame1 peça
Cola de madeiraCola de madeira1 peça

Ferramentas necessárias:

Arco de pua e brocaArco de pua e broca
SerroteSerrote
Fita métricaFita métrica
9

String it

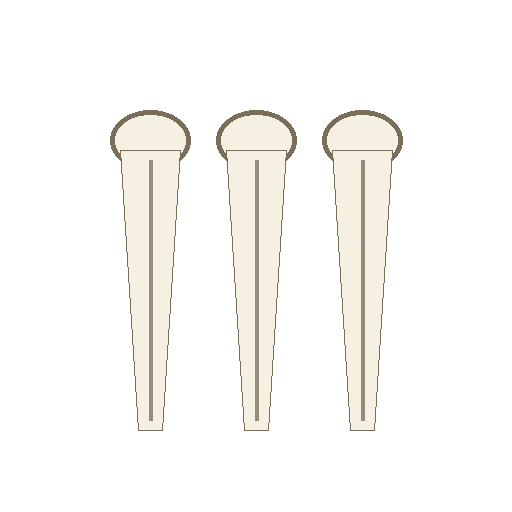
Fit the turning pegs B in the head and string the guitar, holding the strings in the bridge with the pins. He bought the pegs and strings from a music store.

Materiais para este passo:

CravelhasCravelhas1 peça
Cordas de guitarraCordas de guitarra1 peça
Pinos de cavaletePinos de cavalete1 peça

Ferramentas necessárias:

Arco de pua e brocaArco de pua e broca
10

Troubleshooting

Guitar troubleshooting.

Flow

Loading...
11

History and honest limits

From **The Boy Mechanic**, edited by H. H. Windsor, Popular Mechanics, Chicago, 1913, p. 320, "A Guitar That Is Easy to Make", sent in by J. H. Stoddard of Carbondale, Pa.; sizes read on the 1913 scan (archive.org boymechanicthing01unse). He dimensions only the first five fret spaces, and they disagree with equal temperament; the fret positions used are computed by us. The sound hole, saddle and string tensions are not dimensioned. The tools and metric figures are ours.

Materiais

12

Ferramentas necessárias

8

CC0 Domínio Público

Este blueprint é liberado sob CC0. Você é livre para copiar, modificar, distribuir e usar este trabalho para qualquer finalidade, sem pedir permissão.

Apoie o Maker comprando produtos através do Blueprint, onde ele ganha uma Comissão Maker definida pelos vendedores, ou crie uma nova versão deste Blueprint e inclua-o como conexão no seu próprio Blueprint para compartilhar receita.

Discussão

(0)

Entrar para participar da discussão

Carregando comentários...