Colaboração
ARTE
BELEZA E BEM-ESTAR
ARTESANATO
CULTURA E HISTÓRIA
ENTRETENIMENTO
MEIO AMBIENTE
COMIDA E BEBIDAS
ENGENHARIA REVERSA
CIÊNCIAS
ESPORTES
TECNOLOGIA
TECNOLOGIA VESTÍVEL
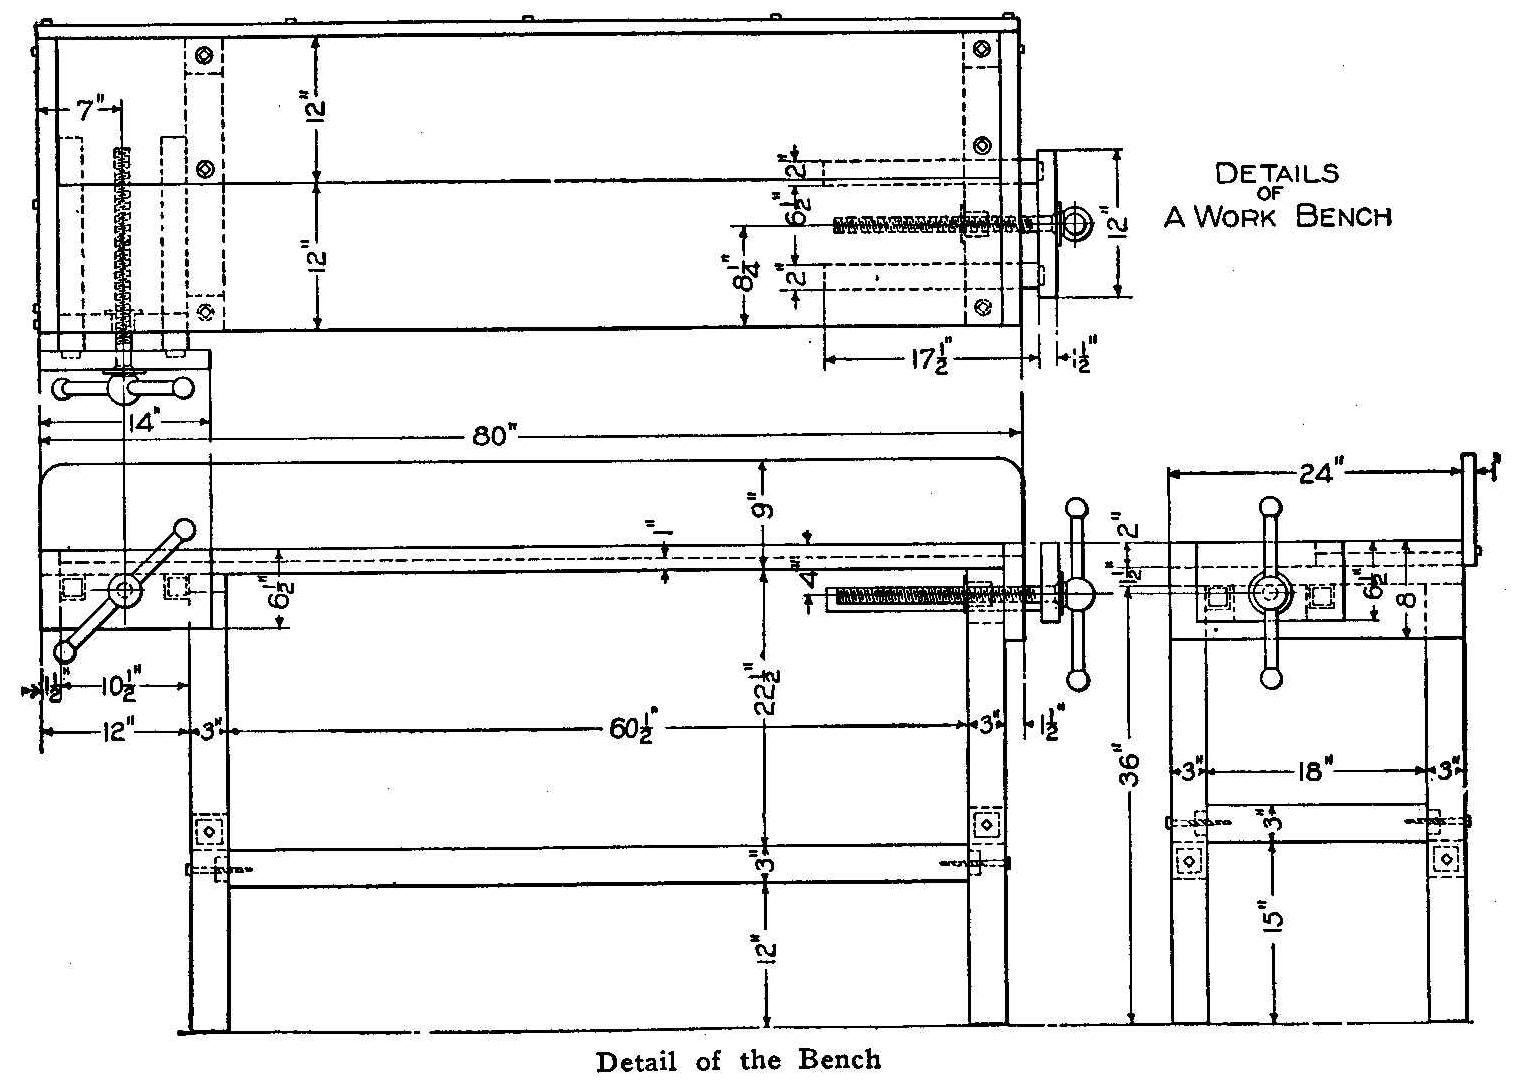


Workbench for the Amateur: Mortised Maple Frame, Two-Board Top, Side and End Vises (Boy Mechanic, 1913)
A full-size woodworking bench from The Boy Mechanic (Popular Mechanics, 1913), "suitable for the amateur woodworker" and made "by anyone who has a few sharp tools and a little spare time": a mortise-and-tenon frame of birch or maple bolted with lag screws, a top of a 2 in and a 1 in board, a side vise and an end vise on square slides, and a back board. All sizes are the book's.
It stands 36 in high, 80 in long and 24 in deep.
Intermediário
About 2 days
Instruções
1
1
Cutting list
Cutting list
A carregar o notebook Jupyter…
2
2
Read The Boy Mechanic
Read The Boy Mechanic
"If the stock is purchased from the mill ready planed and cut to length, much of the hard labor will be saved."
3
3
Make the lower frame
Make the lower frame
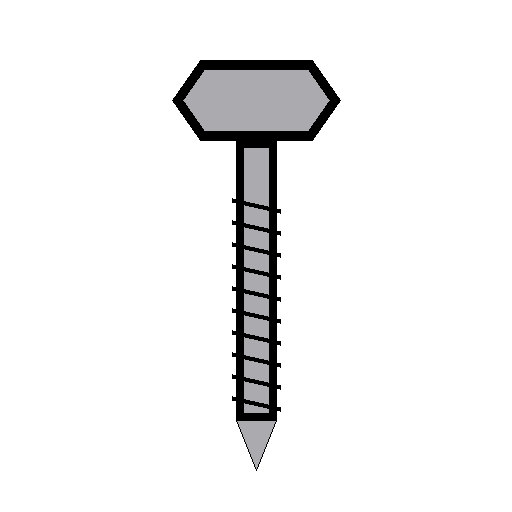
Cut tenons on the side and end rails and mortise the posts to take them. Fit them together and fasten them securely with 3/8 by 5 in lag screws through the posts into the rails, as the drawing shows.
Materiais para este passo:
 Madeira esquadriada1 peça
 Tirafundo1 peça
Ferramentas necessárias:
 Serra traçadeira
 Serrote de costas
 Formão de samblagem
 Maço de madeira
 Esquadro fixo
 Arco de pua e broca
 Chave inglesa ajustável
 Lápis
4
4
Fit the crosspieces and top
Fit the crosspieces and top
Screw the 1-1/2 by 3 by 24 in crosspieces to the tops of the posts, countersinking the heads (or bore the top boards to clear them). Fasten the front, 2 in top board to the crosspieces with lag screws from underneath; screw the 1 in top board down from the top.
Materiais para este passo:
Madeira esquadriada1 peça Prancha de madeira dura1 peça
 Tábua de madeira de lei1 peçaTirafundo1 peça
 Parafusos para madeira1 peça
Ferramentas necessárias:
Arco de pua e broca Conjunto de brocas de escarear
 Conjunto de chaves de fendasChave inglesa ajustável
5
5
Fit the end pieces and vise slides
Fit the end pieces and vise slides
Screw on the end pieces, countersinking the heads at the vise end. Cut 2 in square holes in the 1-1/2 by 4-1/2 by 10 in piece for the side vise slides and fit it in place, and cut square holes in one end piece for the end vise slides.
Materiais para este passo:
Tábua de madeira de lei1 peçaParafusos para madeira1 peçaFerramentas necessárias:
Arco de pua e broca FormõesMaço de madeiraConjunto de brocas de escarearConjunto de chaves de fendas
6
6
Fit up the two vises
Fit up the two vises
Screw the 2 in square slides (guides) to the two clamp front pieces, countersinking the heads so they are clear of the hands. The clamp screws should be about 1-1/2 in diameter, bought at a hardware store. Fit a block under the crosspiece to hold the end vise's nut. With the slides in place, bore the holes for the clamp screws and fit them.
Materiais para este passo:
Madeira esquadriada1 peçaTábua de madeira de lei1 peça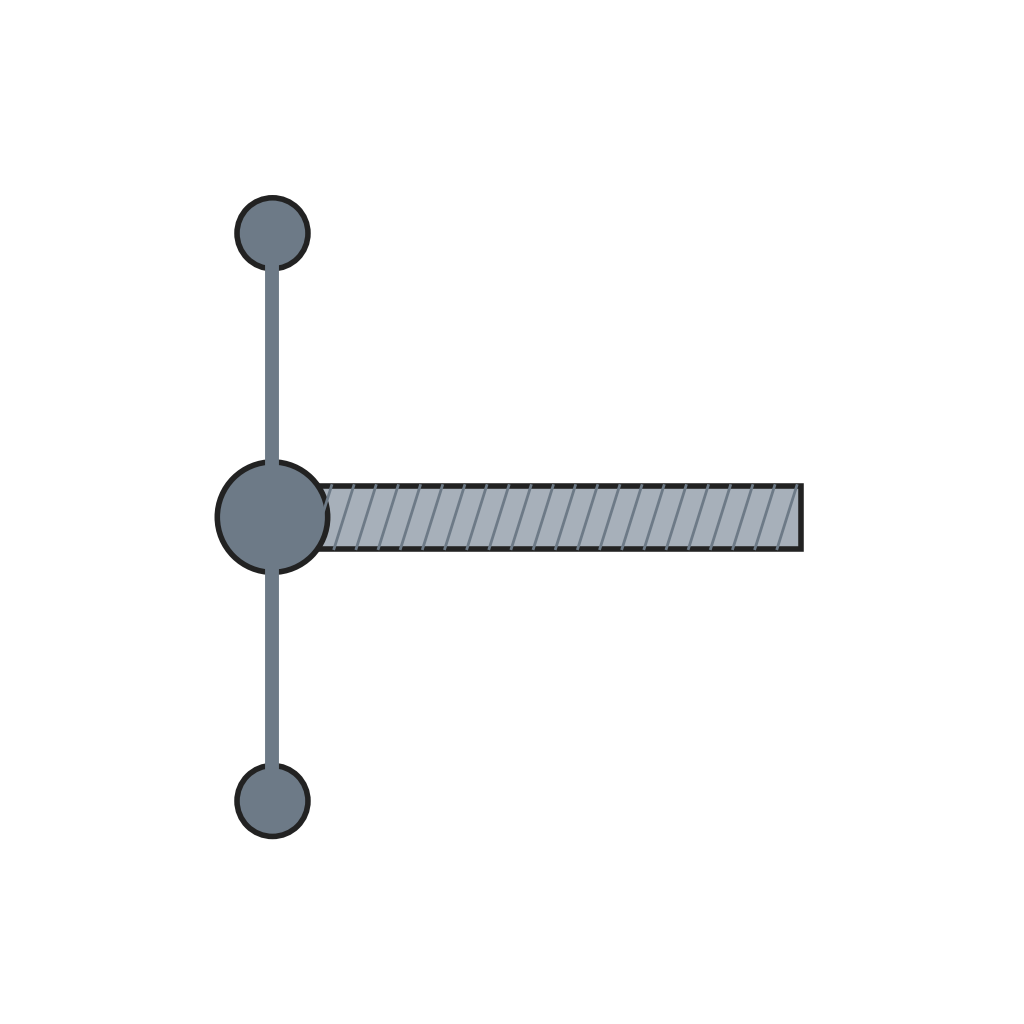 Fuso do torno com alavanca deslizante2 peçasParafusos para madeira1 peça
Ferramentas necessárias:
Arco de pua e brocaConjunto de brocas de escarearConjunto de chaves de fendas7
7
Back board and finish
Back board and finish
Screw the back board to the back as the top view shows. Give the bench "a couple of coats of oil" to finish and preserve the wood (boiled linseed oil, ours).
Materiais para este passo:
Tábua de madeira de lei1 peçaParafusos para madeira1 peça Óleo de linhaça cozido1 peça
 Pano de algodão1 peça
Ferramentas necessárias:
Conjunto de chaves de fendas8
8
Troubleshooting
Troubleshooting
Workbench troubleshooting.
Flow
Loading...
9
9
History and honest limits
History and honest limits
From **The Boy Mechanic, Volume 1: 700 Things for Boys to Do**, edited by H. H. Windsor, Popular Mechanics, Chicago, 1913 (Project Gutenberg #12655), "A Workbench for the Amateur". All sizes and the fastening are the book's; it names no oil, so boiled linseed oil is ours, as are the metric figures.
Materiais
8- 1 peçaReferência
- 1 peçaReferência
- 1 peçaReferência
- 1 peçaReferência
- 4 peçasReferência
- Referência
- 1 peçaReferência
- 1 peçaReferência
Ferramentas necessárias
11- Referência
- Referência
- Referência
- Referência
- Referência
- Referência
- Referência
- 1 vendor sell this, none ship to you yetReferência
- Referência
- Referência
- Referência
Este projeto faz

Blueprints relacionados
Estes blueprints compartilham conhecimento — técnicas, materiais ou princípios

CC0 Domínio Público
Este blueprint é liberado sob CC0. Você é livre para copiar, modificar, distribuir e usar este trabalho para qualquer finalidade, sem pedir permissão.
Apoie o Maker comprando produtos através do Blueprint, onde ele ganha uma Comissão Maker definida pelos vendedores, ou crie uma nova versão deste Blueprint e inclua-o como conexão no seu próprio Blueprint para compartilhar receita.